• Home
  • About
  • Fashion
  • Beauty
  • Lifestyle
  • SHOP
    • SHOP MY INSTAGRAM
    • BABY
    • BEAUTY
    • HOME
    • MAMA
    • NURSERY
    • WEDDING
  • Contact

Being Bridget

October 31, 2018

Weezie Towels: Soft, Luxurious & Super Absorbent

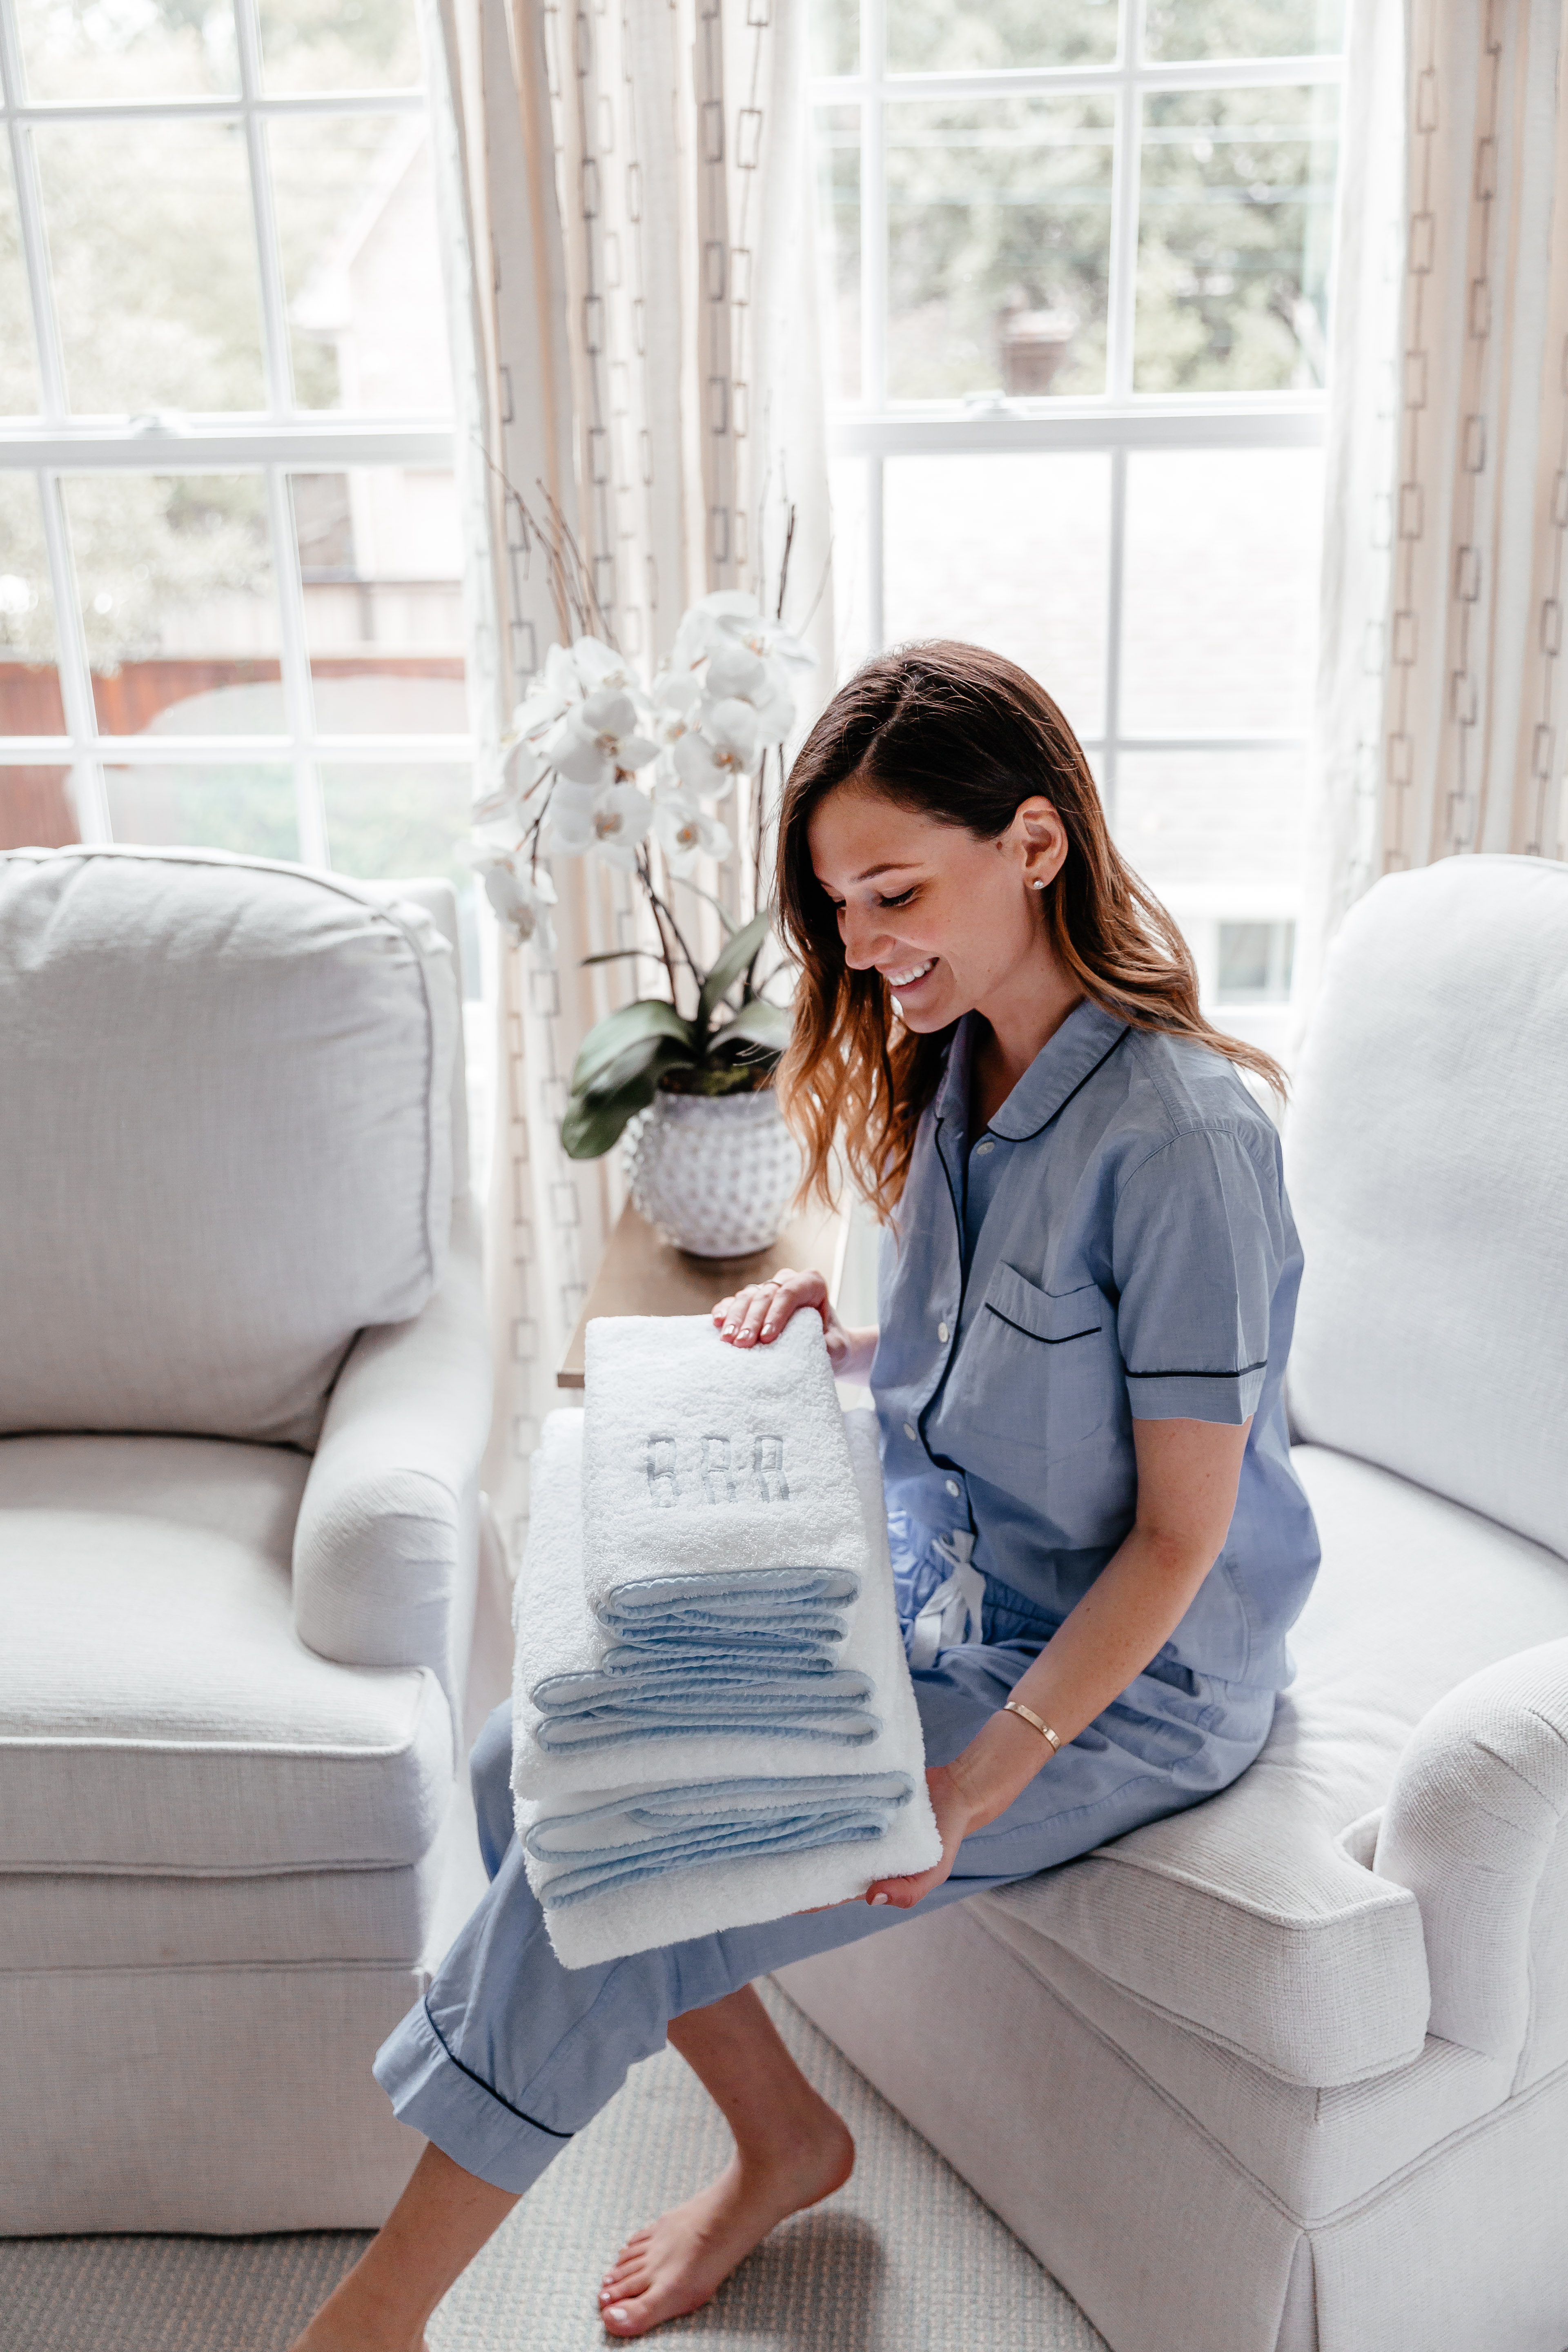
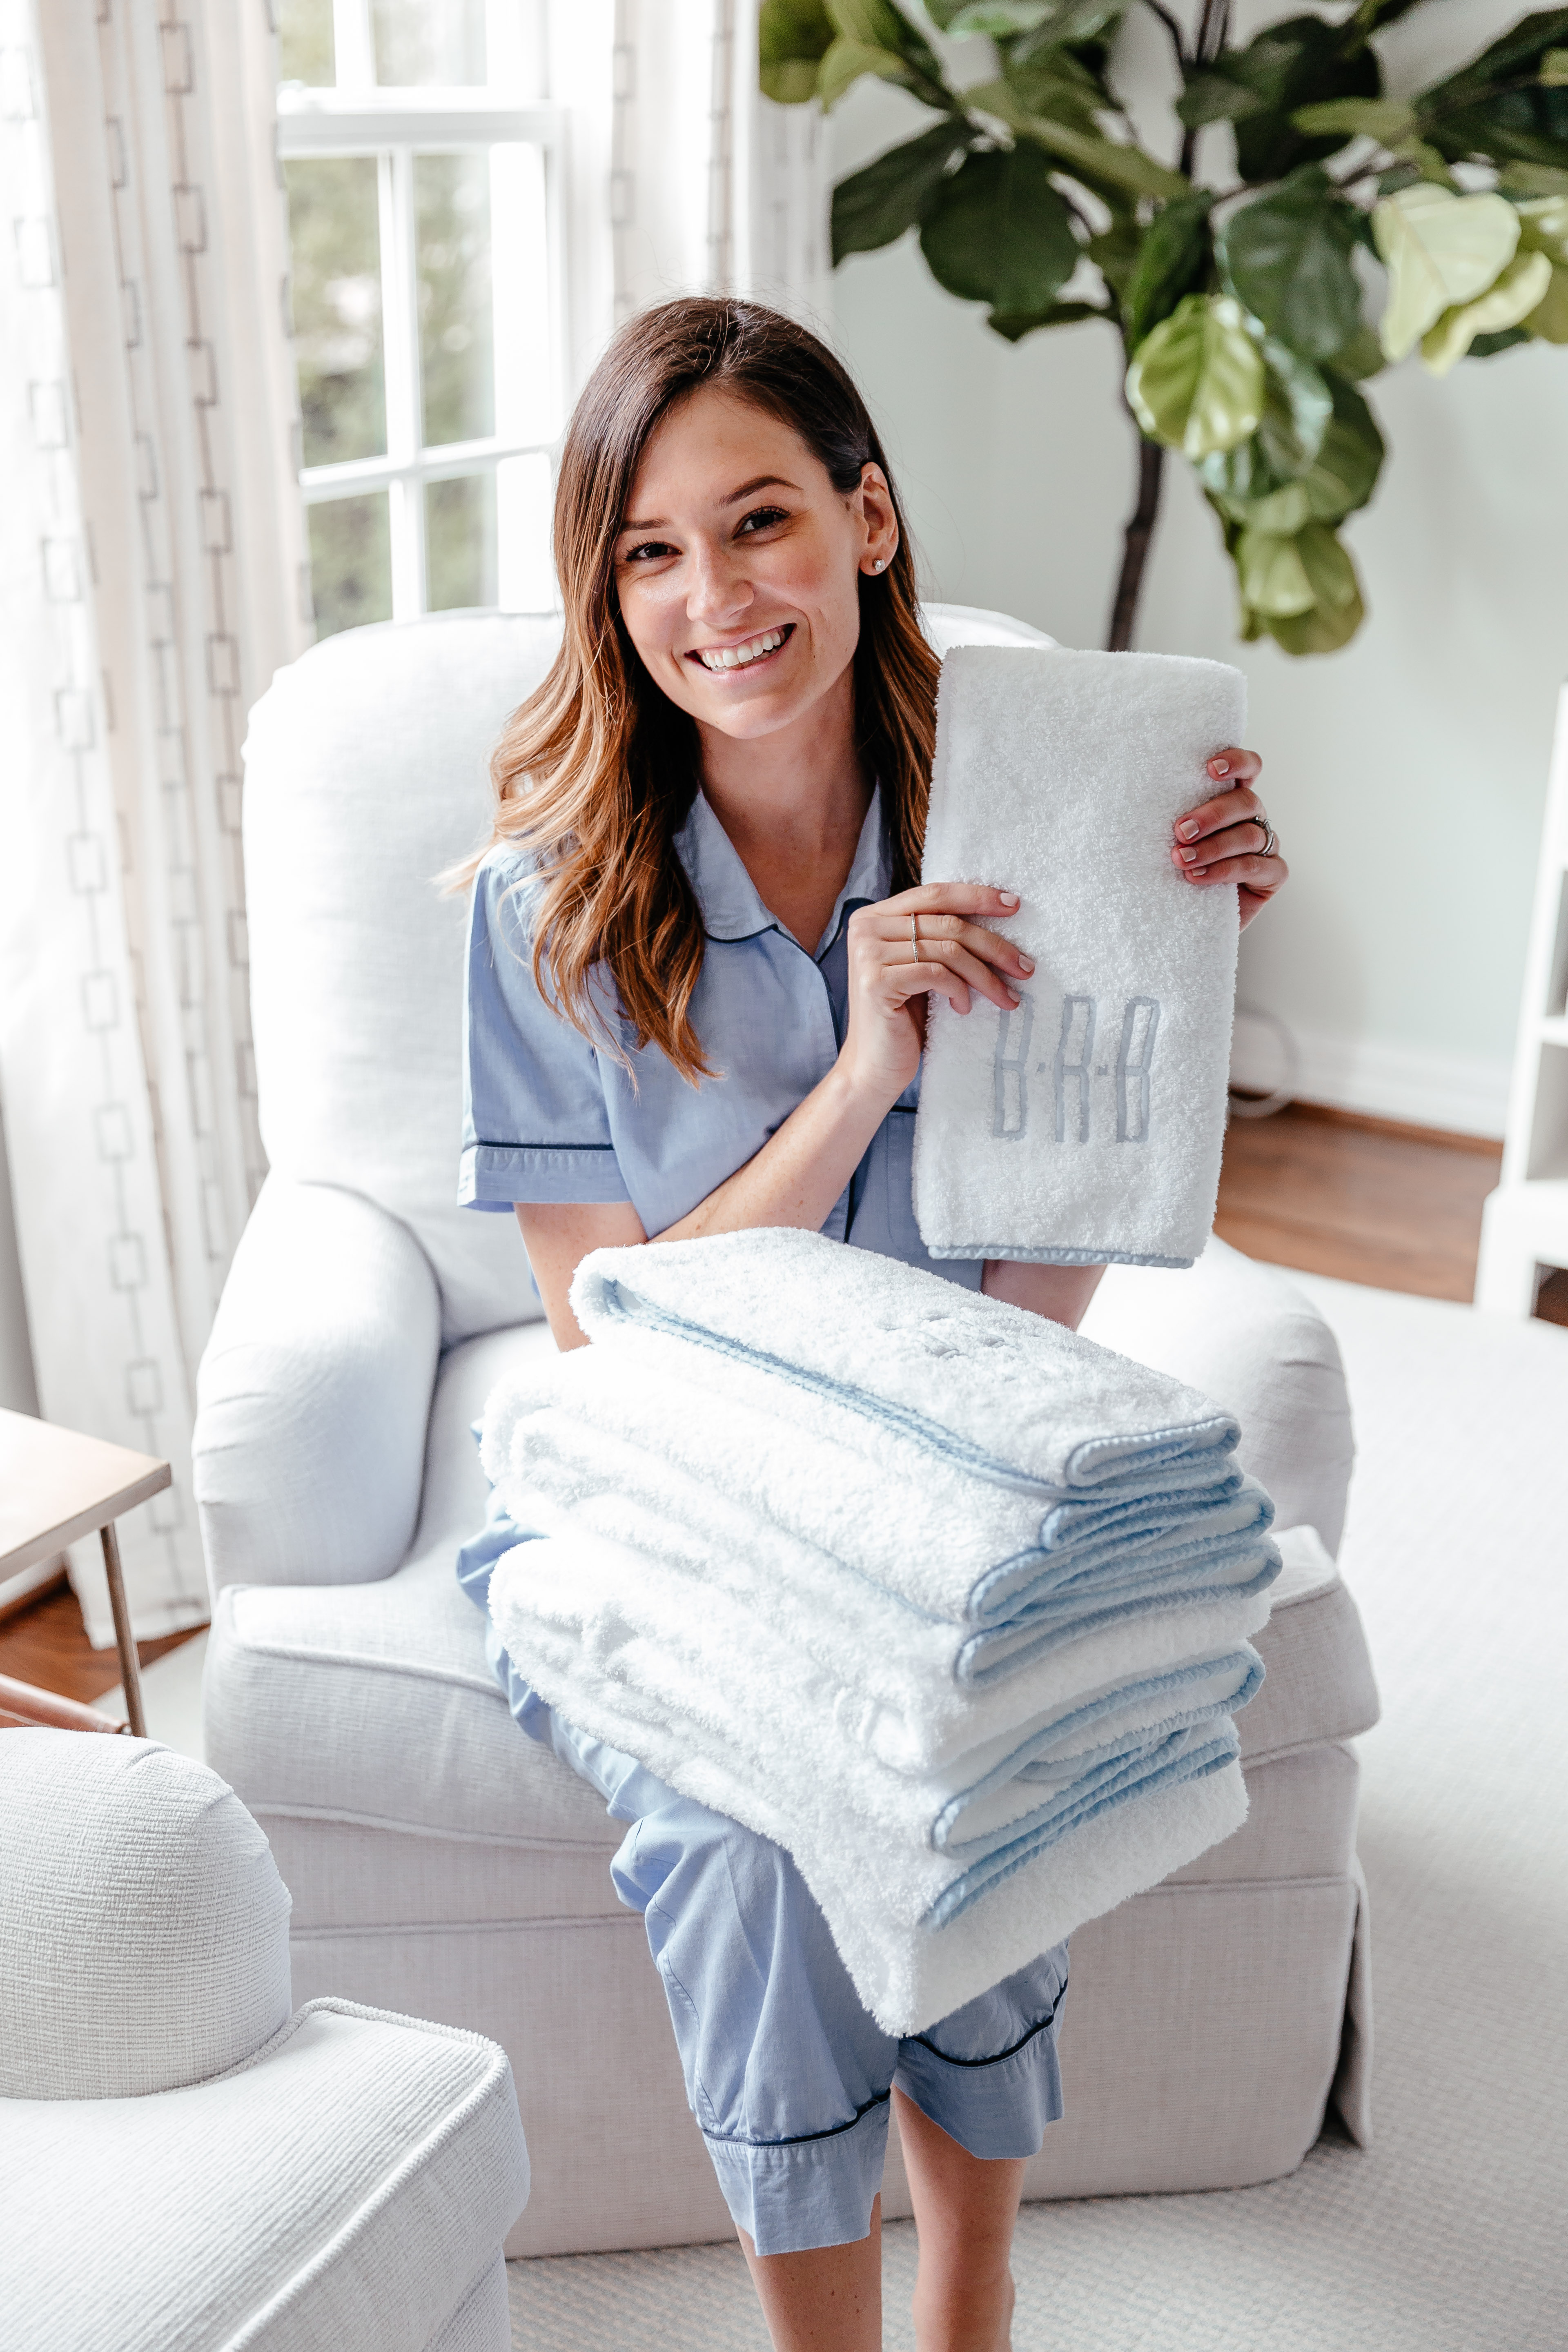
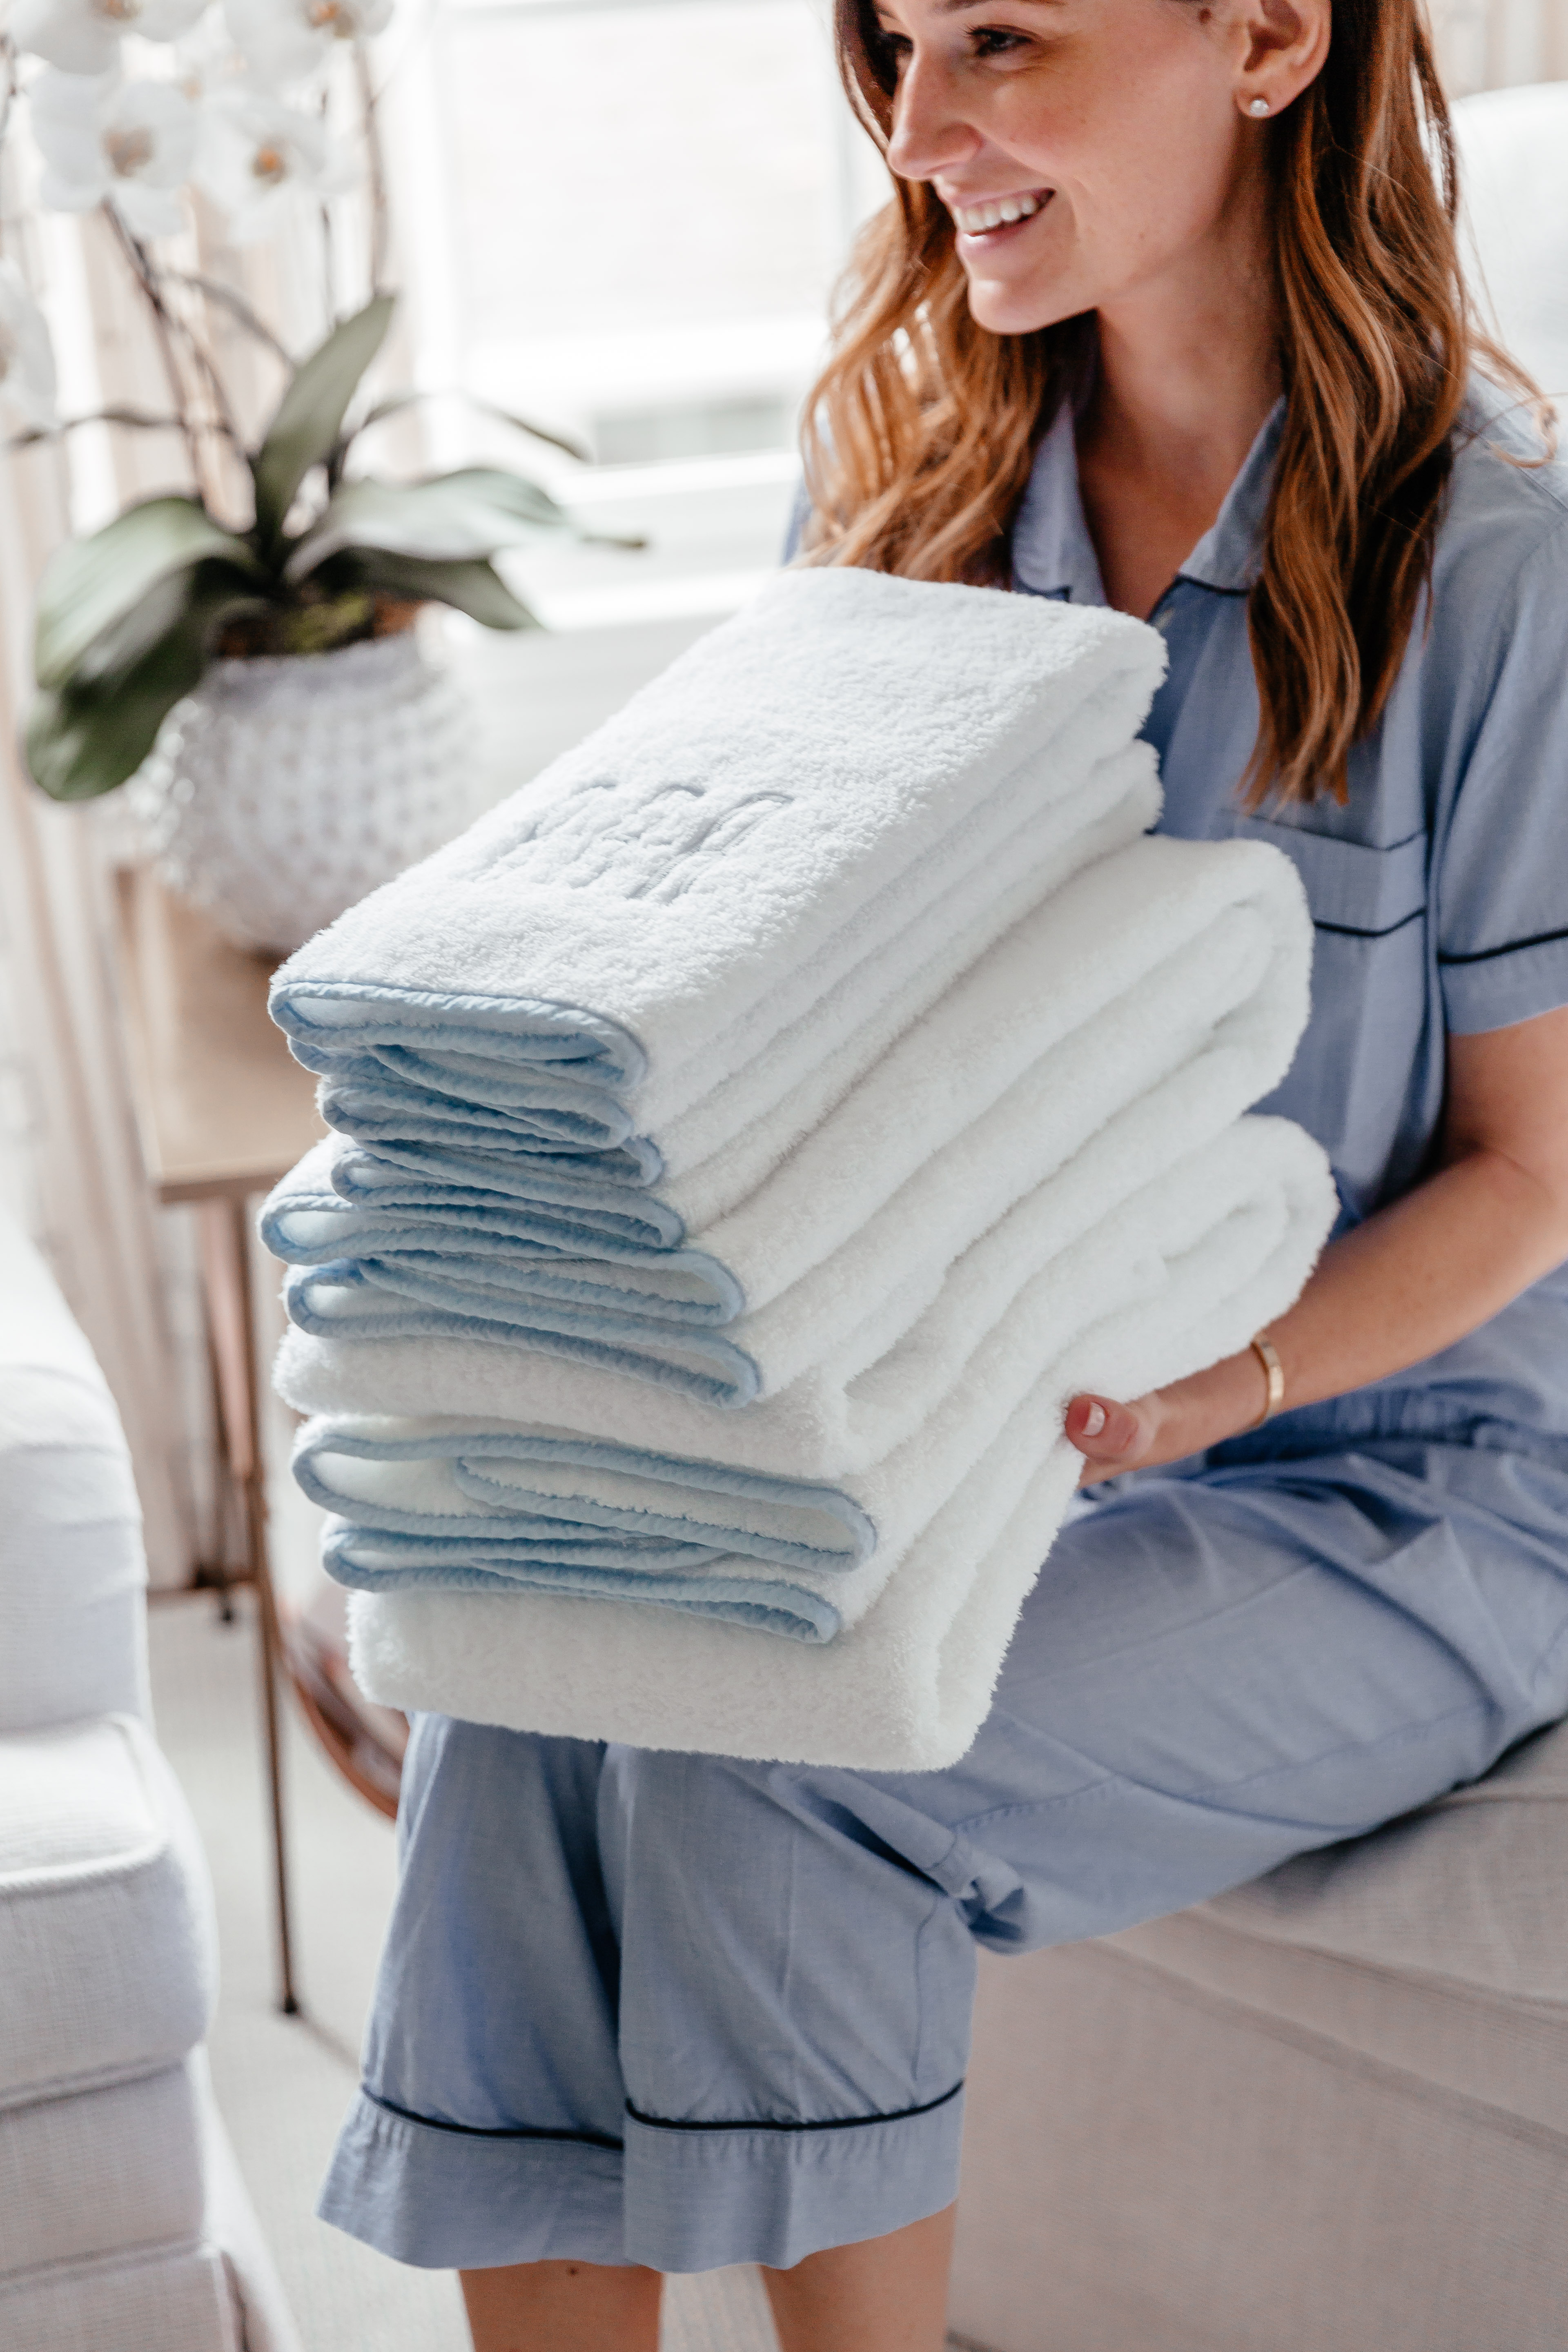
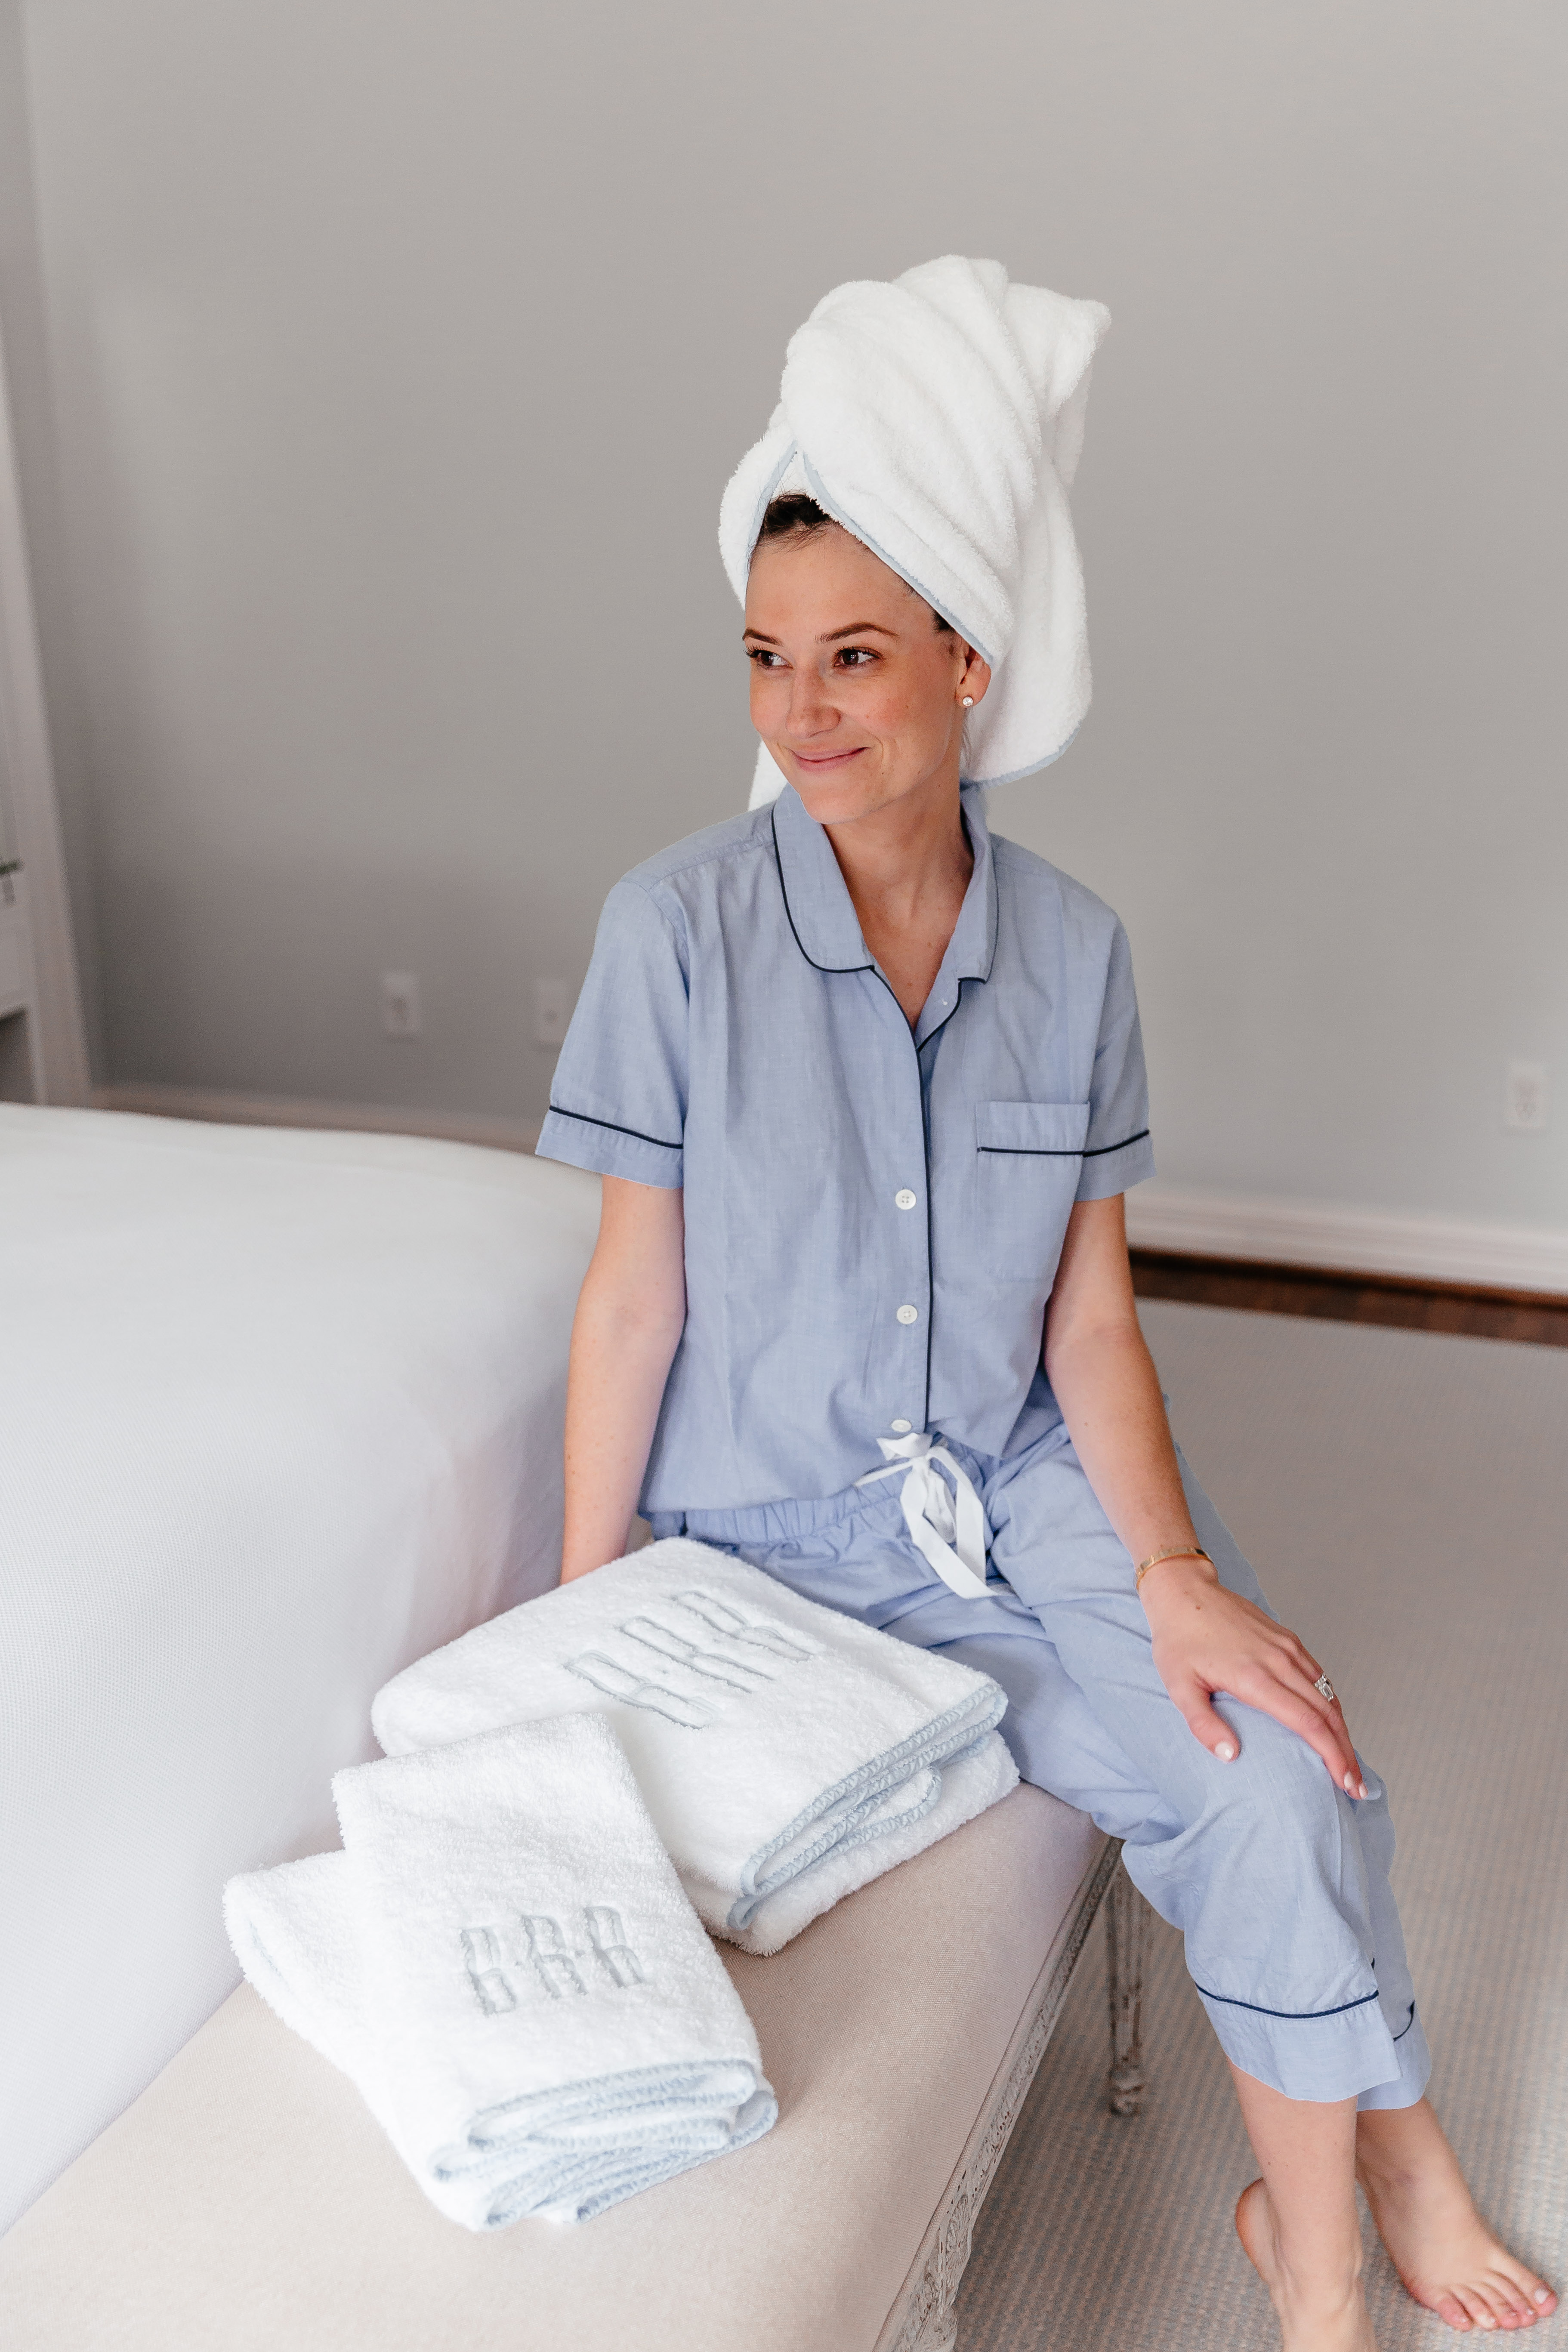
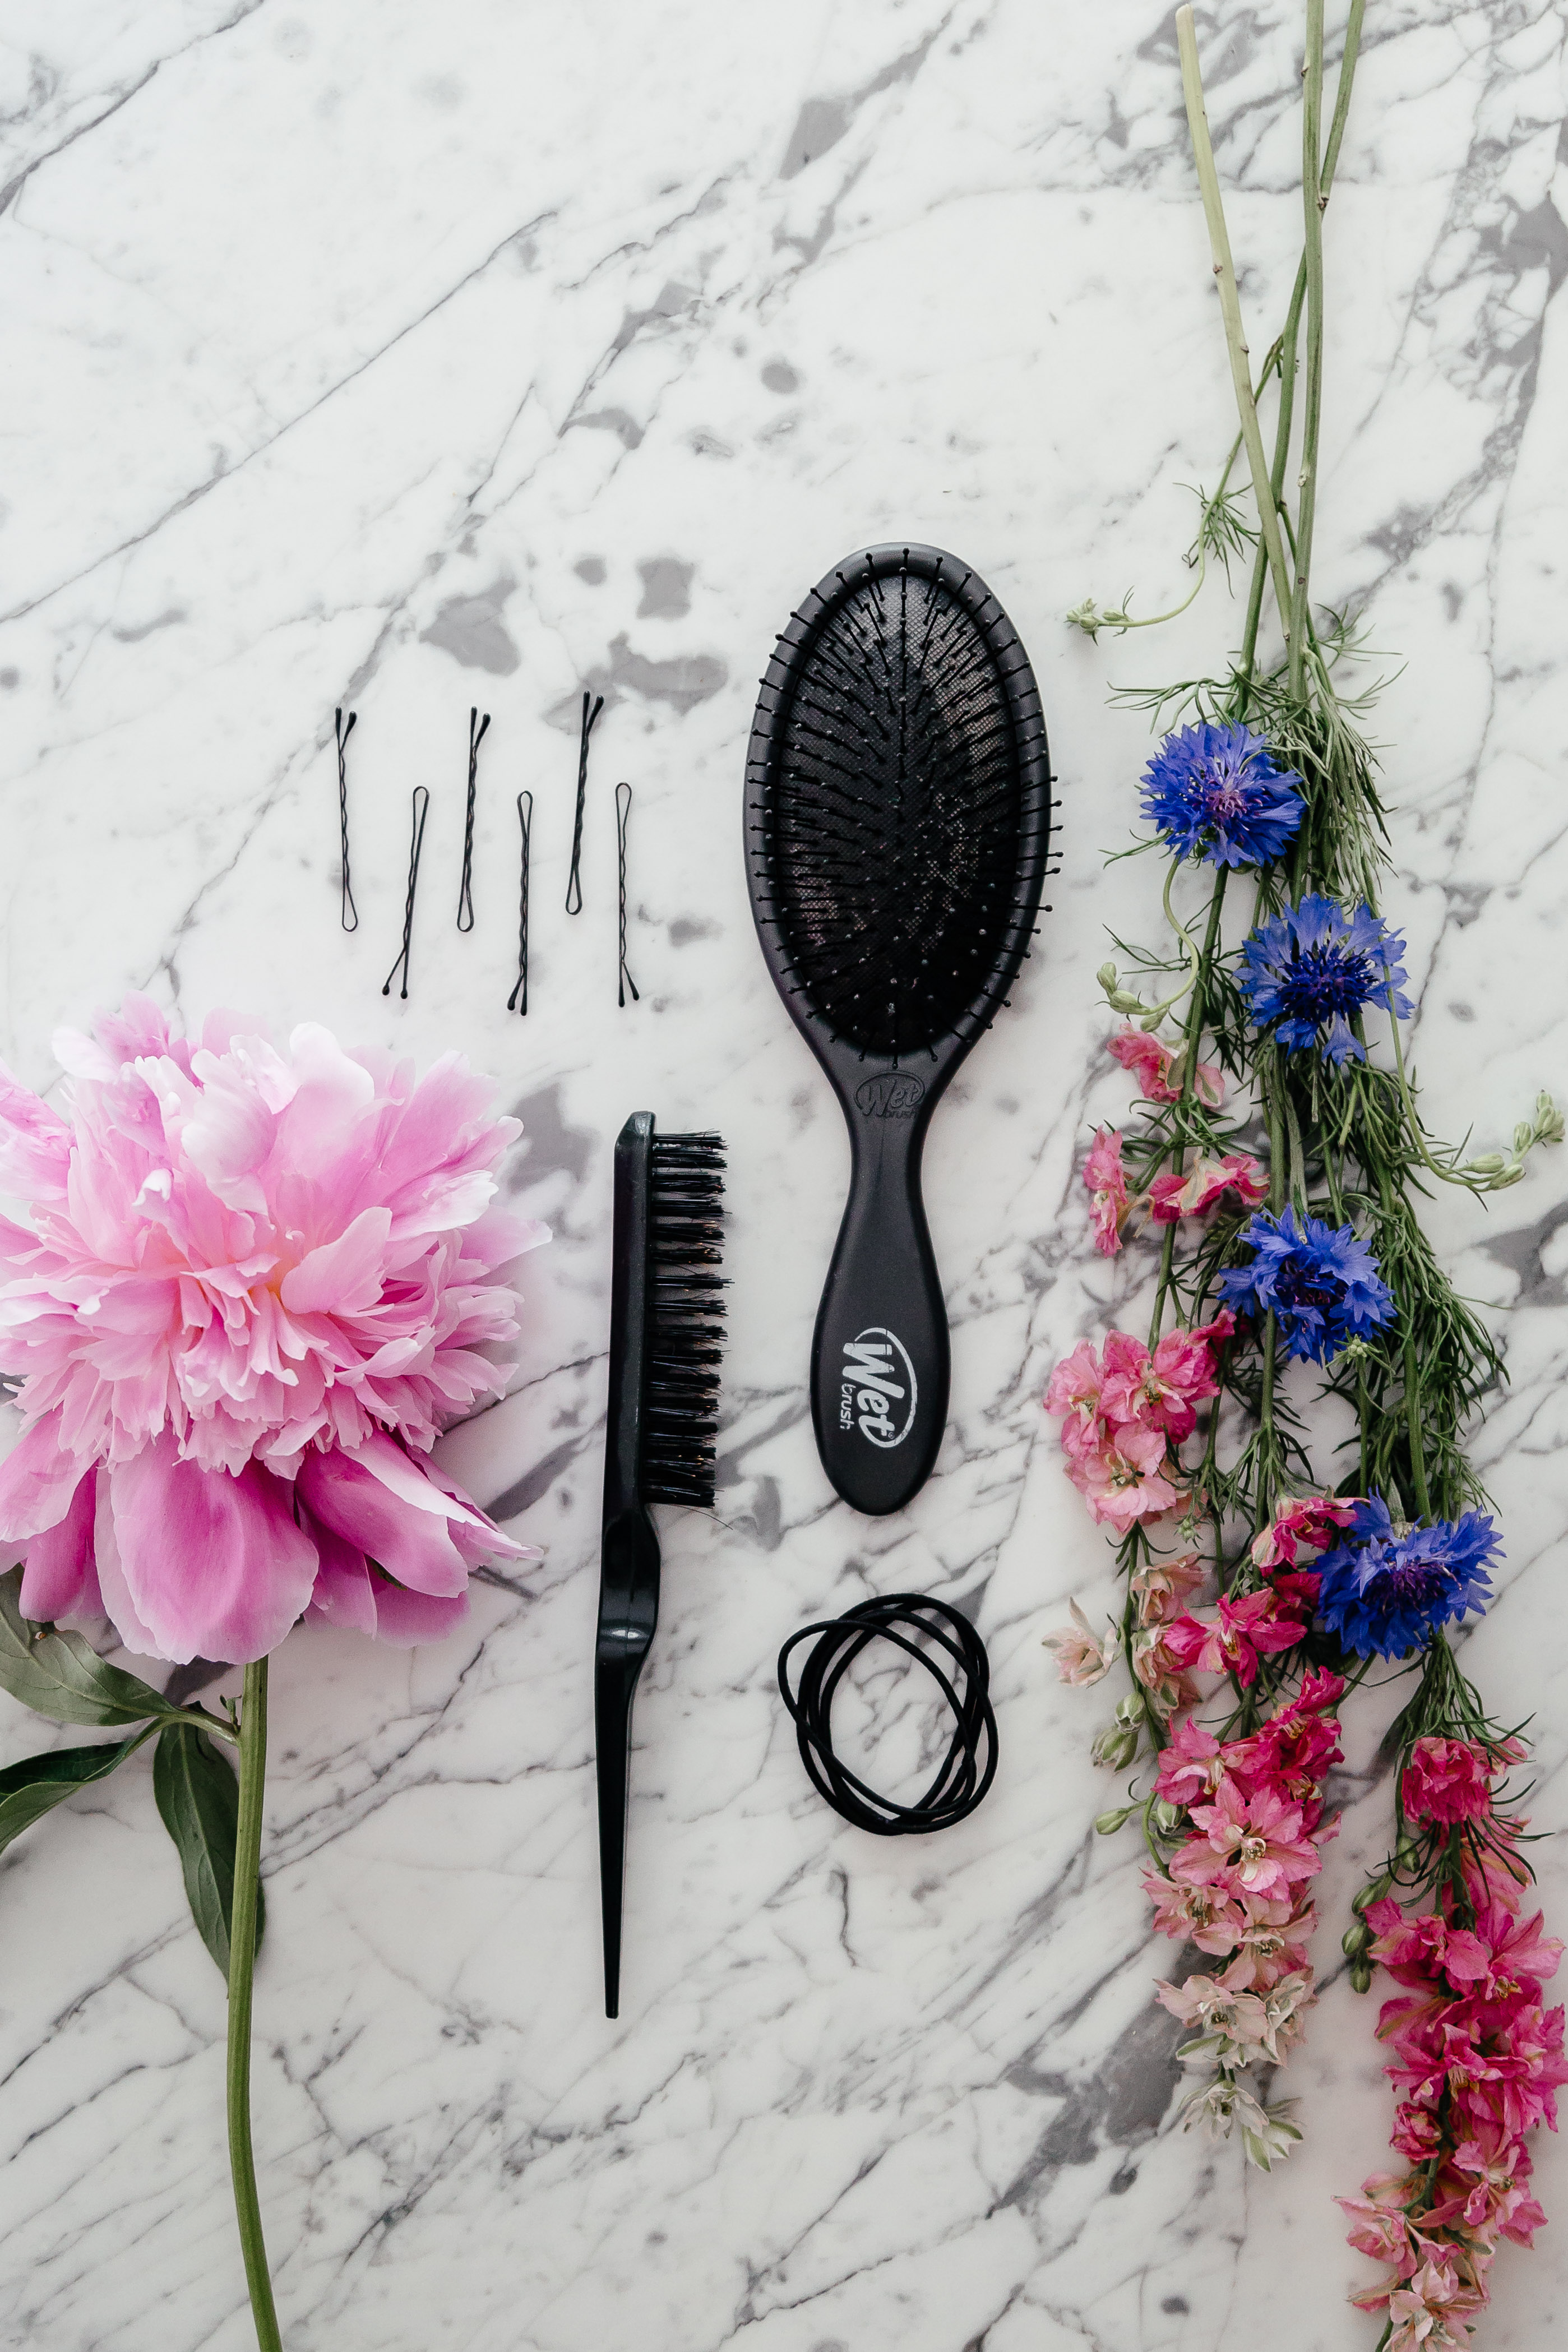
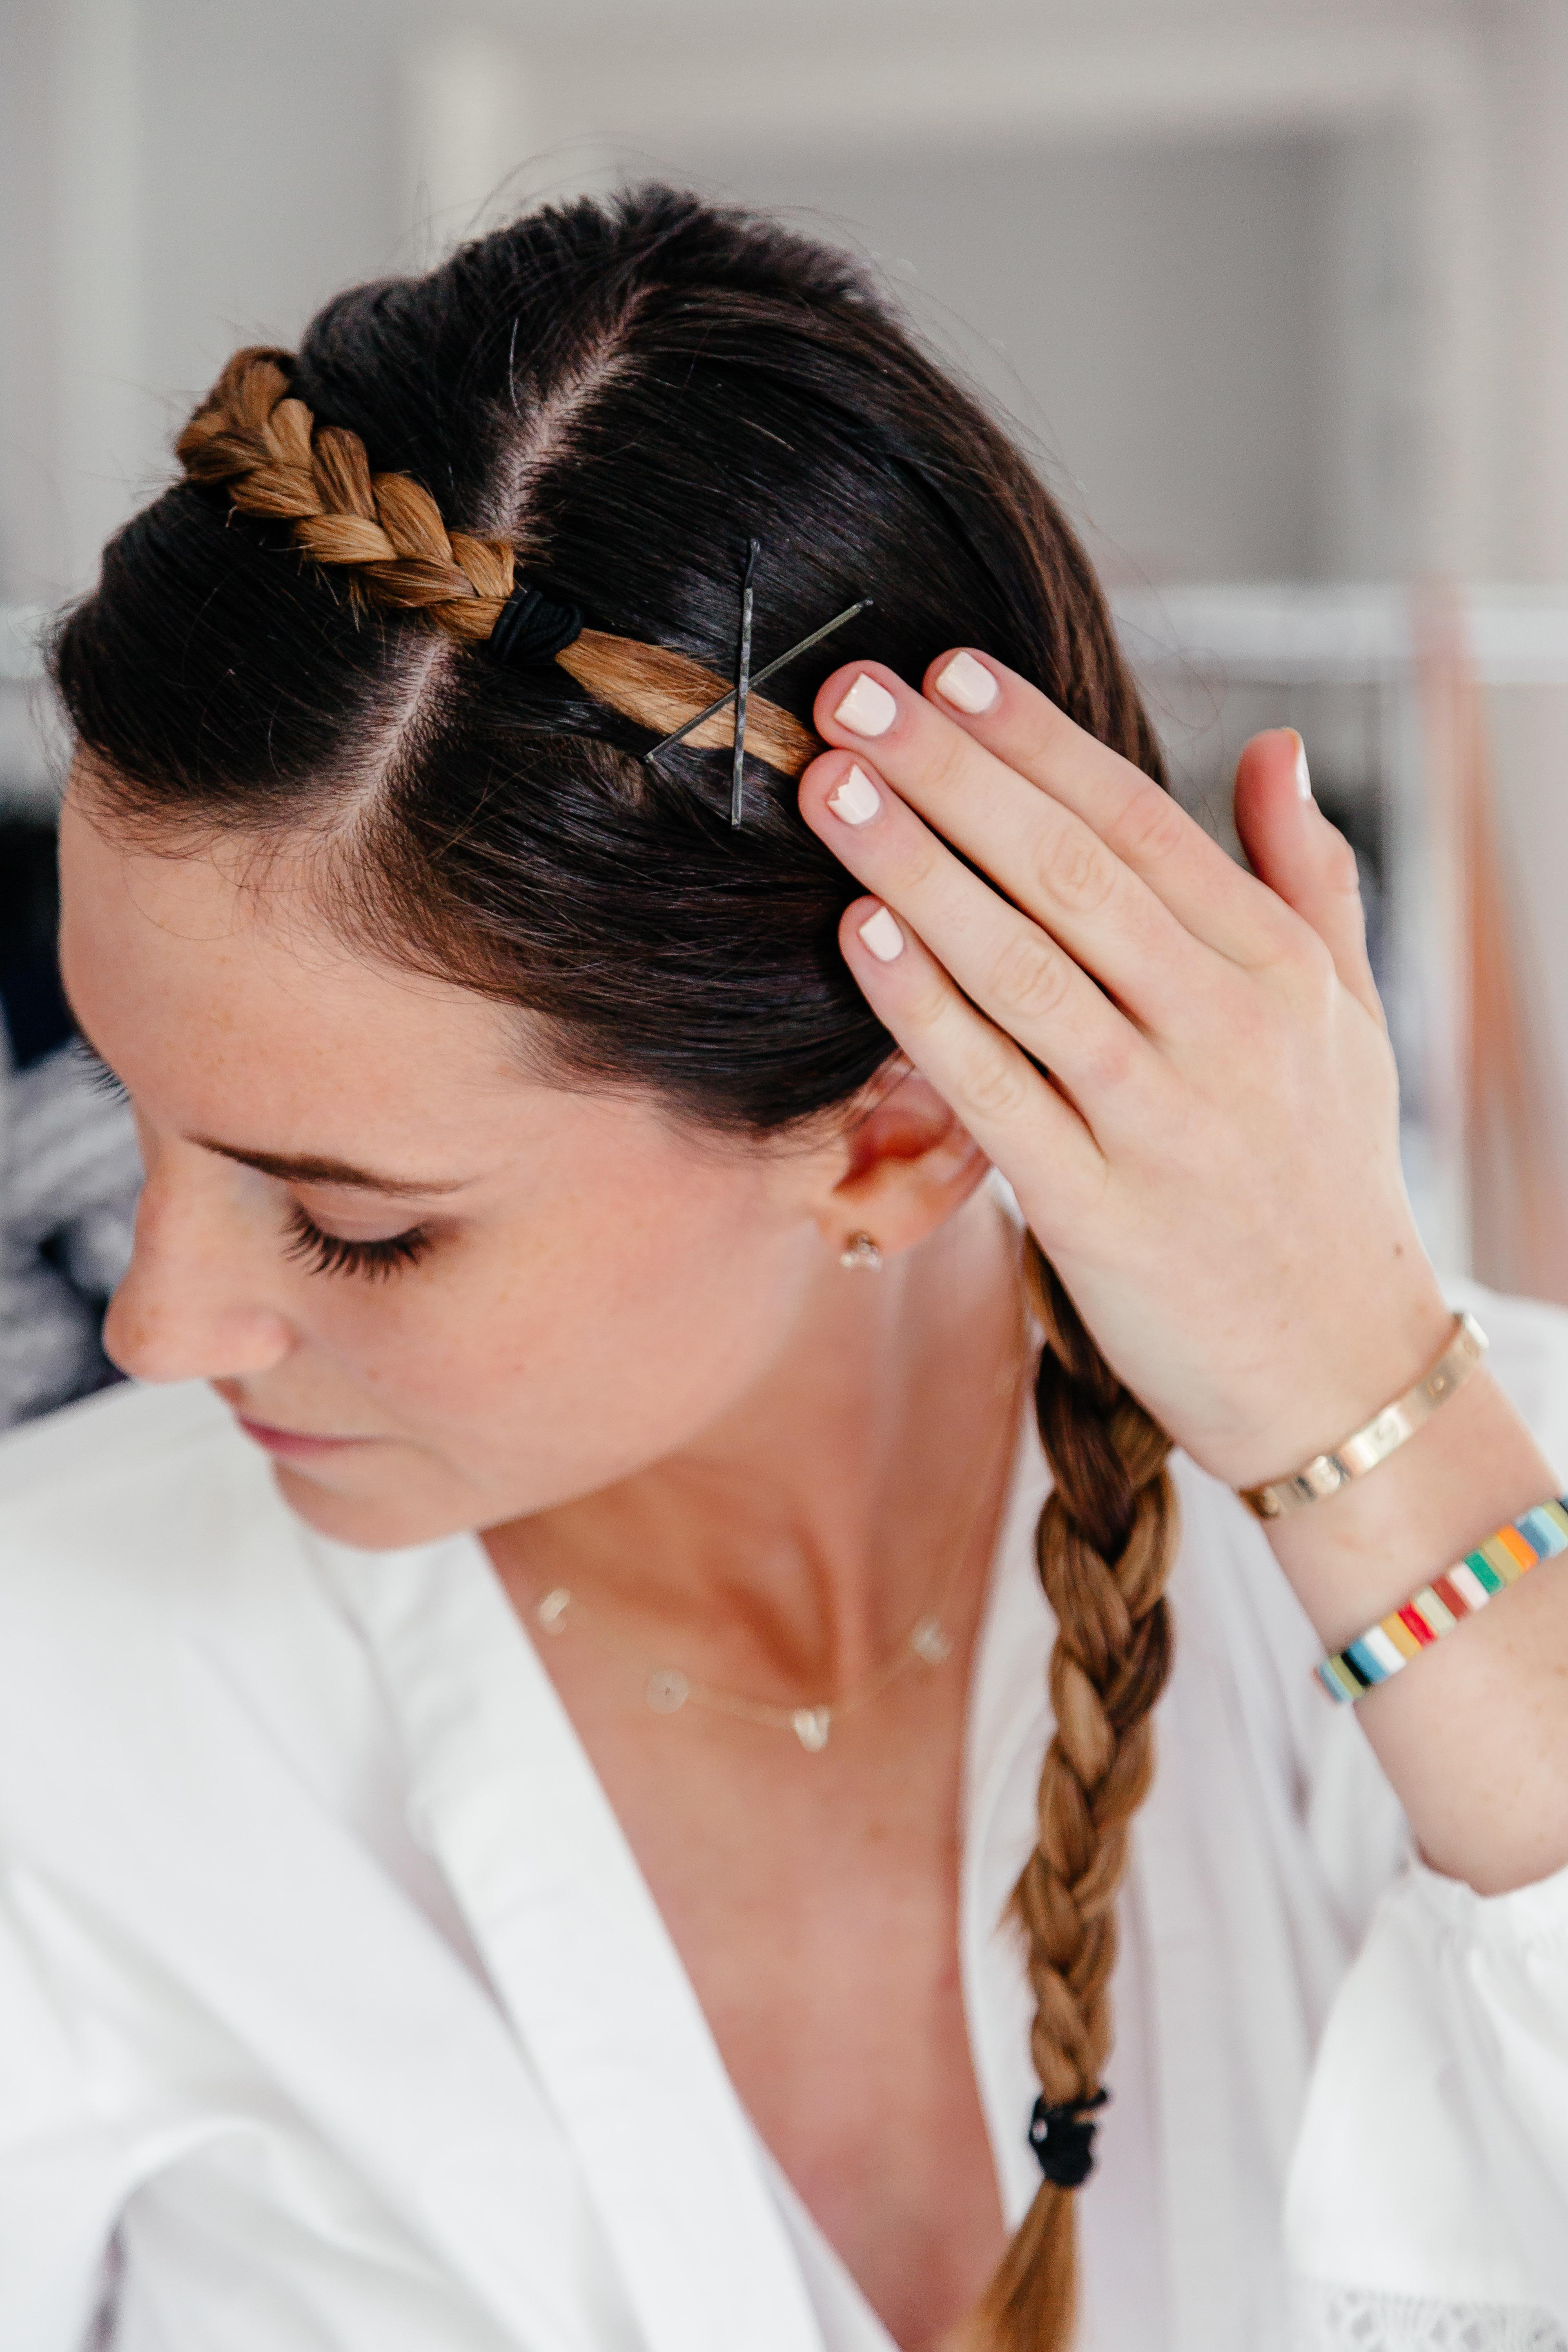
Bath Towels: Weezie // Hand Towels: Weezie // Monogram style: Prince

Towels. We use them everyday but hardly ever give them a second thought. I mean, raise your hand if you’ve had the same towels since before you can remember….for me personally, I have a mixture of Ikea wash cloths, Bed, Bath & Beyond bath towels from college and a smattering of hand towels from who knows when & where. But now, thanks to Weezie, and thanks to their starter pack, I was able to get a set of these big beautiful towels for myself and throw out those old ratty towels from yesteryear.

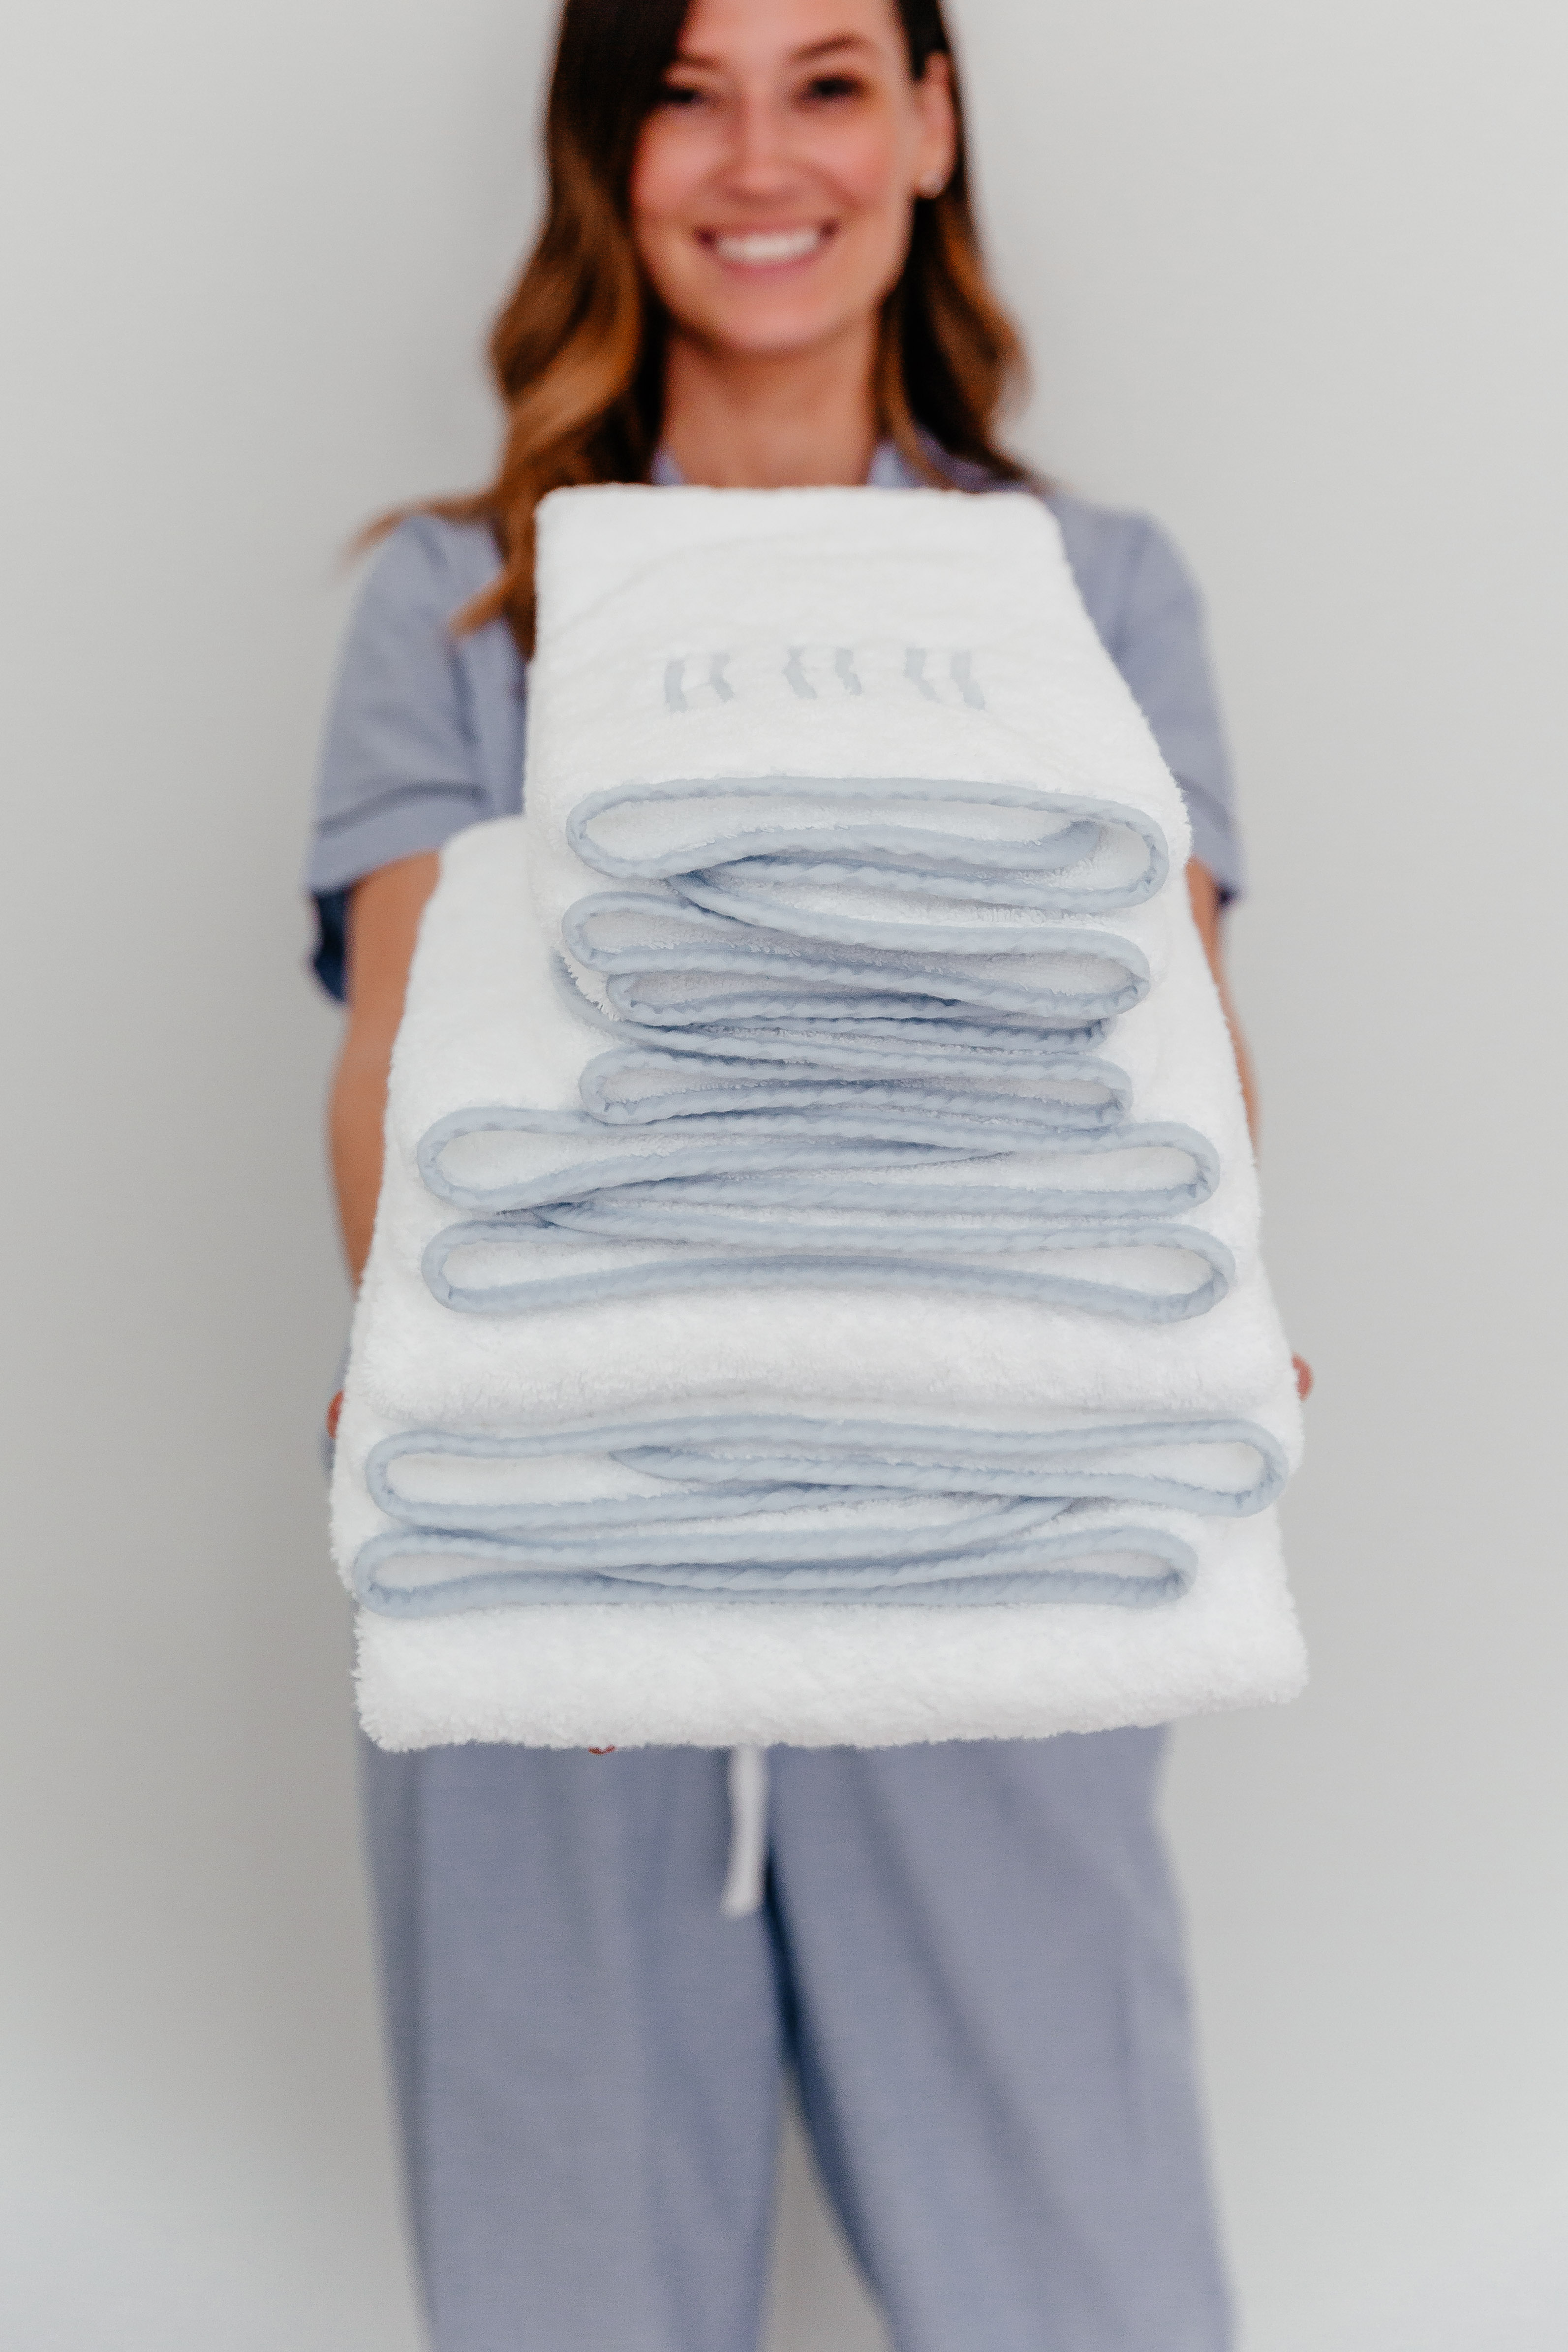
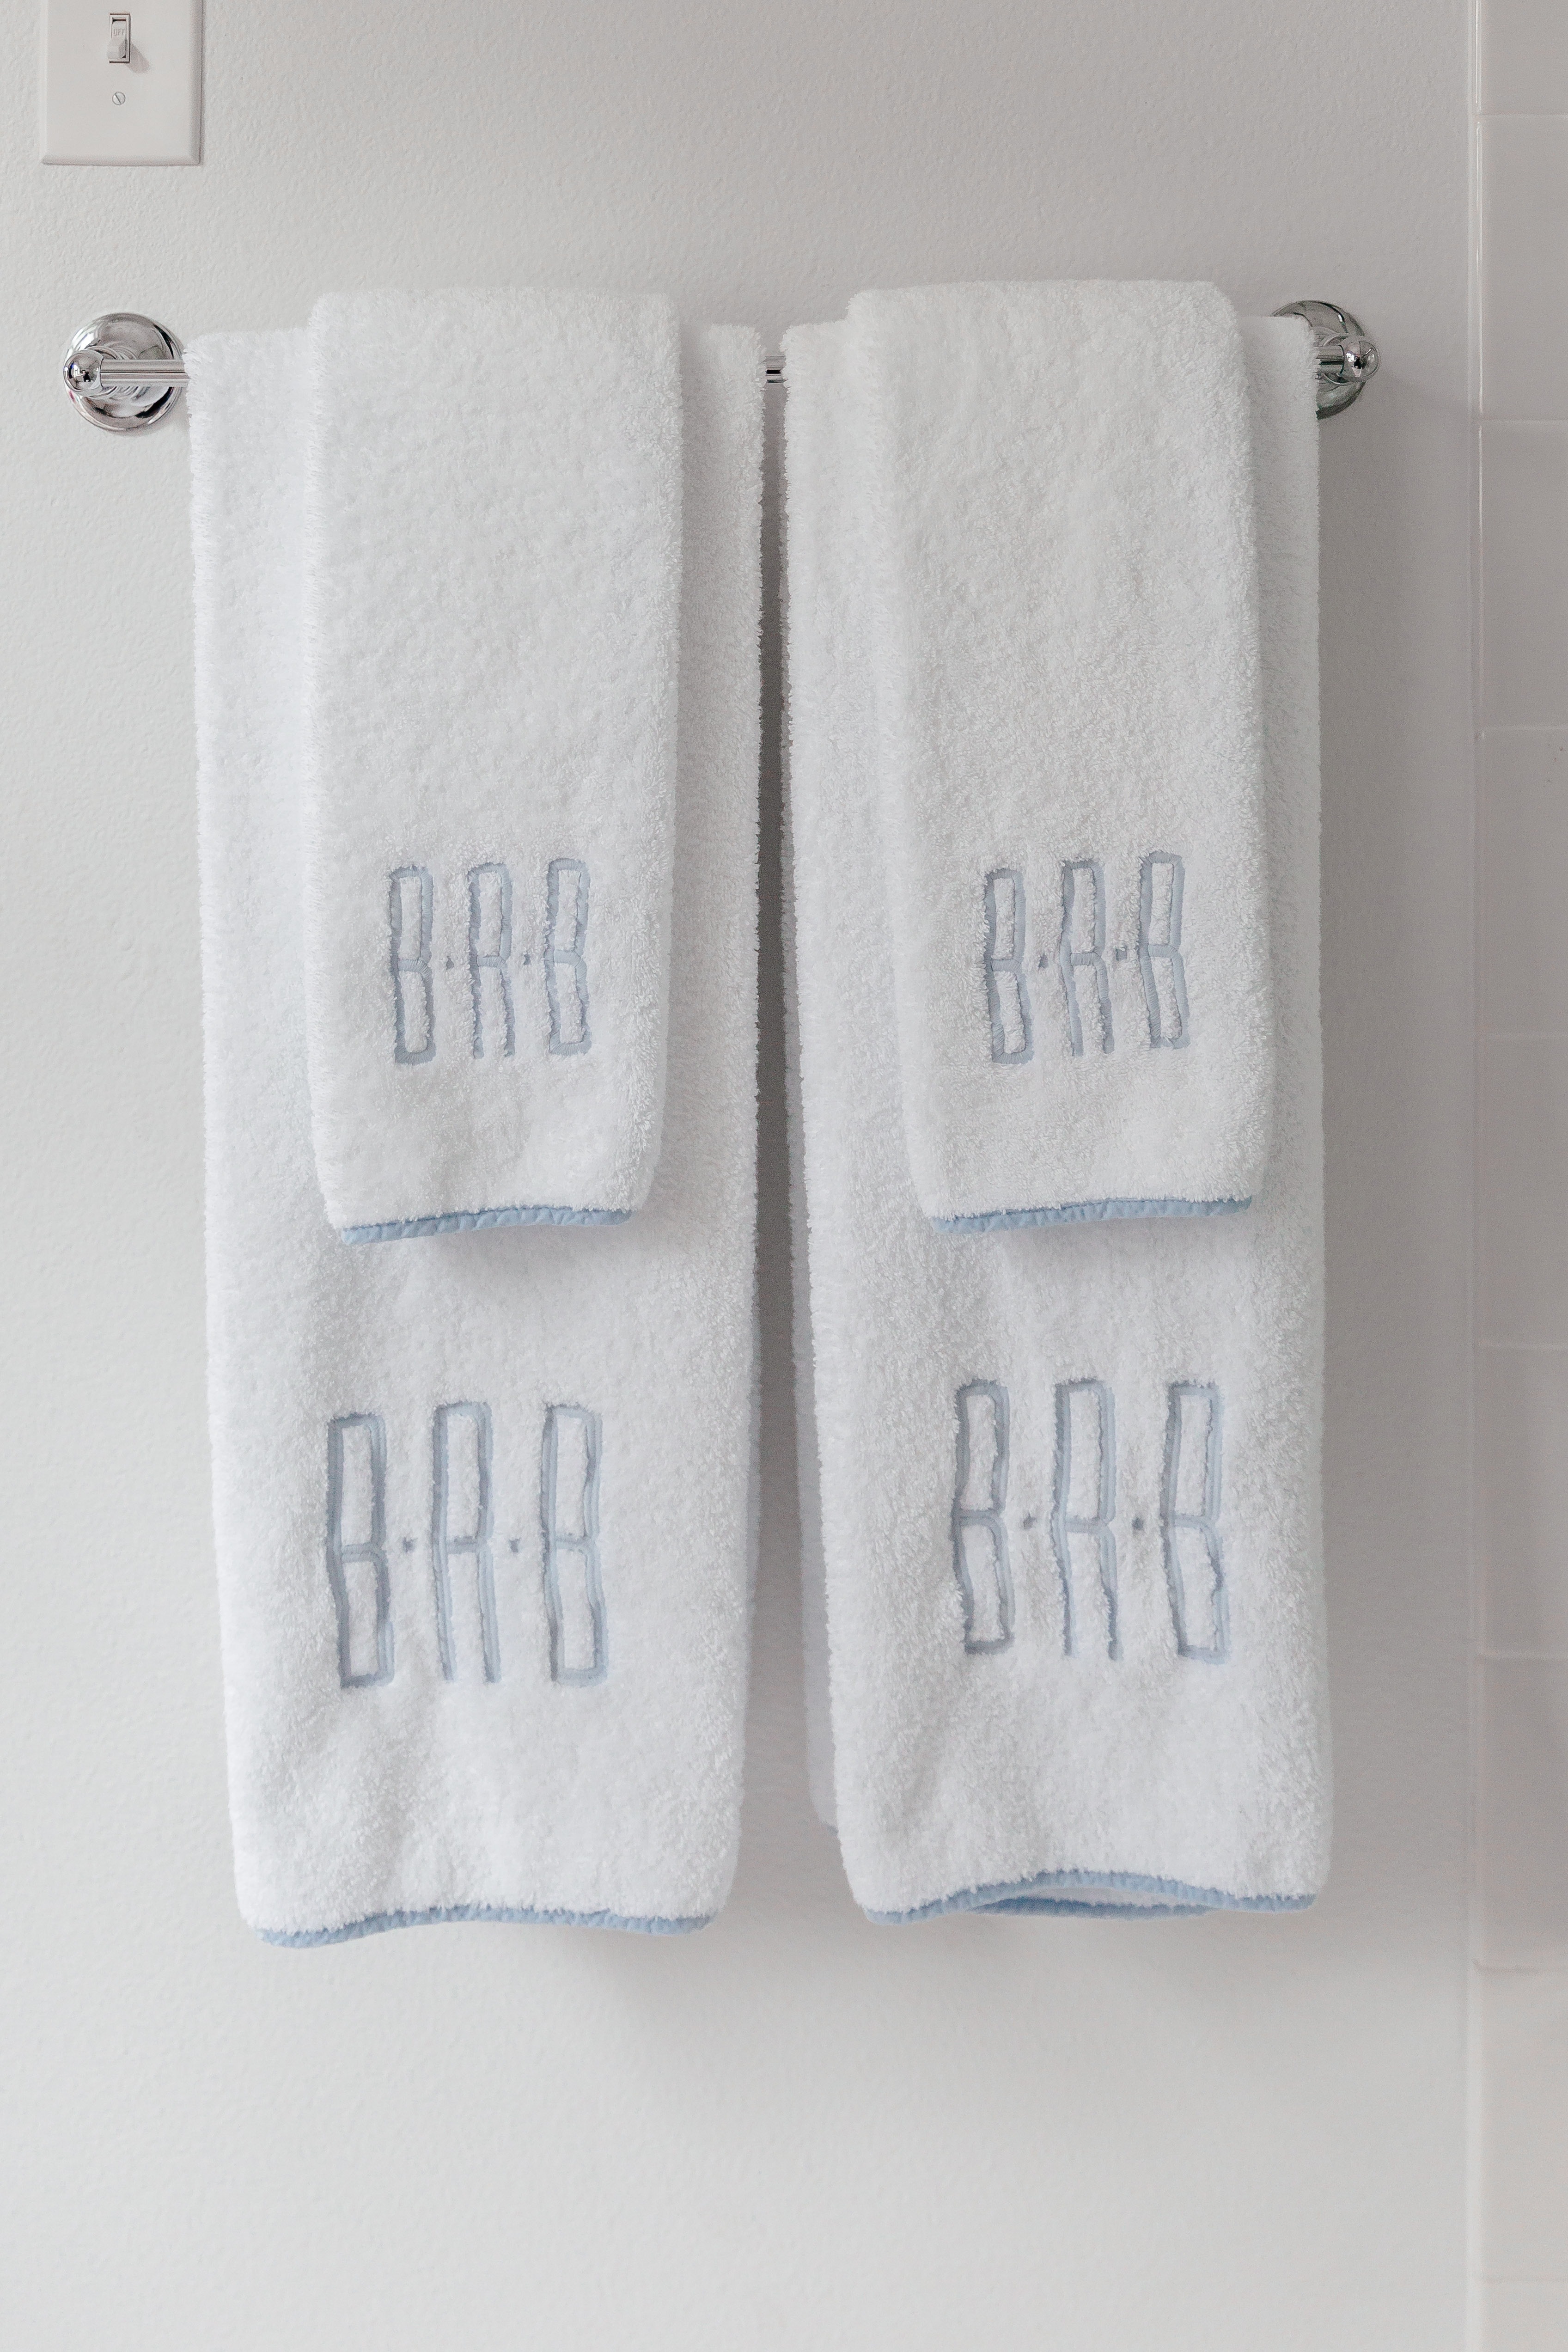
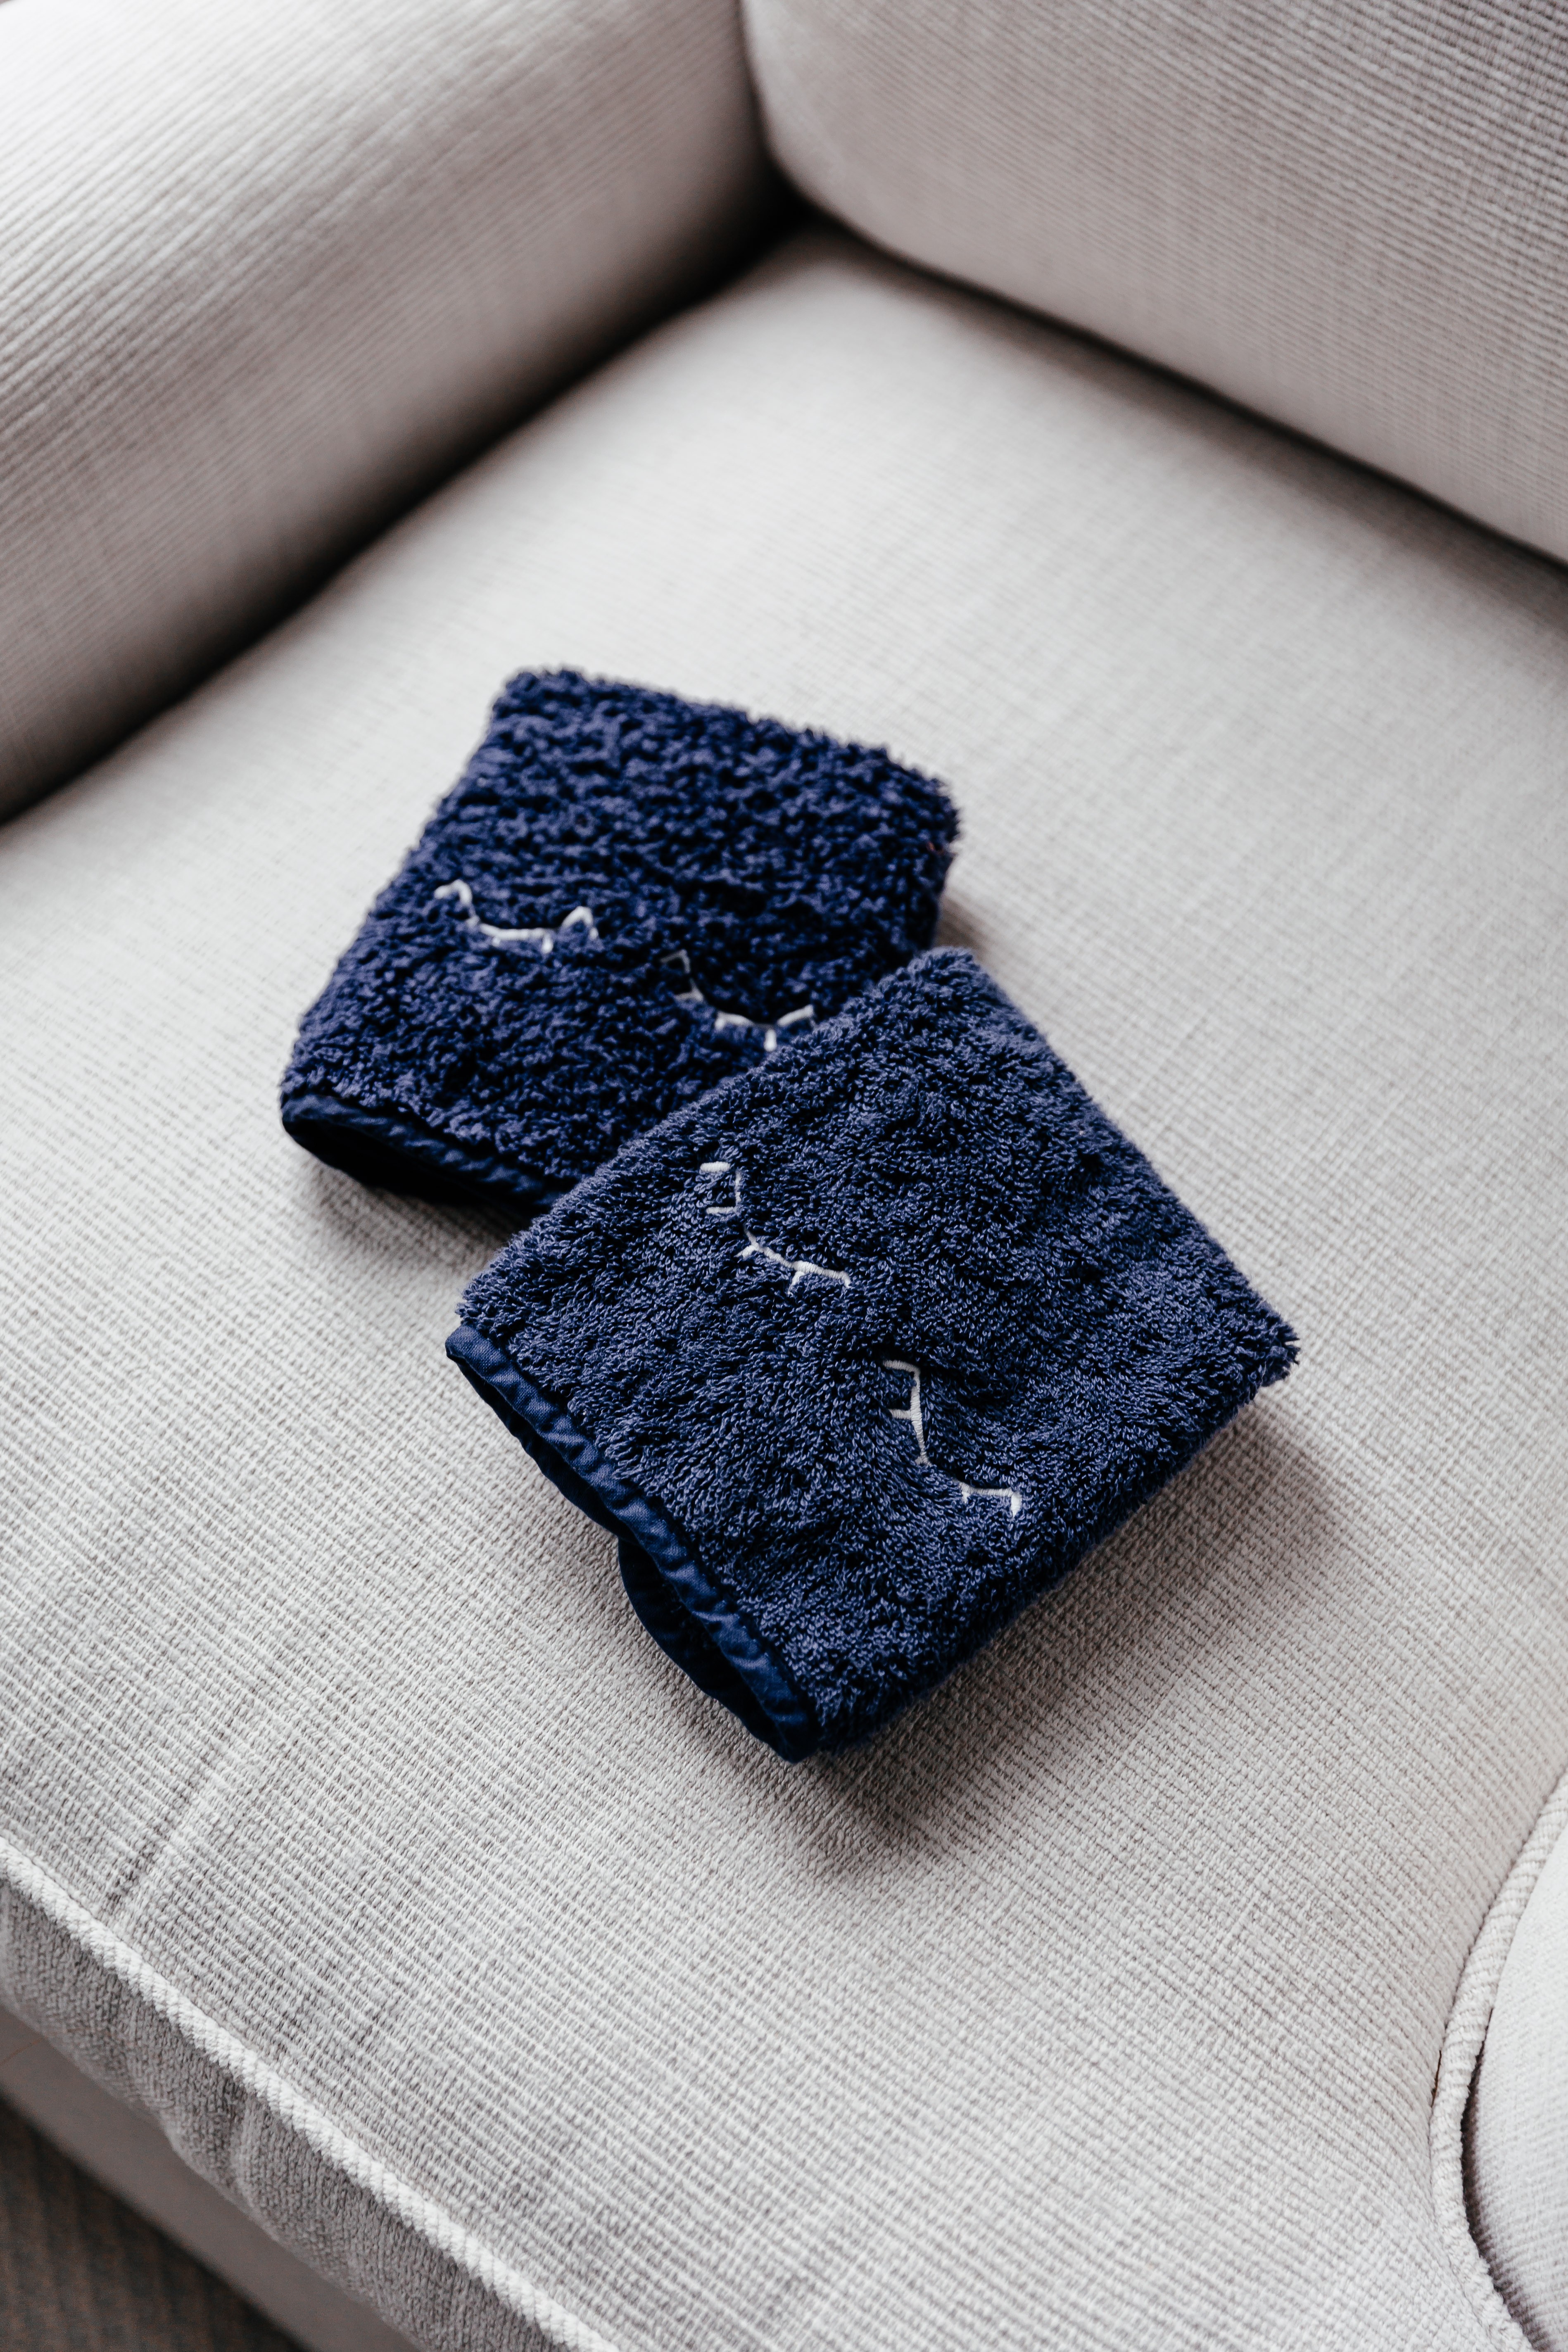
Weezie, named after one of the founders grandmothers, is a brand new line of super absorbent and hypoallergenic towels made from 100-percent organic cotton.  The founders, Lindsey and Liz, founded the company after finding themselves totally frustrated with the towel industry. The towels they wanted were too expensive and didn’t live up to their high-quality promise, and the towels they settled for were low quality and didn’t work either. So, they did their homework {Lindsey just graduated from Columbia with her masters in Business} and let me tell you, it definitely shows. My Weezie towels are the softest, most plush towels I have ever felt in my life & I am not exaggerating. They are the Taj Mahal of towels, and once you use one, I promise, you won’t go back. Order them plain, or choose from one of the 5 different colored piping and monogram styles the site offers. My personal favorite is the ‘prince’ style {shown above} but I also love the script – thinking this with the grey piping will be perfect combination for our guest bathroom. There is definitely no going back to the ikea washcloths for me {or my guests!} Speaking of – Weezie also has these amazing little make up towels that are navy, so you never have to worry about ruining a nice white washcloth ever again! With their lower price point, these would make the best Christmas gifts for the women in your life. Sisters, moms, neighbors, teachers – they will not disappoint.

Oh, and I’ve saved the best part for last. I have a little discount code exclusive for Being Bridget readers! Use: LOVEYOURTOWELS for 10% off your entire order. Happy shopping!

Filed Under: Lifestyle

October 29, 2018

Heidi Braids tutorial

One of my favorite hairstyles to do is this heidi/milkmaid braided ‘up do.’  Although it looks complicated, it is actually so incredibly easy to do. I always get a kick out of people when they express their shock at me doing this myself, and since I always get lots of questions on how I throw this look together I thought I’d share a step by step tutorial with you guys.

All the tools you’ll need: Bobby pins // Smoothing Brush // Hair Brush {my favorite is the wet brush!} // Hair ties {you could also use these} // Hair Spray

First, separate your hair into two parts, left and right. Braid each side & secure with a hair tie.

Next, take the braid and pull it up and over the crown of your head. Secure with bobby pins. I like to put the pins in an x shape so that the braid is super secure. I also like to hide the bobby pins within the braid sometimes too so that they are less visible. If you have light colored hair this may be a better option for you.

Repeat to the other side and spray any flyaways with hairspray

And that’s it! Seriously the easiest hairstyle in all of history – takes two seconds and always looks good. Try it out for yourself and let me know in the comments if you do!

Top: Mi Golondrina // Jeans: Old, similar here // Necklace: Shashi // Desk: West Elm // Chair: Amazon // Pillow: Old

photos: The Retro Penguin

Filed Under: Beauty

October 25, 2018

Start with a Sketch | Custom Gown Process

If you remember from two years ago, Nardos created three custom dresses for my wedding weekend. I had never designed a dress from scratch before {let alone three} and the process was fascinating, intimidating and amazing all at once. There were moments of stress with questions torturing my overwhelmed bride brain like, which lace!? will the fit ever be right?! what if I don’t like what I’ve designed when it’s already too late? But I realized, more than anything, that I needed to trust my design, the process, and I needed to trust Nardos. Because in the end, she and her team are extremely talented, and they will not rest until you are happy.

The dresses from my wedding weekend ended up being some of the most incredible and beautiful that I have ever seen {biased much?} The fit was incredible, the designs were unique and they made me feel so, so special.  And that’s exactly how you should feel on your wedding day! It’s your weekend! Your moment to shine. The dress design process was something I’d do once for the most special occasion of my life, and that’d be it.

….but Nardos and I had too much fun together. And because I still get multiple questions a week from you guys asking what the design process was like, and how working with Nardos was, we both decided it was time to go back to the sketchpad again. With my wedding dresses, I didn’t want to share the process with anyone because I wanted my dresses to be a complete surprise. But with this dress, I plan to share the good, the bad and the ugly {if that exists!} Everything from my inspiration {below!} to the fittings and final touches. I want to give you a behind the scenes look at what it’s like to design a custom dress with Nardos Design.

The first thing you do when you meet with Nardos is talk through ideas. Nardos will arrive with a pad of papers and be sketching your ideas as they roll out of your mouth{s} often adding touches she thinks might enhance the style or design. Don’t worry if you aren’t super creative – Nardos is great about asking the right questions – what body part do you like to enhance? hide? what colors do you like? What length do you typically Wear? What fabrics do you love? etc. For me, I came in with one solid idea, and one idea I came up with on the drive over.

The first {& more solid} idea I had was inspired by a mixture of the images below. I want a very structured, yet romantic black velvet gown with a little smidge of lace peeking out over the bust. I want the neckline to be square, and I want the sleeves to be either long, or 3/4 sleeved. I want the waist nipped in with a grosgrain ribbon belt. Lastly, I wanted the gown to flare out ever so slightly. Not a full fish tail, no train, but a very slight, elegant flare out.

The images above were my inspiration for the neckline and waist up portion. I love the black velvet and neckline {minus the deep V} of the image on the far left. The image on the far right is inspiration for the corset style tightness that I think would be really beautiful. I want the dress to have a slight Pride & Prejudice feel to it – super tight, slight cleavage, and a tiny waist. The images in the middle are inspiration for the lace I want peeking above the bosom. I think this will add a really pretty romanticism to the dress and soften it a little.

The image below is inspiration for the waist and bosom as well – do you see how the top of the jumpsuit is so fitted it makes her waist look tiny? I also love that this jumpsuit is using a tone on tone grosgrain ribbon at the waist.

I’m designing this gown for Christmas Eve dinner with my family which will be in Switzerland this year and is always black tie. With that being said, as the evening will be spent in  home {vs. a fancy hotel or restaurant} I want to make sure the dress isn’t tooooo over the top. I want it understated and elegant. I pulled the images below as inspiration for the bottom of the gown. I love the verrrry slight flare out of the dress – nothing too dramatic or over the top. Just simple, elegant and understated. Exactly what I’m looking for.

Ok, so now for my second {less formulated} idea. If you scroll all the way back up you will see the beginnings of what I had in mind. As I was describing the idea to Nardos, I looked over her shoulder and spotted the dress below. It was almost exactly what I had in my head – albeit the one I was describing had sleeves. We stopped sketching, got up, and I put the dress on. It was stunning. Everything from the color to the fabric was perfection. Nardos even took an overlay off another dress in the salon and laid it on top. We were both smitten. It was a little too over the top for what I was looking for for my Christmas dinner, but I might make it work for a black tie event I have at the end of January 😉

So, that’s it so far! I think Nardos and I both settled on the black velvet gown. She is going to create a mock up of the dress is muslin first. Muslin is just a plain, inexpensive material that dress makers use to get measurements and design correct before going forward and using the more expensive fabric that the dresses will end up in. See my muslin mock up from my wedding dress here! I will of course share that part of the process as well once it happens! I can’t wait to share this journey with you all – if you have any questions at all fell free to leave them in the comments! x

Filed Under: Fashion

October 23, 2018

How to Wear a Pop of Color

Coat: Anne Vest Berri Coat {look for less here & here} // Top: Sold out, similar here // Jeans: Jean Atelier {look for less here} // Shoes: Steve Madden Daisie pump // Sunglasses: Celine // Bag: Celine

The easiest way to incorporate a bright pop of color into your wardrobe is to keep the rest of the outfit neutral. This will make sure the color really pops, and doesn’t conflict with anything else you are wearing. I love how the light blue of the jeans and the white bodysuit lay against the neon pink, and I love the subtleness of the nude handbag. If you’re feeling crazy, go ahead and add in other complementary colors – I love the pop of leopard paired here with the bright pink coat.

If bold & bright clothing isn’t your thing, fret not. Try adding color in other ways! A bright pair of shoes or bag, bright red nails are all fun, or even hot pink lipstick – all of these are easy {and more subtle!} ways to add a little color to your life 🙂

Would you wear neon? What do you think of this ‘trend’? Let me know in the comments!

photos: The Retro Penguin

Filed Under: Fashion

« Previous Page
Next Page »
  • Bloglovin
  • Email
  • Instagram
  • Pinterest
  • Twitter

FALL FAVS

SHOE FAVS

SHOP MY FAVORITES

AMAZON
ANN TAYLOR
ASOS
JCREW
NEIMAN MARCUS
NET-A-PORTER
NASTY GAL
NORDSTROM
ONE KINGS LANE
REVOLVE CLOTHING
SHOPBOP
Follow

Archives

  • January 2025 (1)
  • September 2024 (1)
  • July 2024 (1)
  • June 2024 (2)
  • April 2024 (2)
  • March 2024 (2)
  • January 2024 (2)
  • November 2023 (2)
  • October 2023 (1)
  • September 2023 (1)
  • August 2023 (2)
  • June 2023 (1)
  • May 2023 (4)
  • April 2023 (3)
  • March 2023 (1)
  • January 2023 (4)
  • December 2022 (1)
  • November 2022 (2)
  • September 2022 (2)
  • August 2022 (3)
  • June 2022 (3)
  • May 2022 (2)
  • April 2022 (2)
  • March 2022 (6)
  • February 2022 (1)
  • January 2022 (2)
  • December 2021 (3)
  • November 2021 (5)
  • October 2021 (3)
  • September 2021 (1)
  • August 2021 (1)
  • July 2021 (1)
  • June 2021 (2)
  • May 2021 (3)
  • April 2021 (1)
  • February 2021 (1)
  • January 2021 (1)
  • November 2020 (3)
  • October 2020 (2)
  • August 2020 (3)
  • June 2020 (1)
  • May 2020 (1)
  • April 2020 (6)
  • March 2020 (2)
  • February 2020 (5)
  • January 2020 (6)
  • December 2019 (5)
  • November 2019 (5)
  • October 2019 (6)
  • September 2019 (3)
  • August 2019 (1)
  • July 2019 (3)
  • June 2019 (6)
  • May 2019 (9)
  • April 2019 (9)
  • March 2019 (7)
  • February 2019 (11)
  • January 2019 (8)
  • December 2018 (6)
  • November 2018 (16)
  • October 2018 (12)
  • September 2018 (6)
  • August 2018 (6)
  • July 2018 (11)
  • June 2018 (11)
  • May 2018 (10)
  • April 2018 (12)
  • March 2018 (7)
  • February 2018 (14)
  • December 2017 (11)
  • November 2017 (13)
  • October 2017 (13)
  • September 2017 (6)
  • August 2017 (6)
  • July 2017 (2)
  • June 2017 (2)
  • May 2017 (5)
  • April 2017 (6)
  • March 2017 (9)
  • February 2017 (16)
  • January 2017 (12)
  • November 2016 (8)
  • September 2016 (5)
  • August 2016 (9)
  • July 2016 (13)
  • June 2016 (14)
  • May 2016 (13)
  • April 2016 (15)
  • March 2016 (16)
  • February 2016 (15)
  • January 2016 (17)
  • December 2015 (15)
  • November 2015 (23)
  • October 2015 (8)
  • September 2015 (4)
  • August 2015 (7)
  • July 2015 (10)
  • June 2015 (3)
  • May 2015 (5)
  • November 2014 (7)
  • October 2014 (6)
  • September 2014 (2)
  • August 2014 (8)

Copyright © 2025 · Being Bridget