• Home
  • About
  • Fashion
  • Beauty
  • Lifestyle
  • SHOP
    • SHOP MY INSTAGRAM
    • BABY
    • BEAUTY
    • HOME
    • MAMA
    • NURSERY
    • WEDDING
  • Contact

Being Bridget

September 6, 2018

The Only Jean I Need for Fall

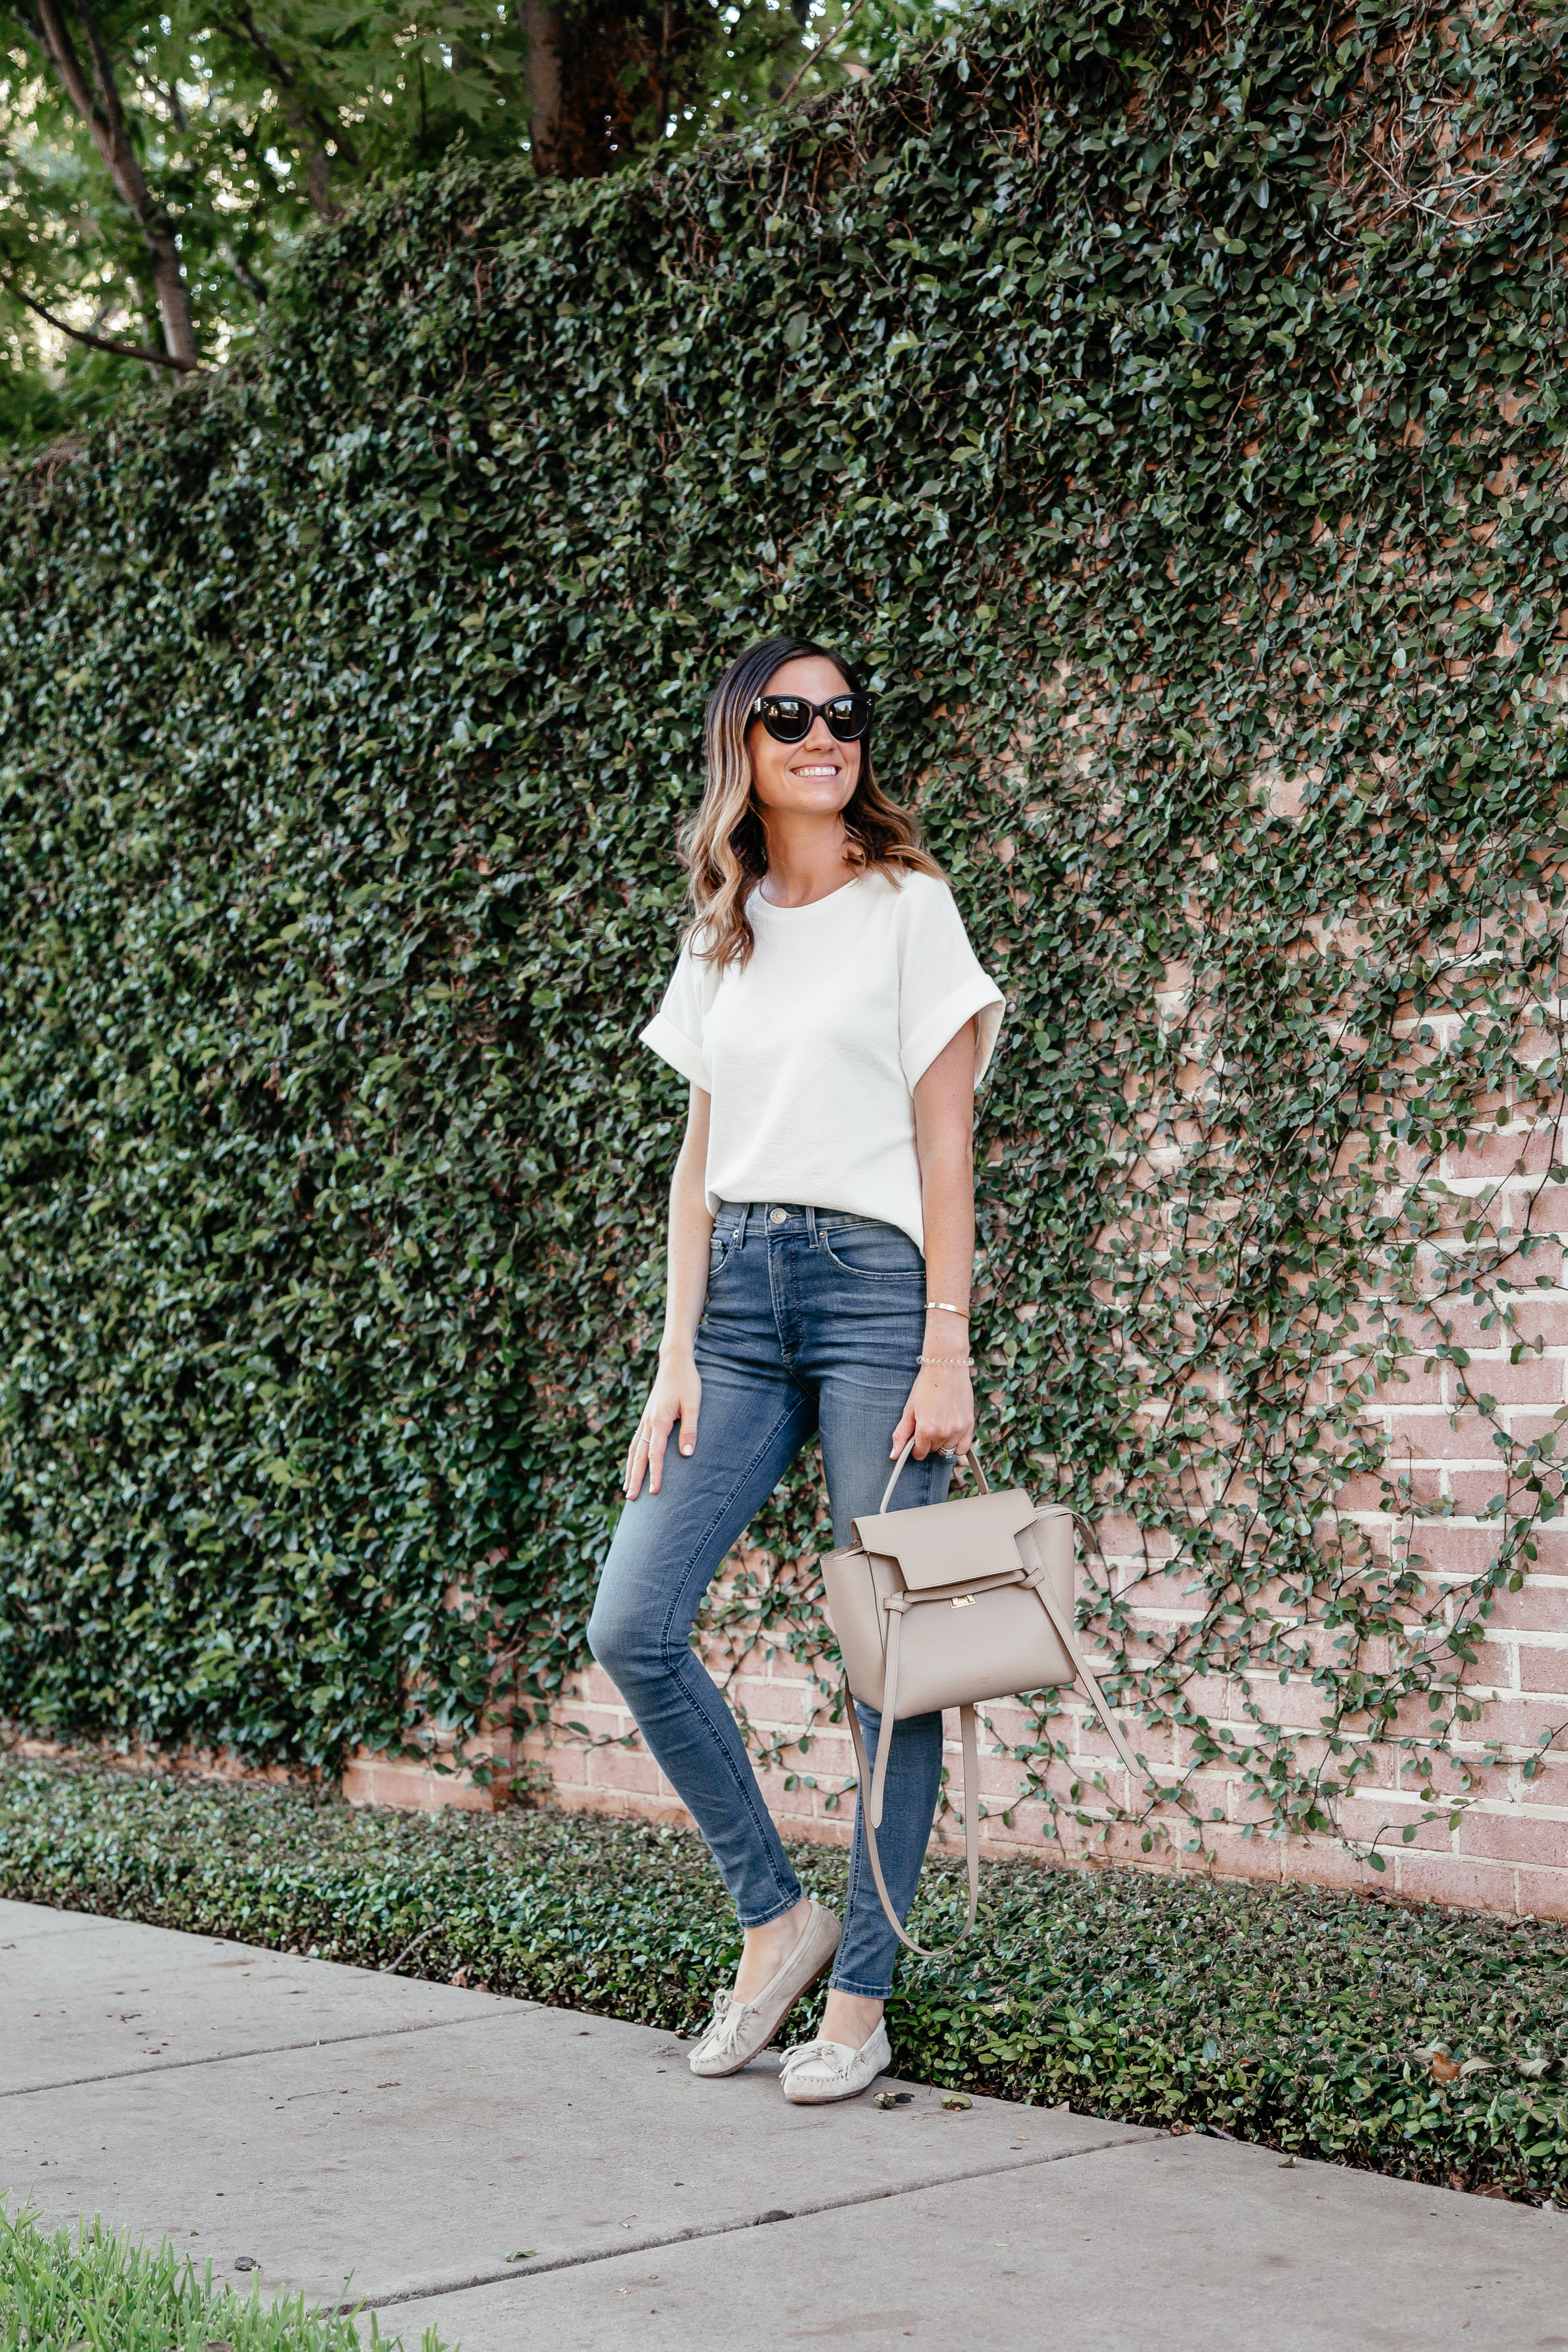
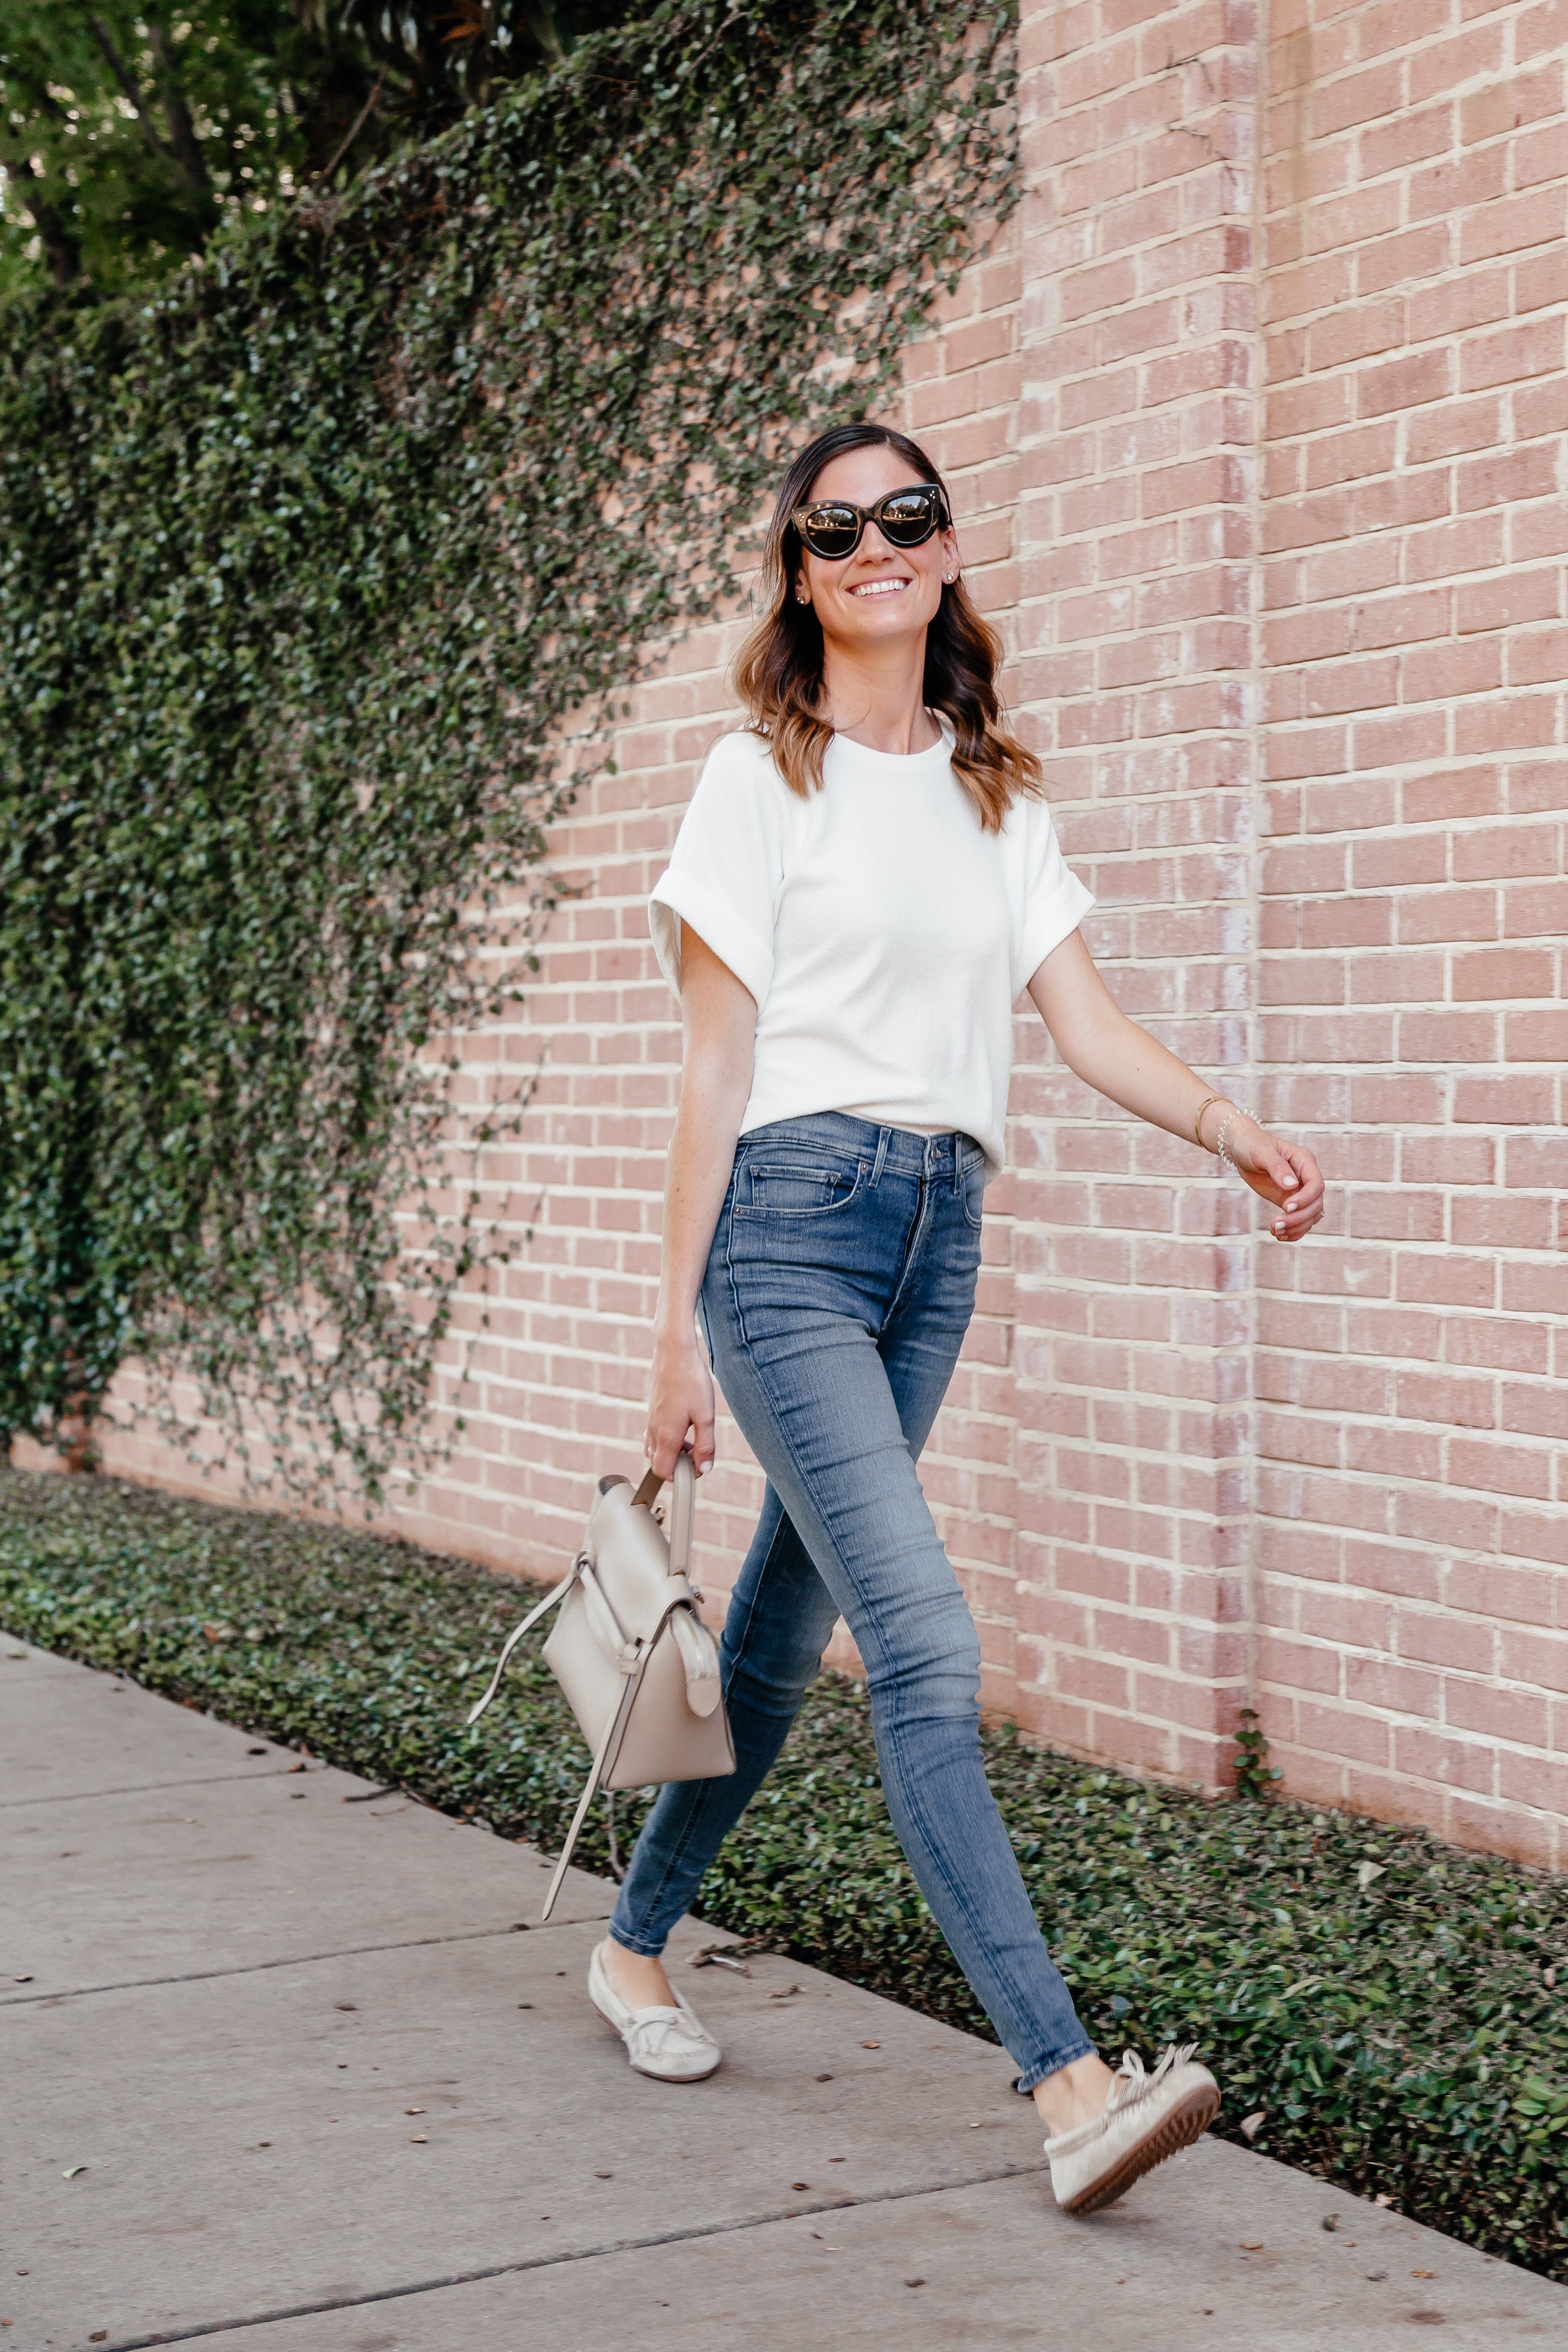
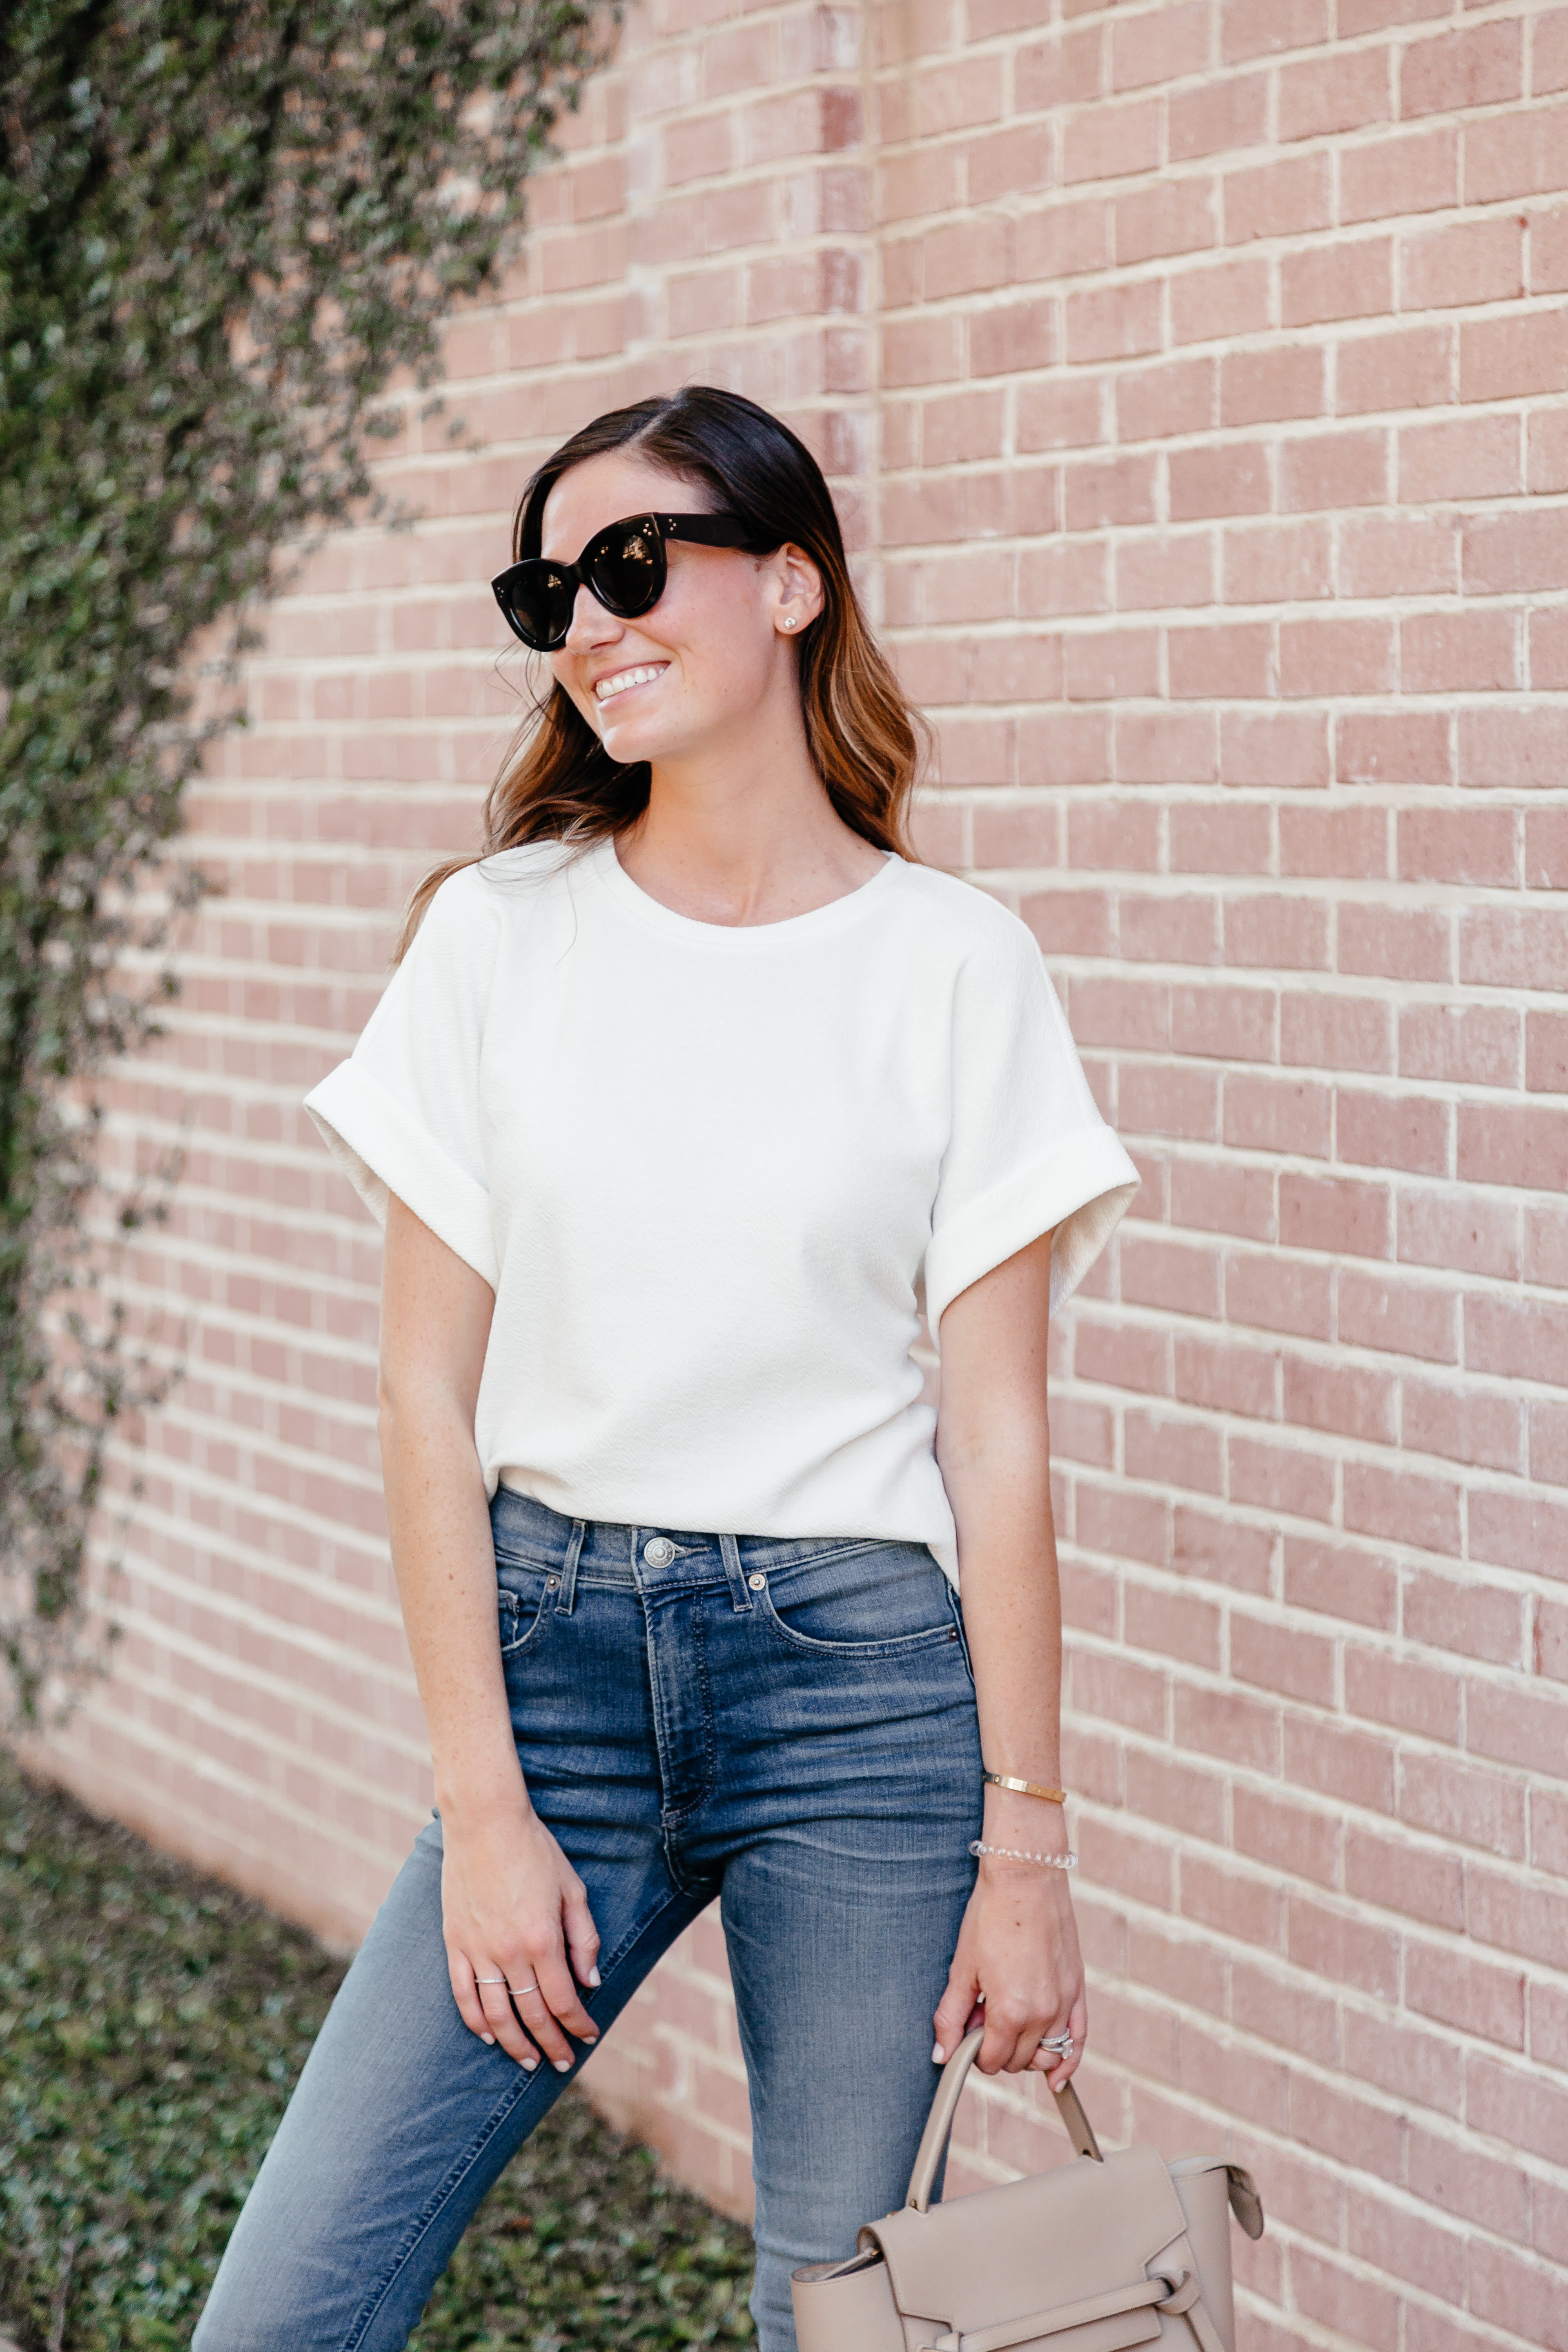
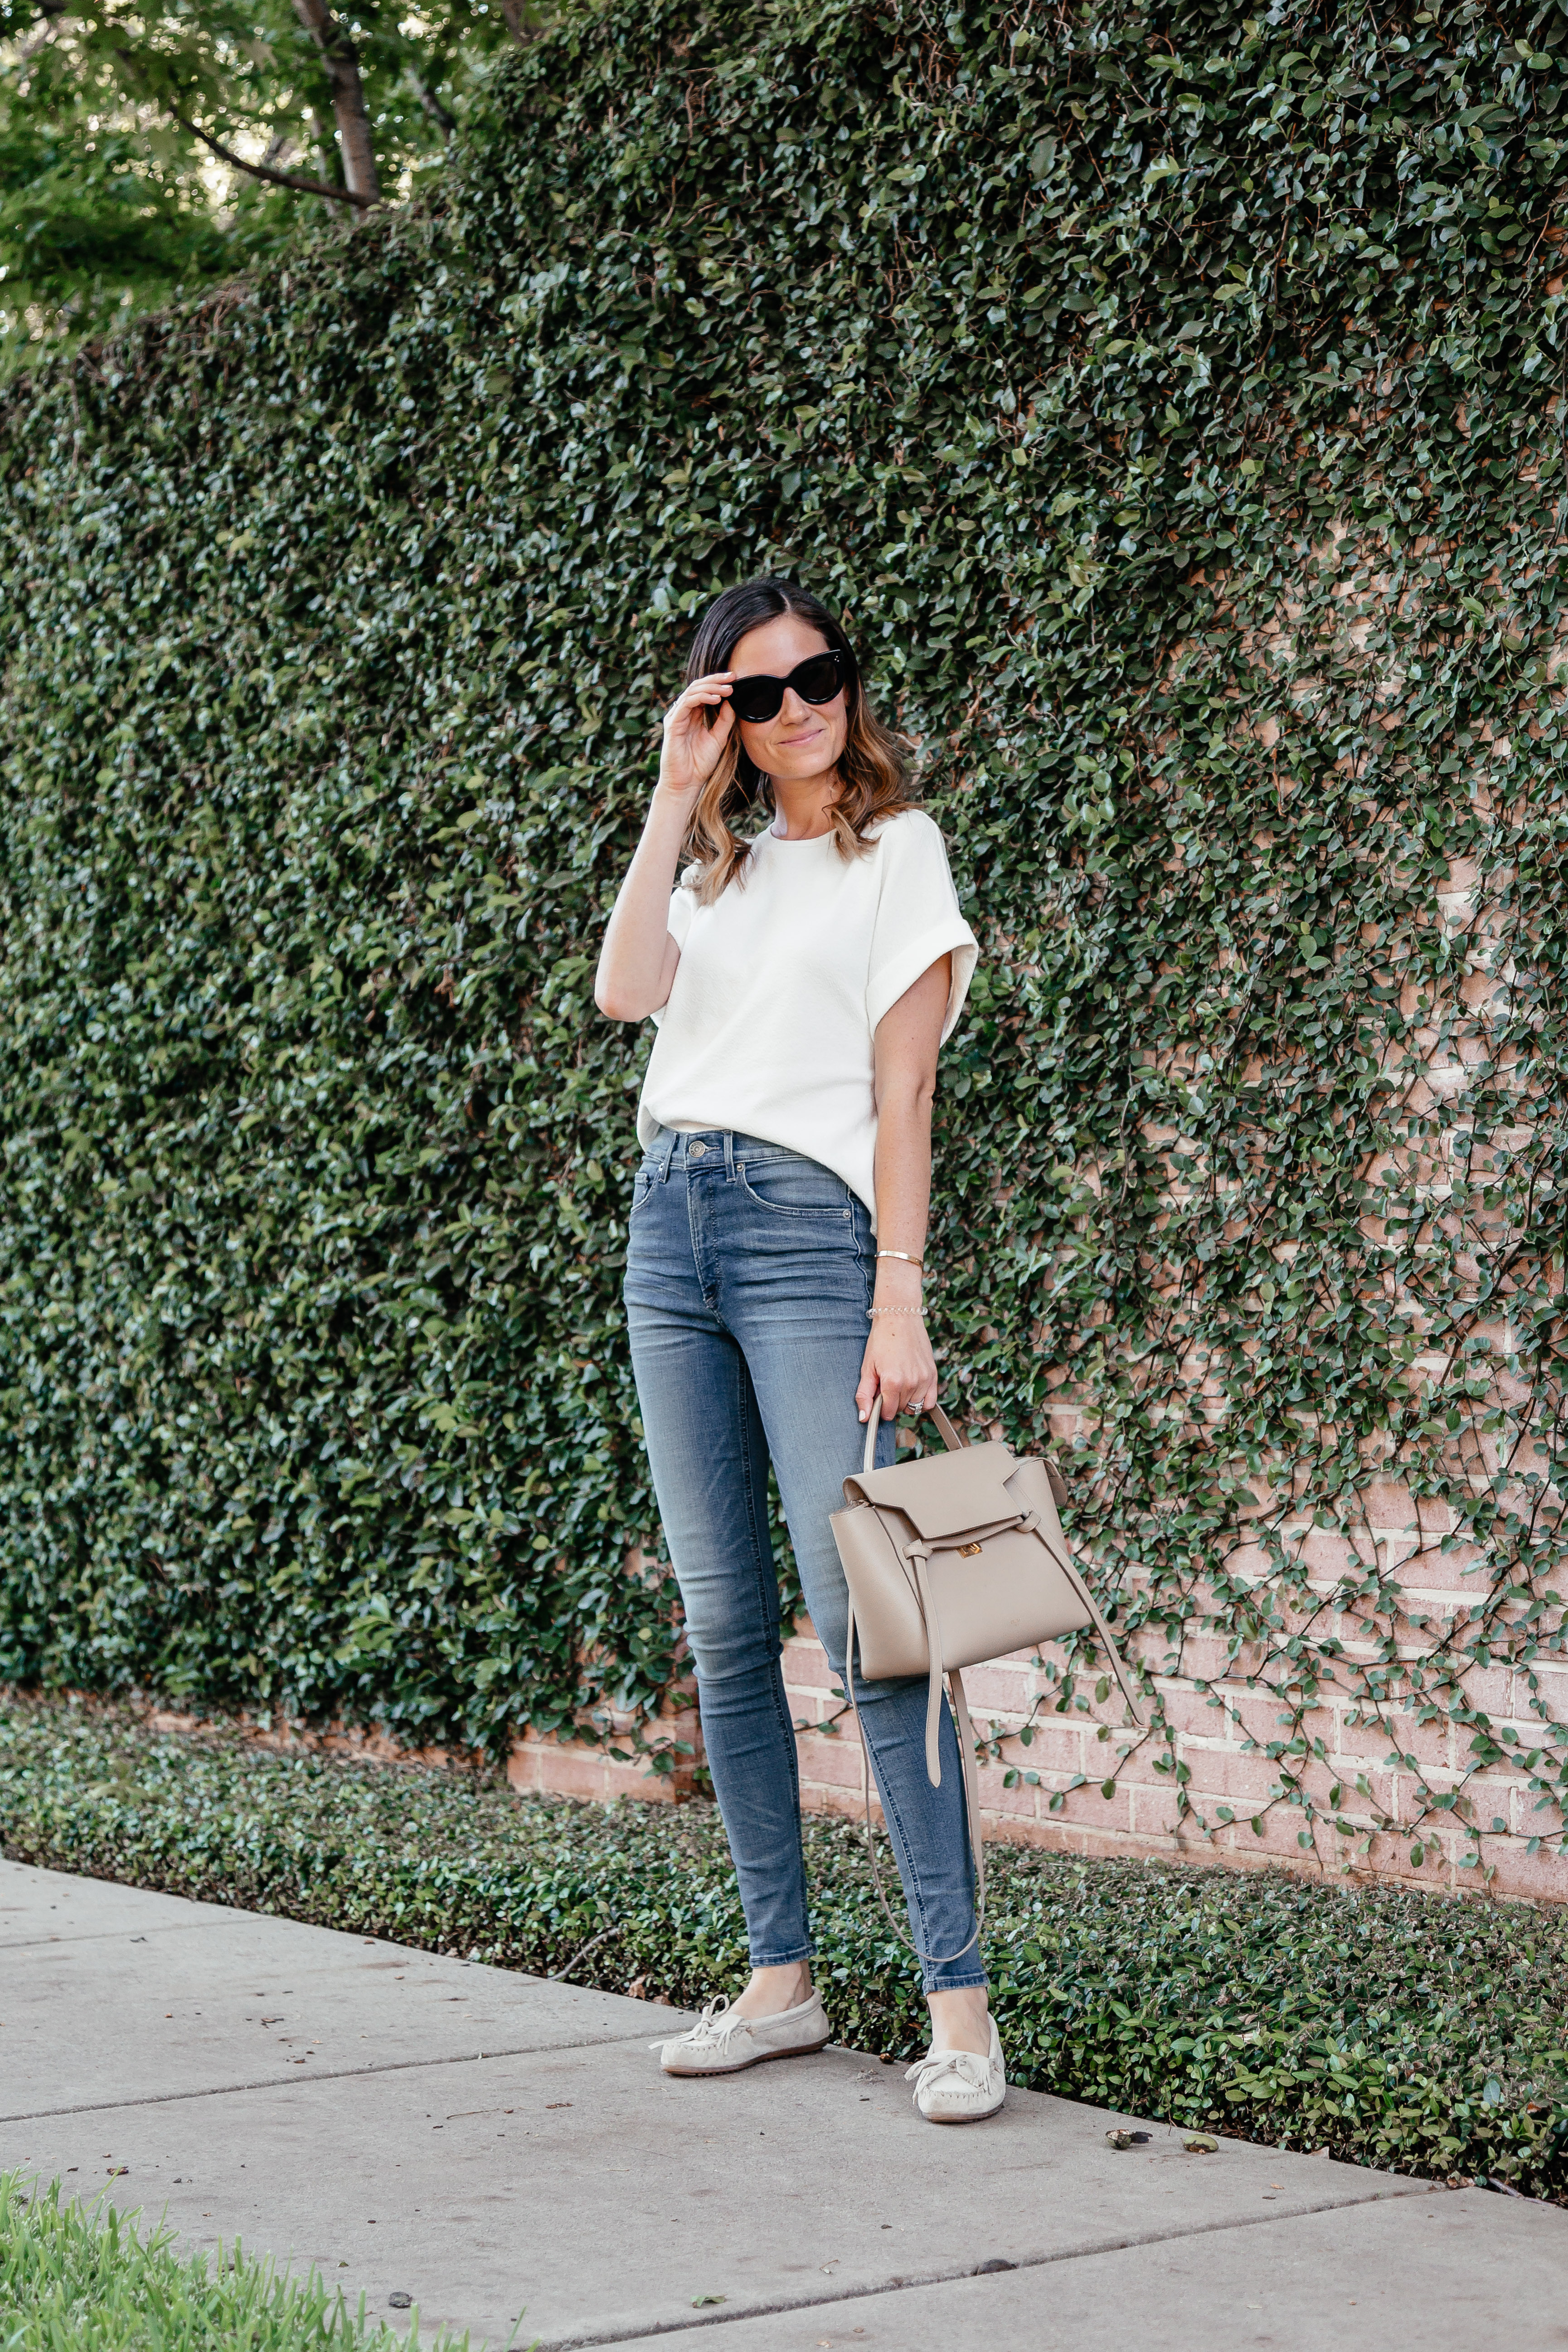
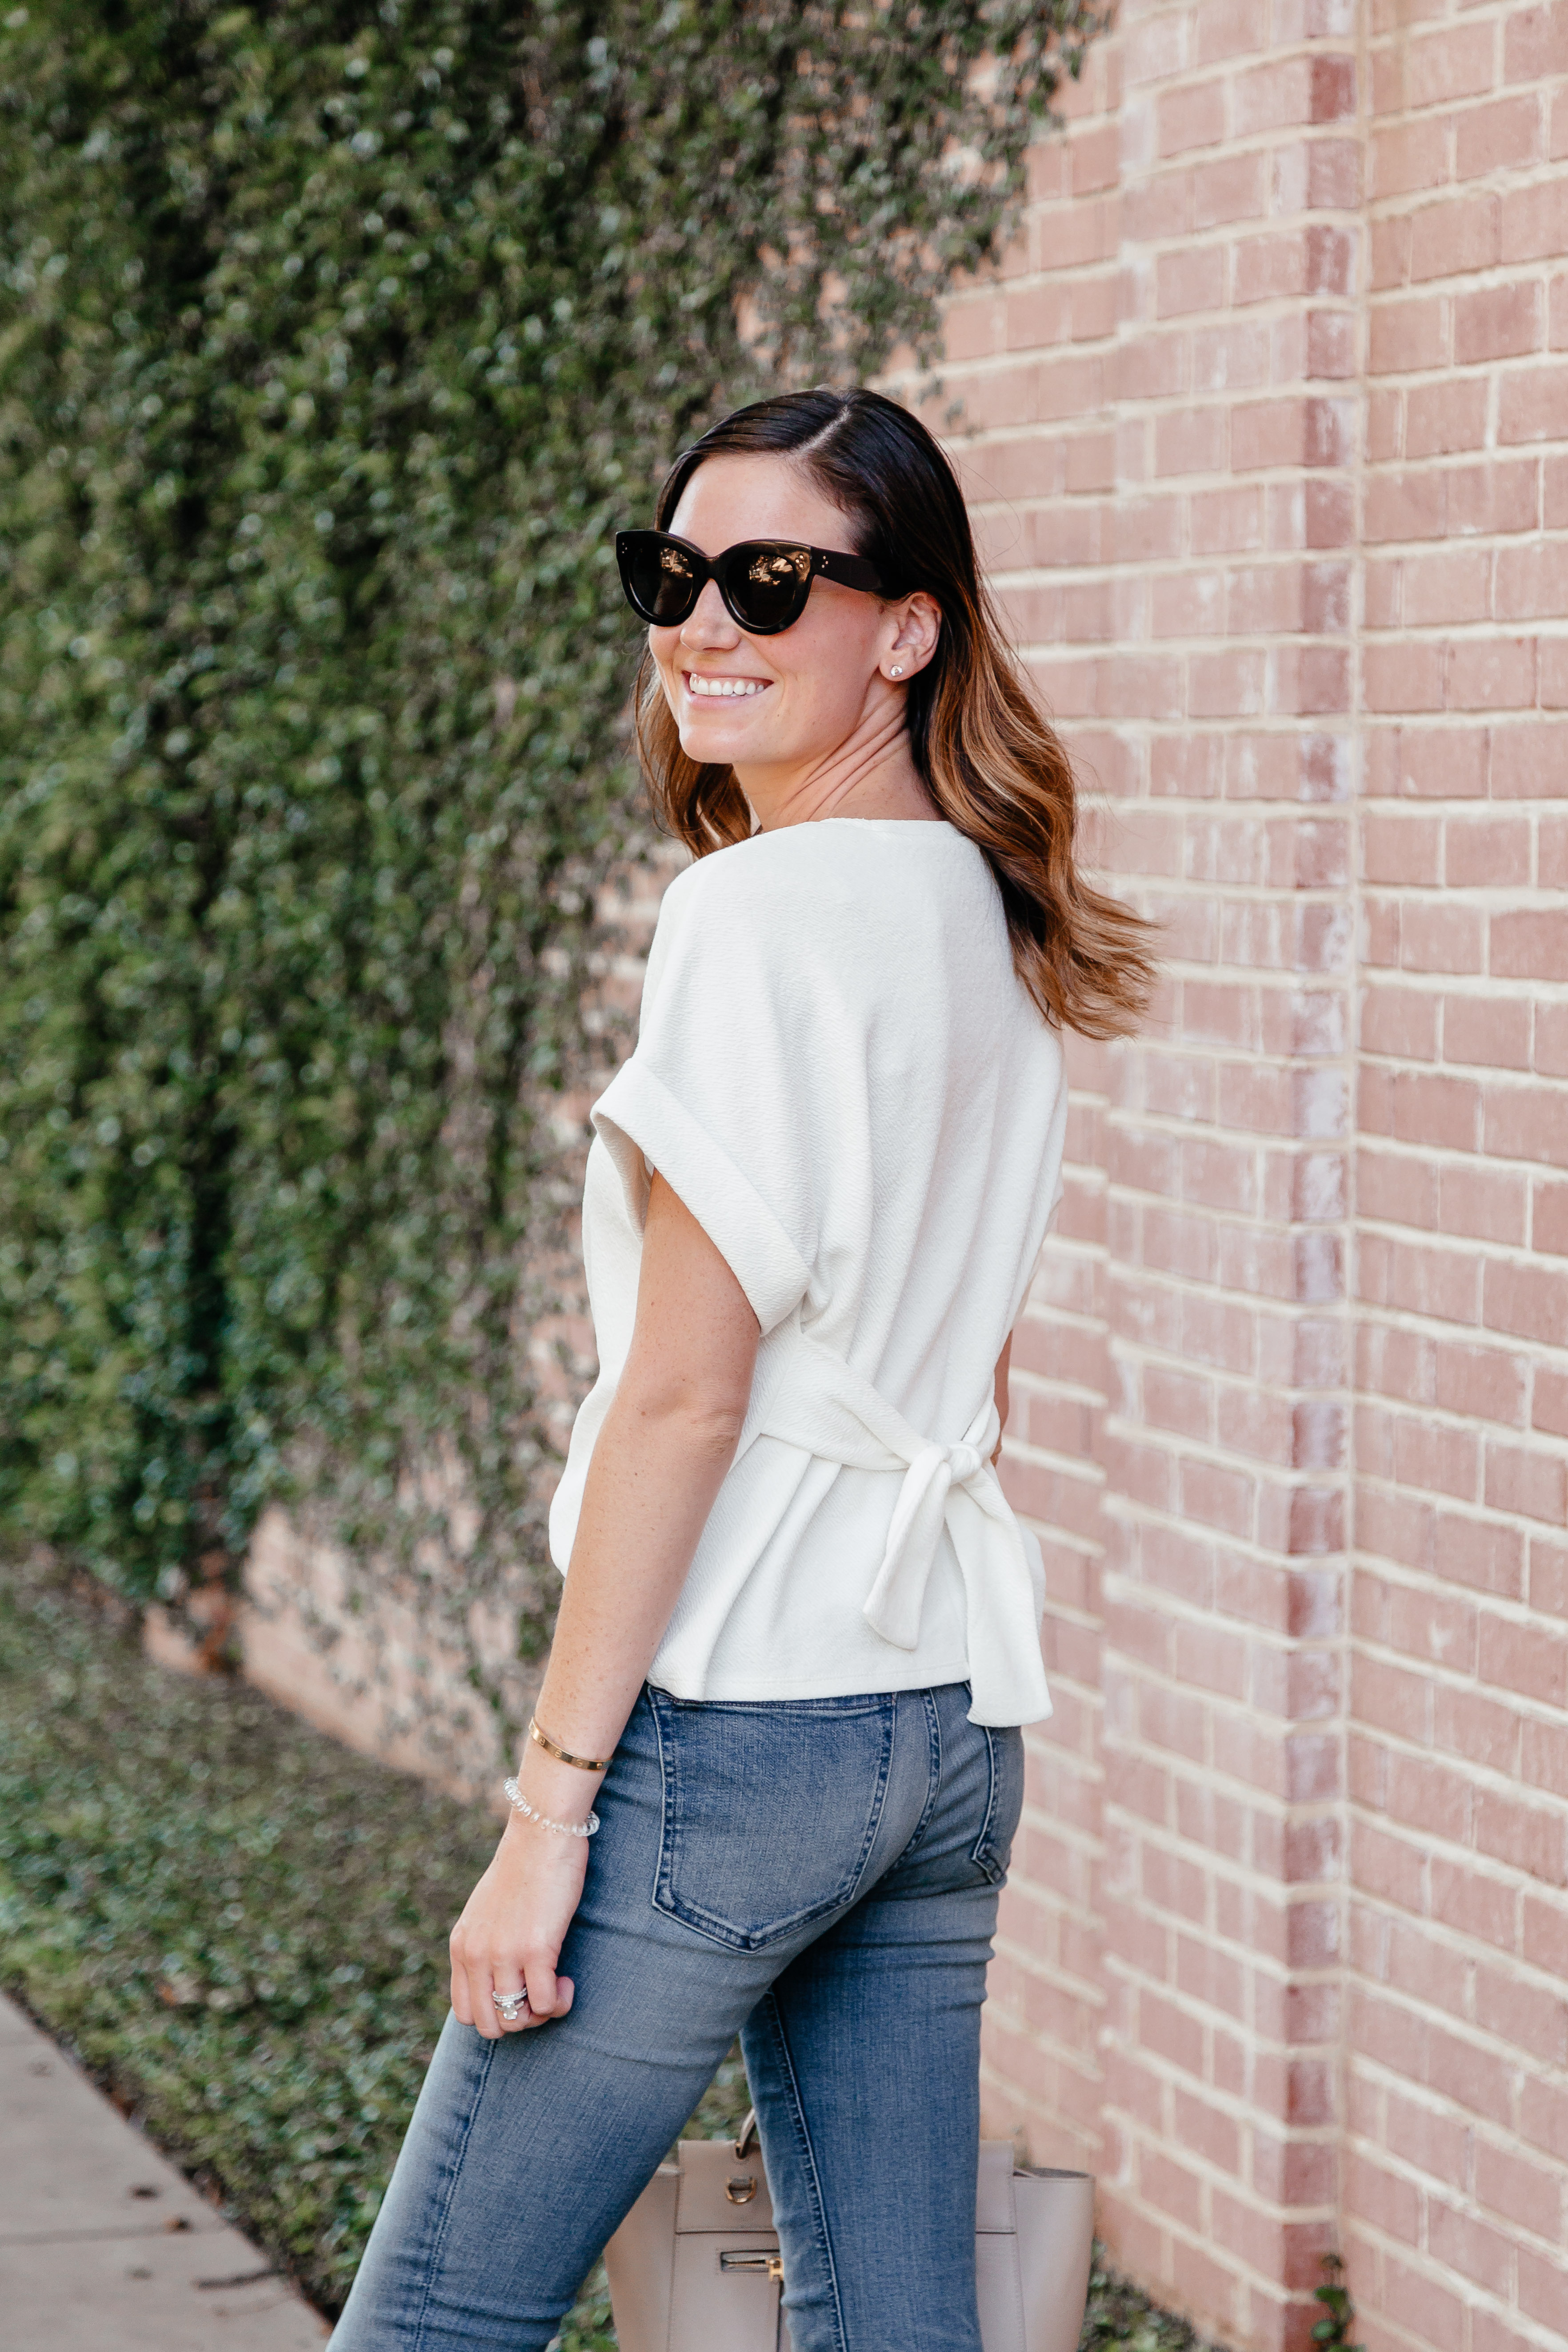
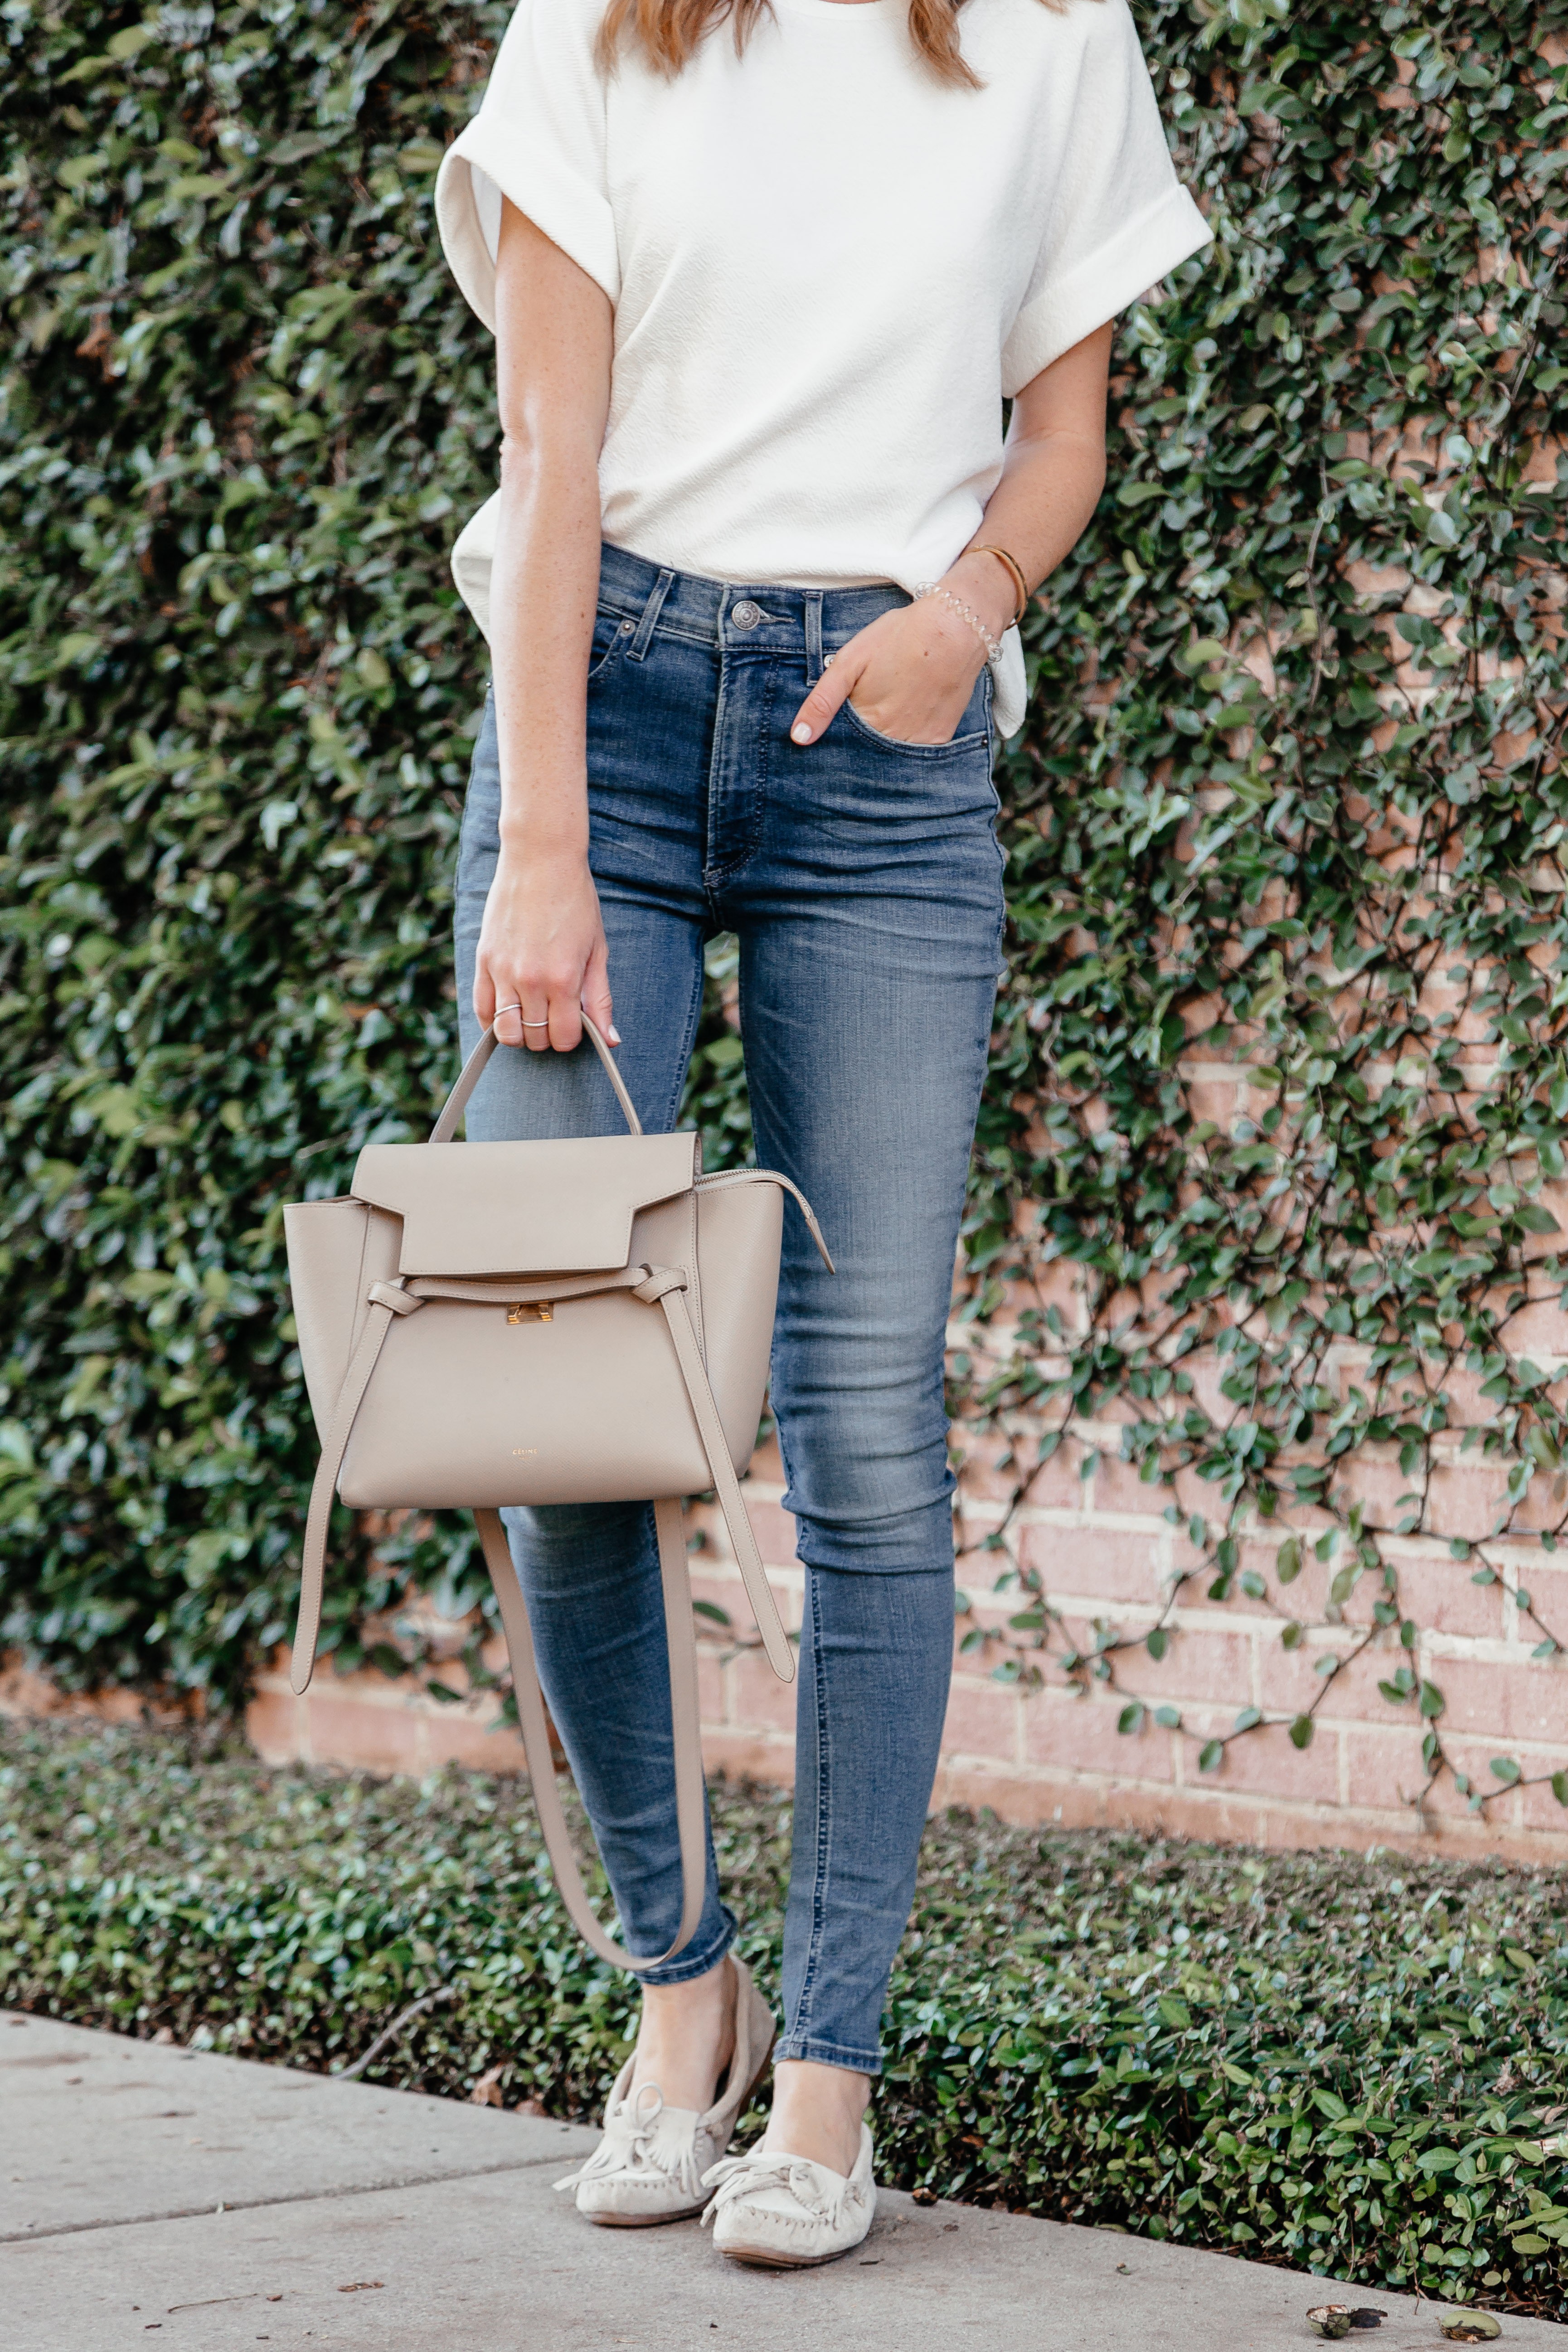
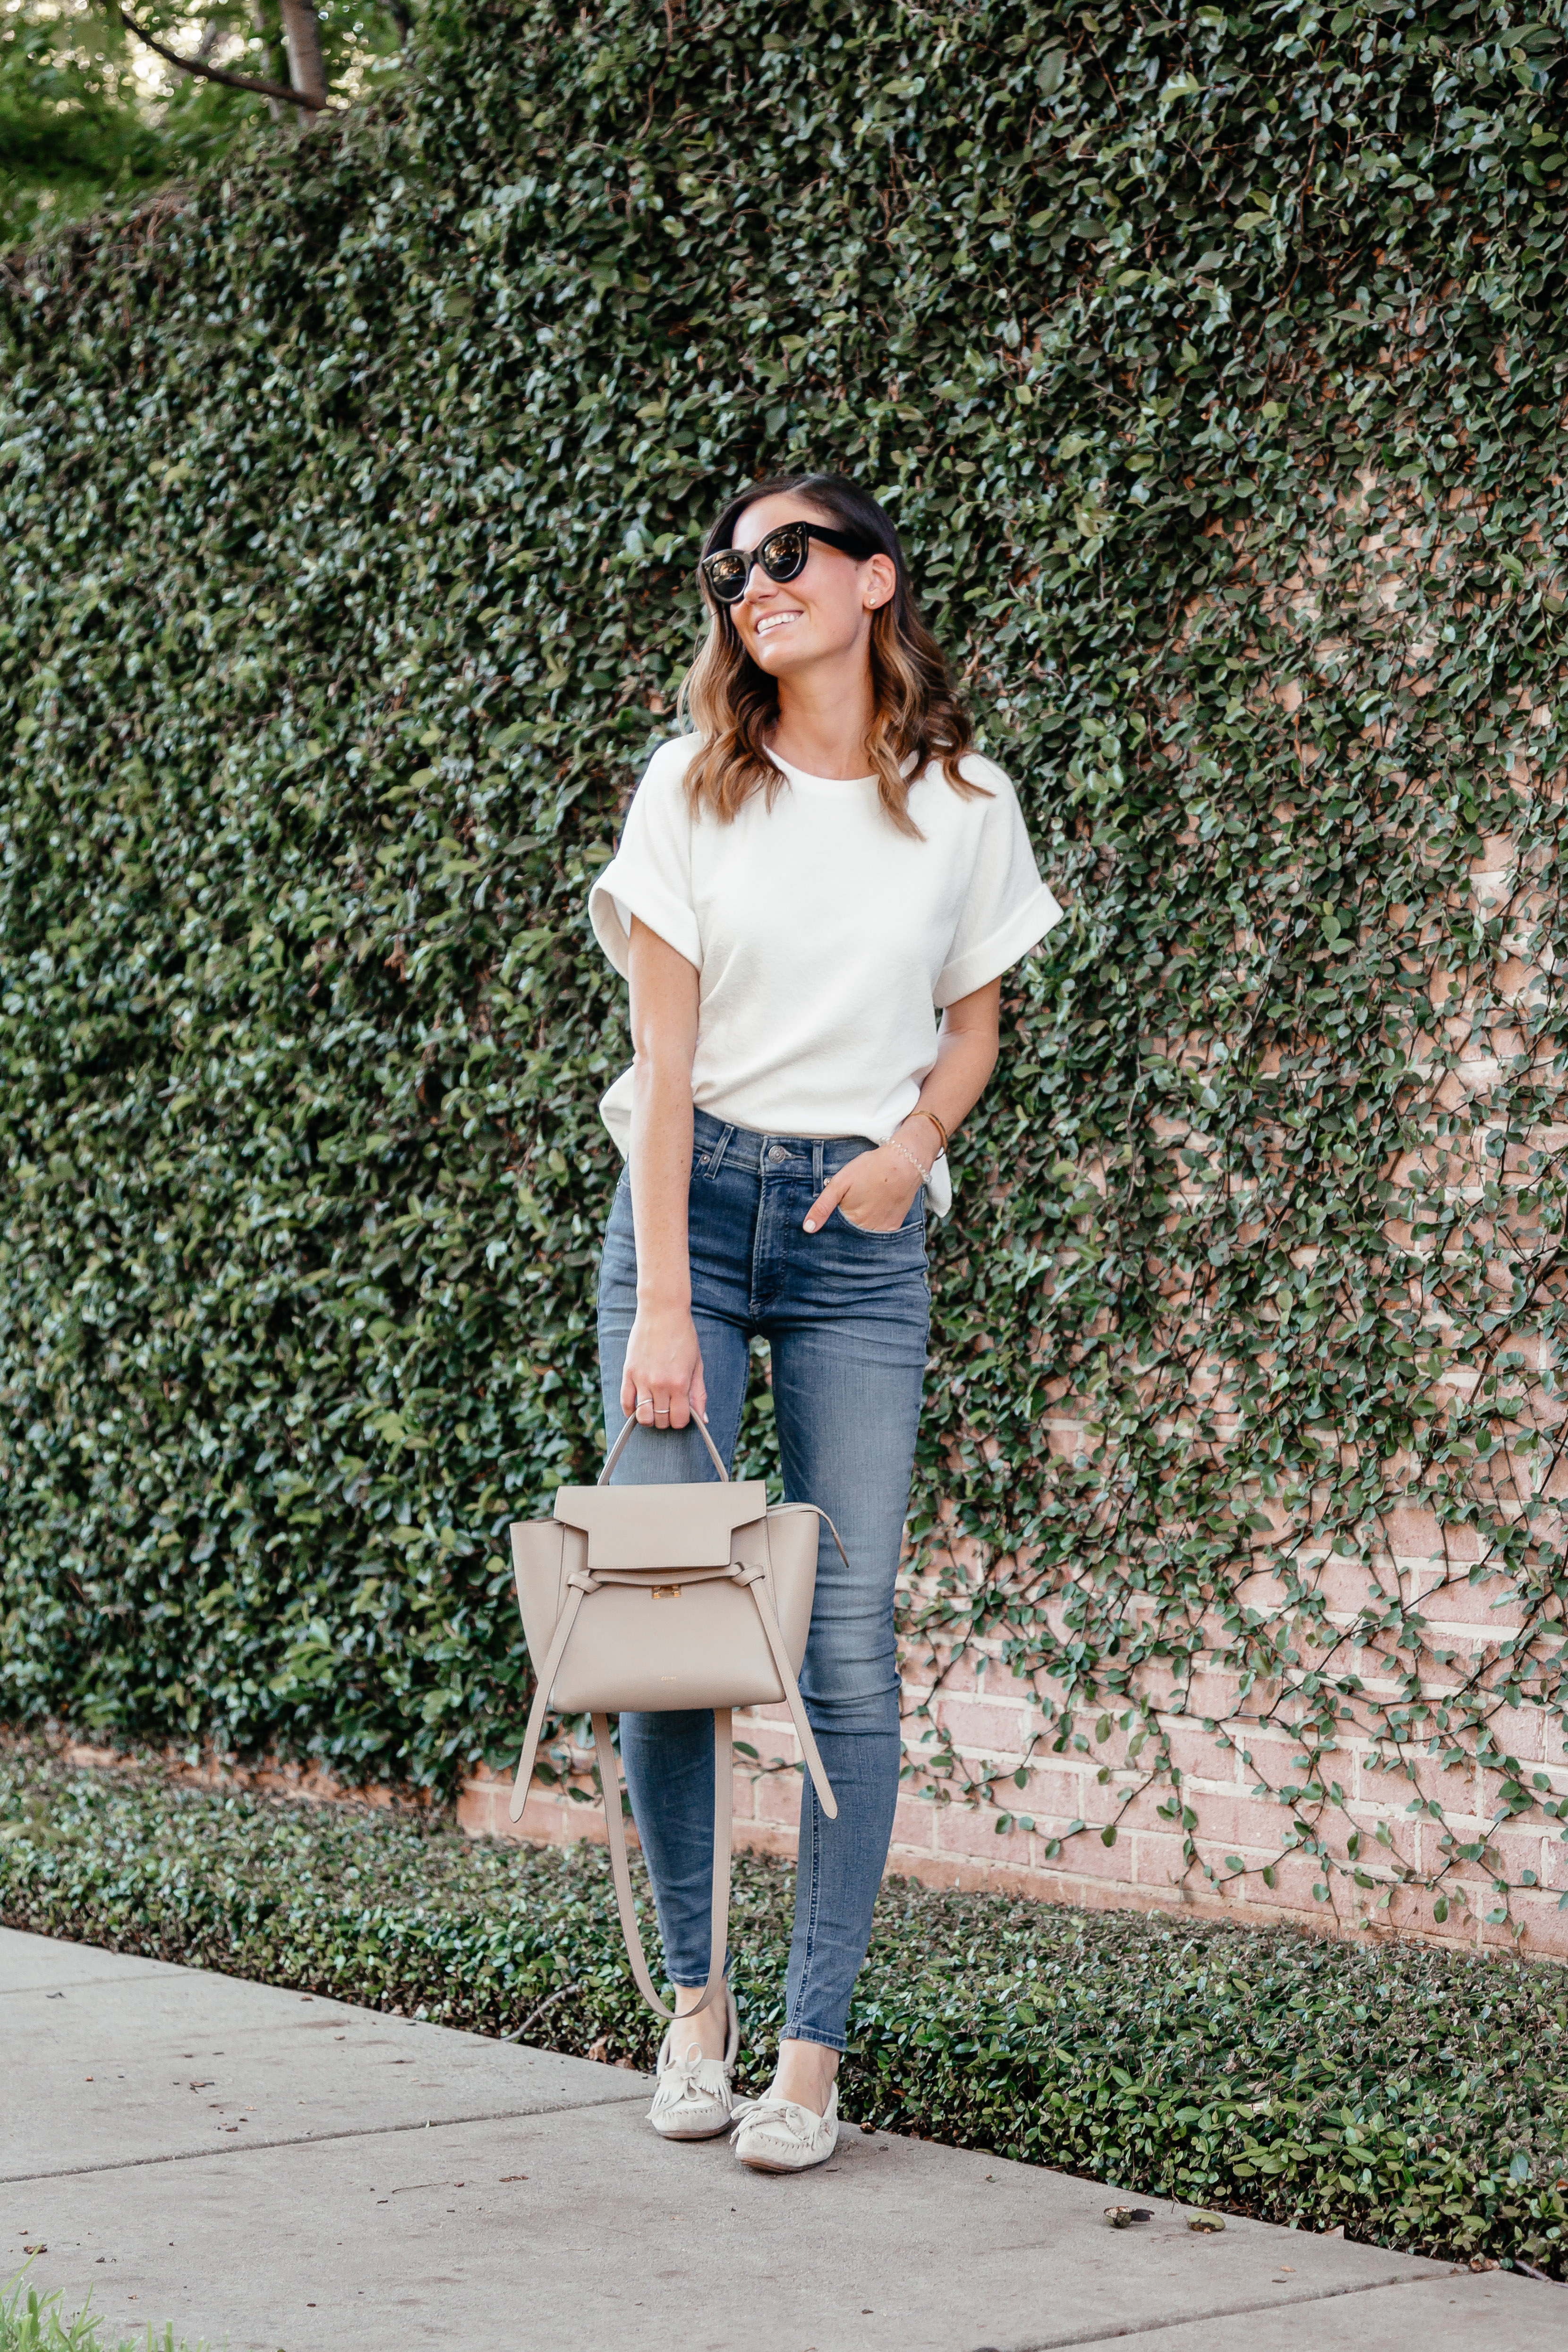
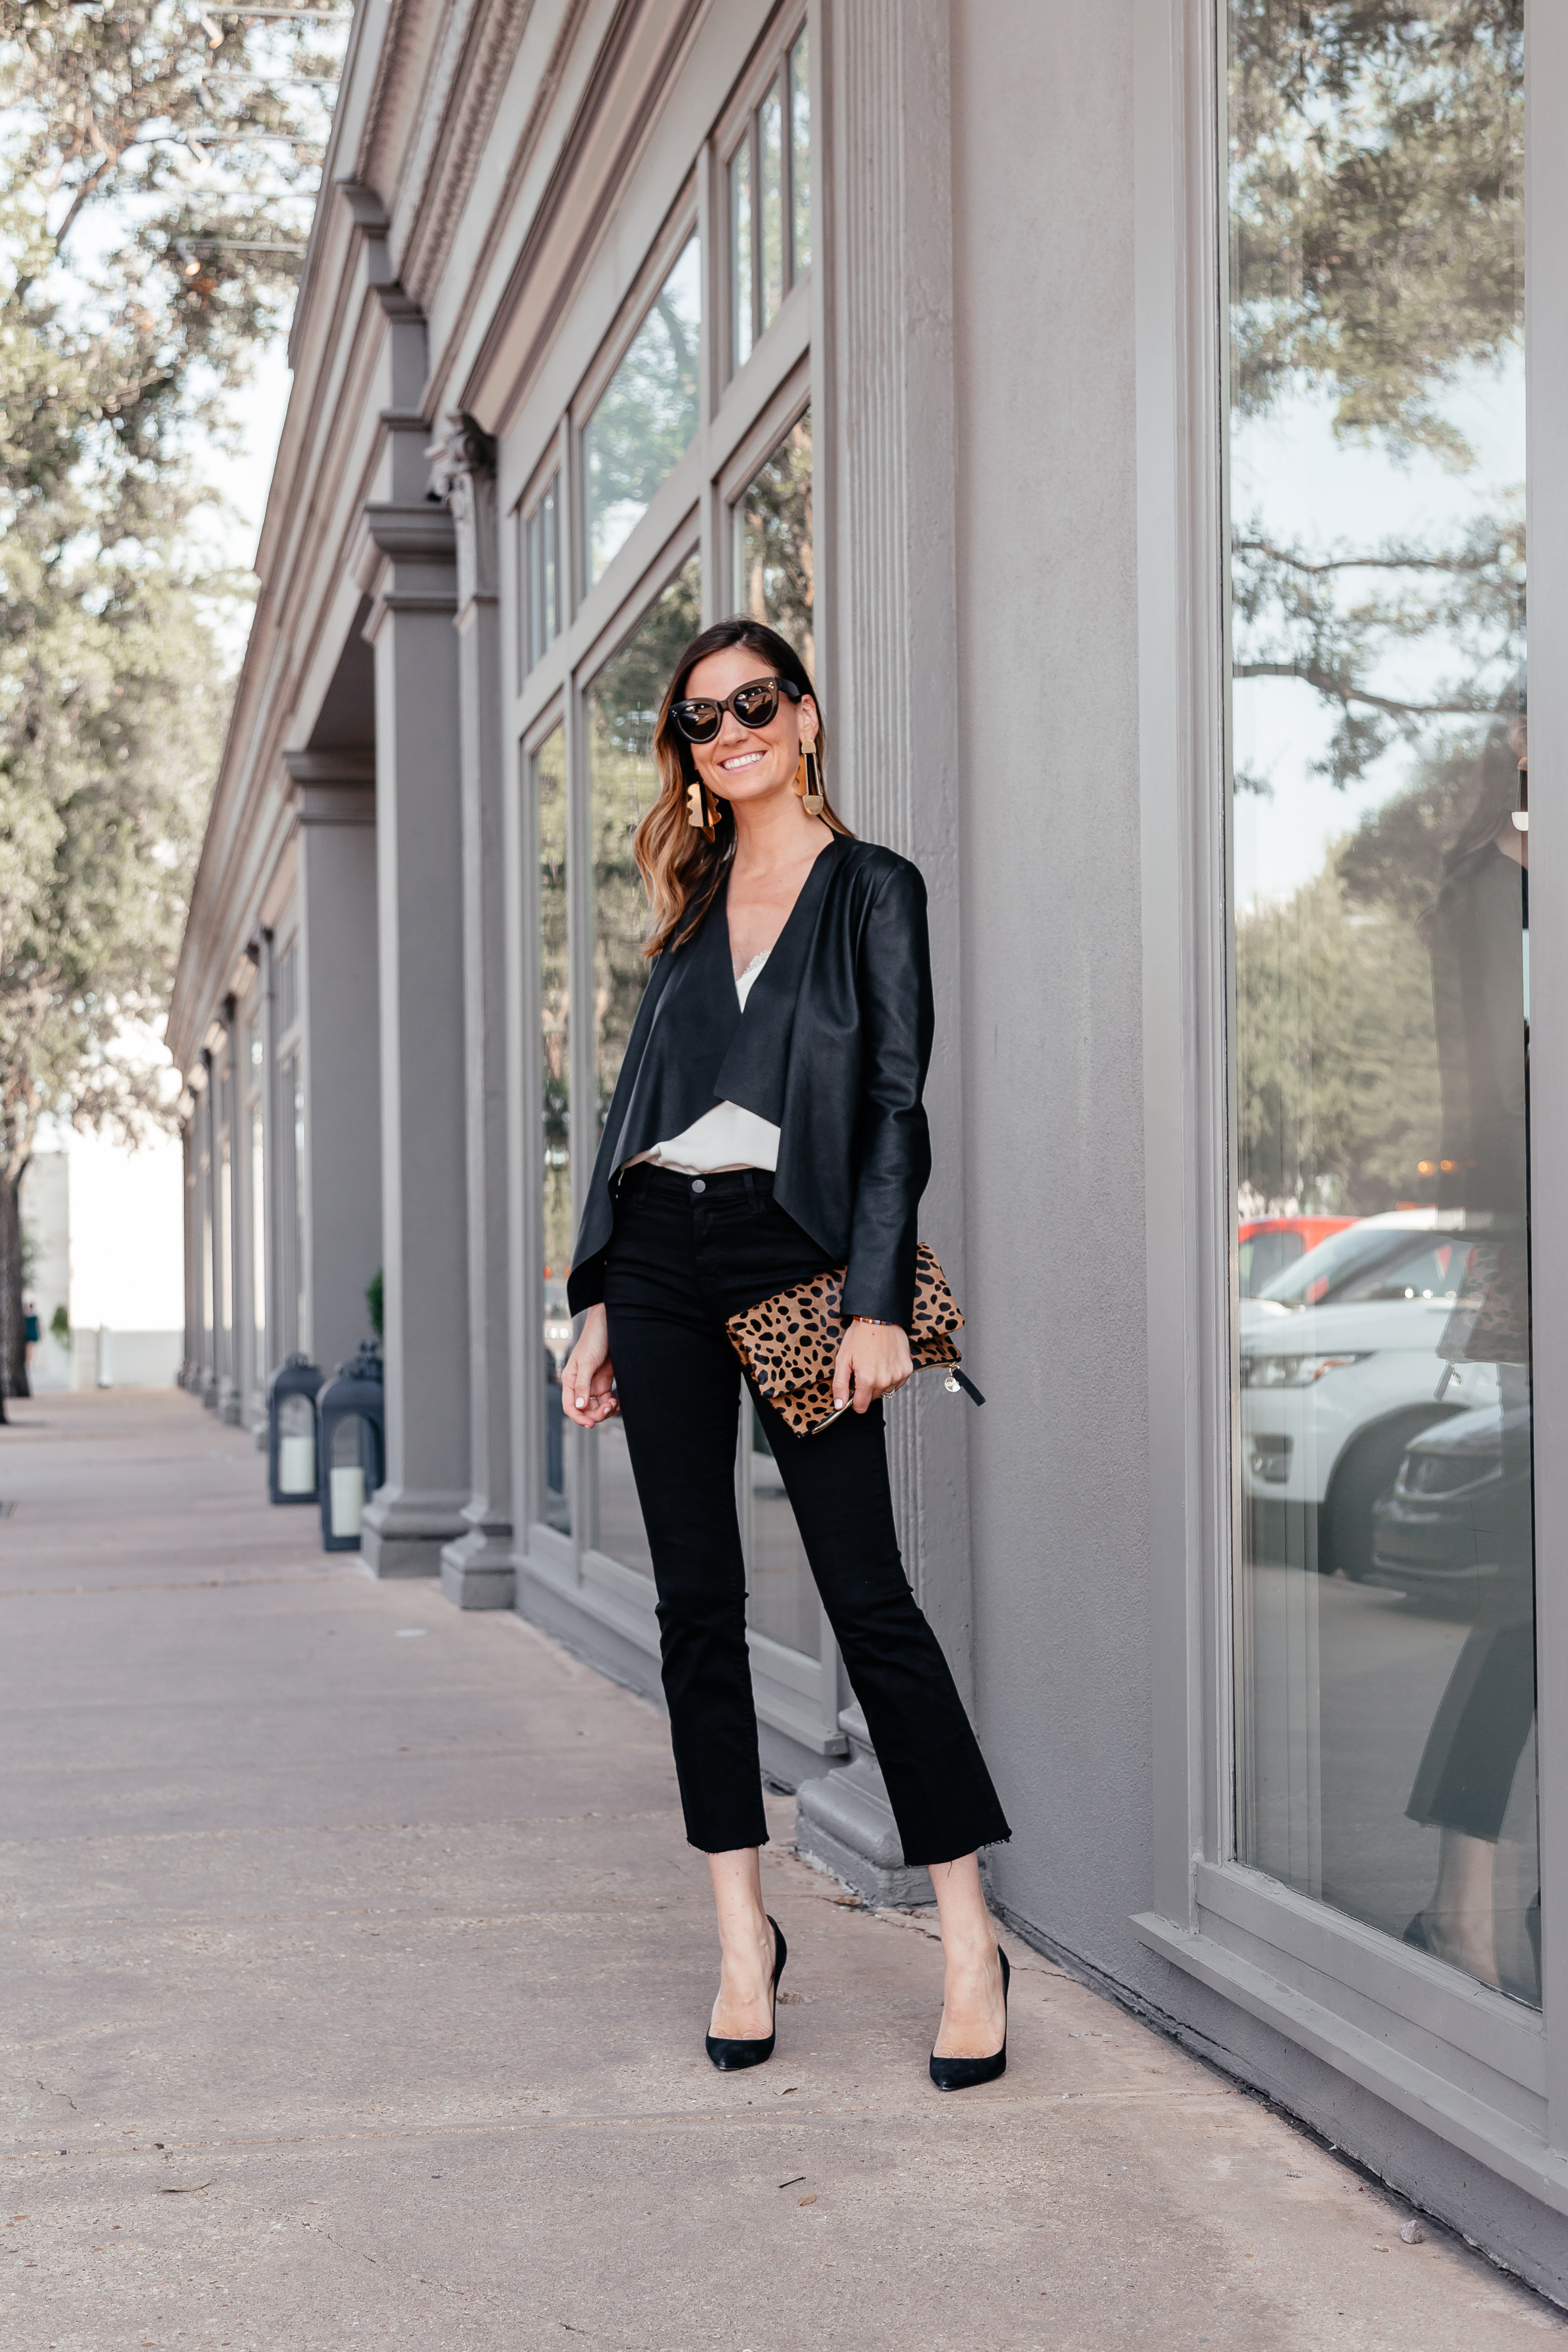
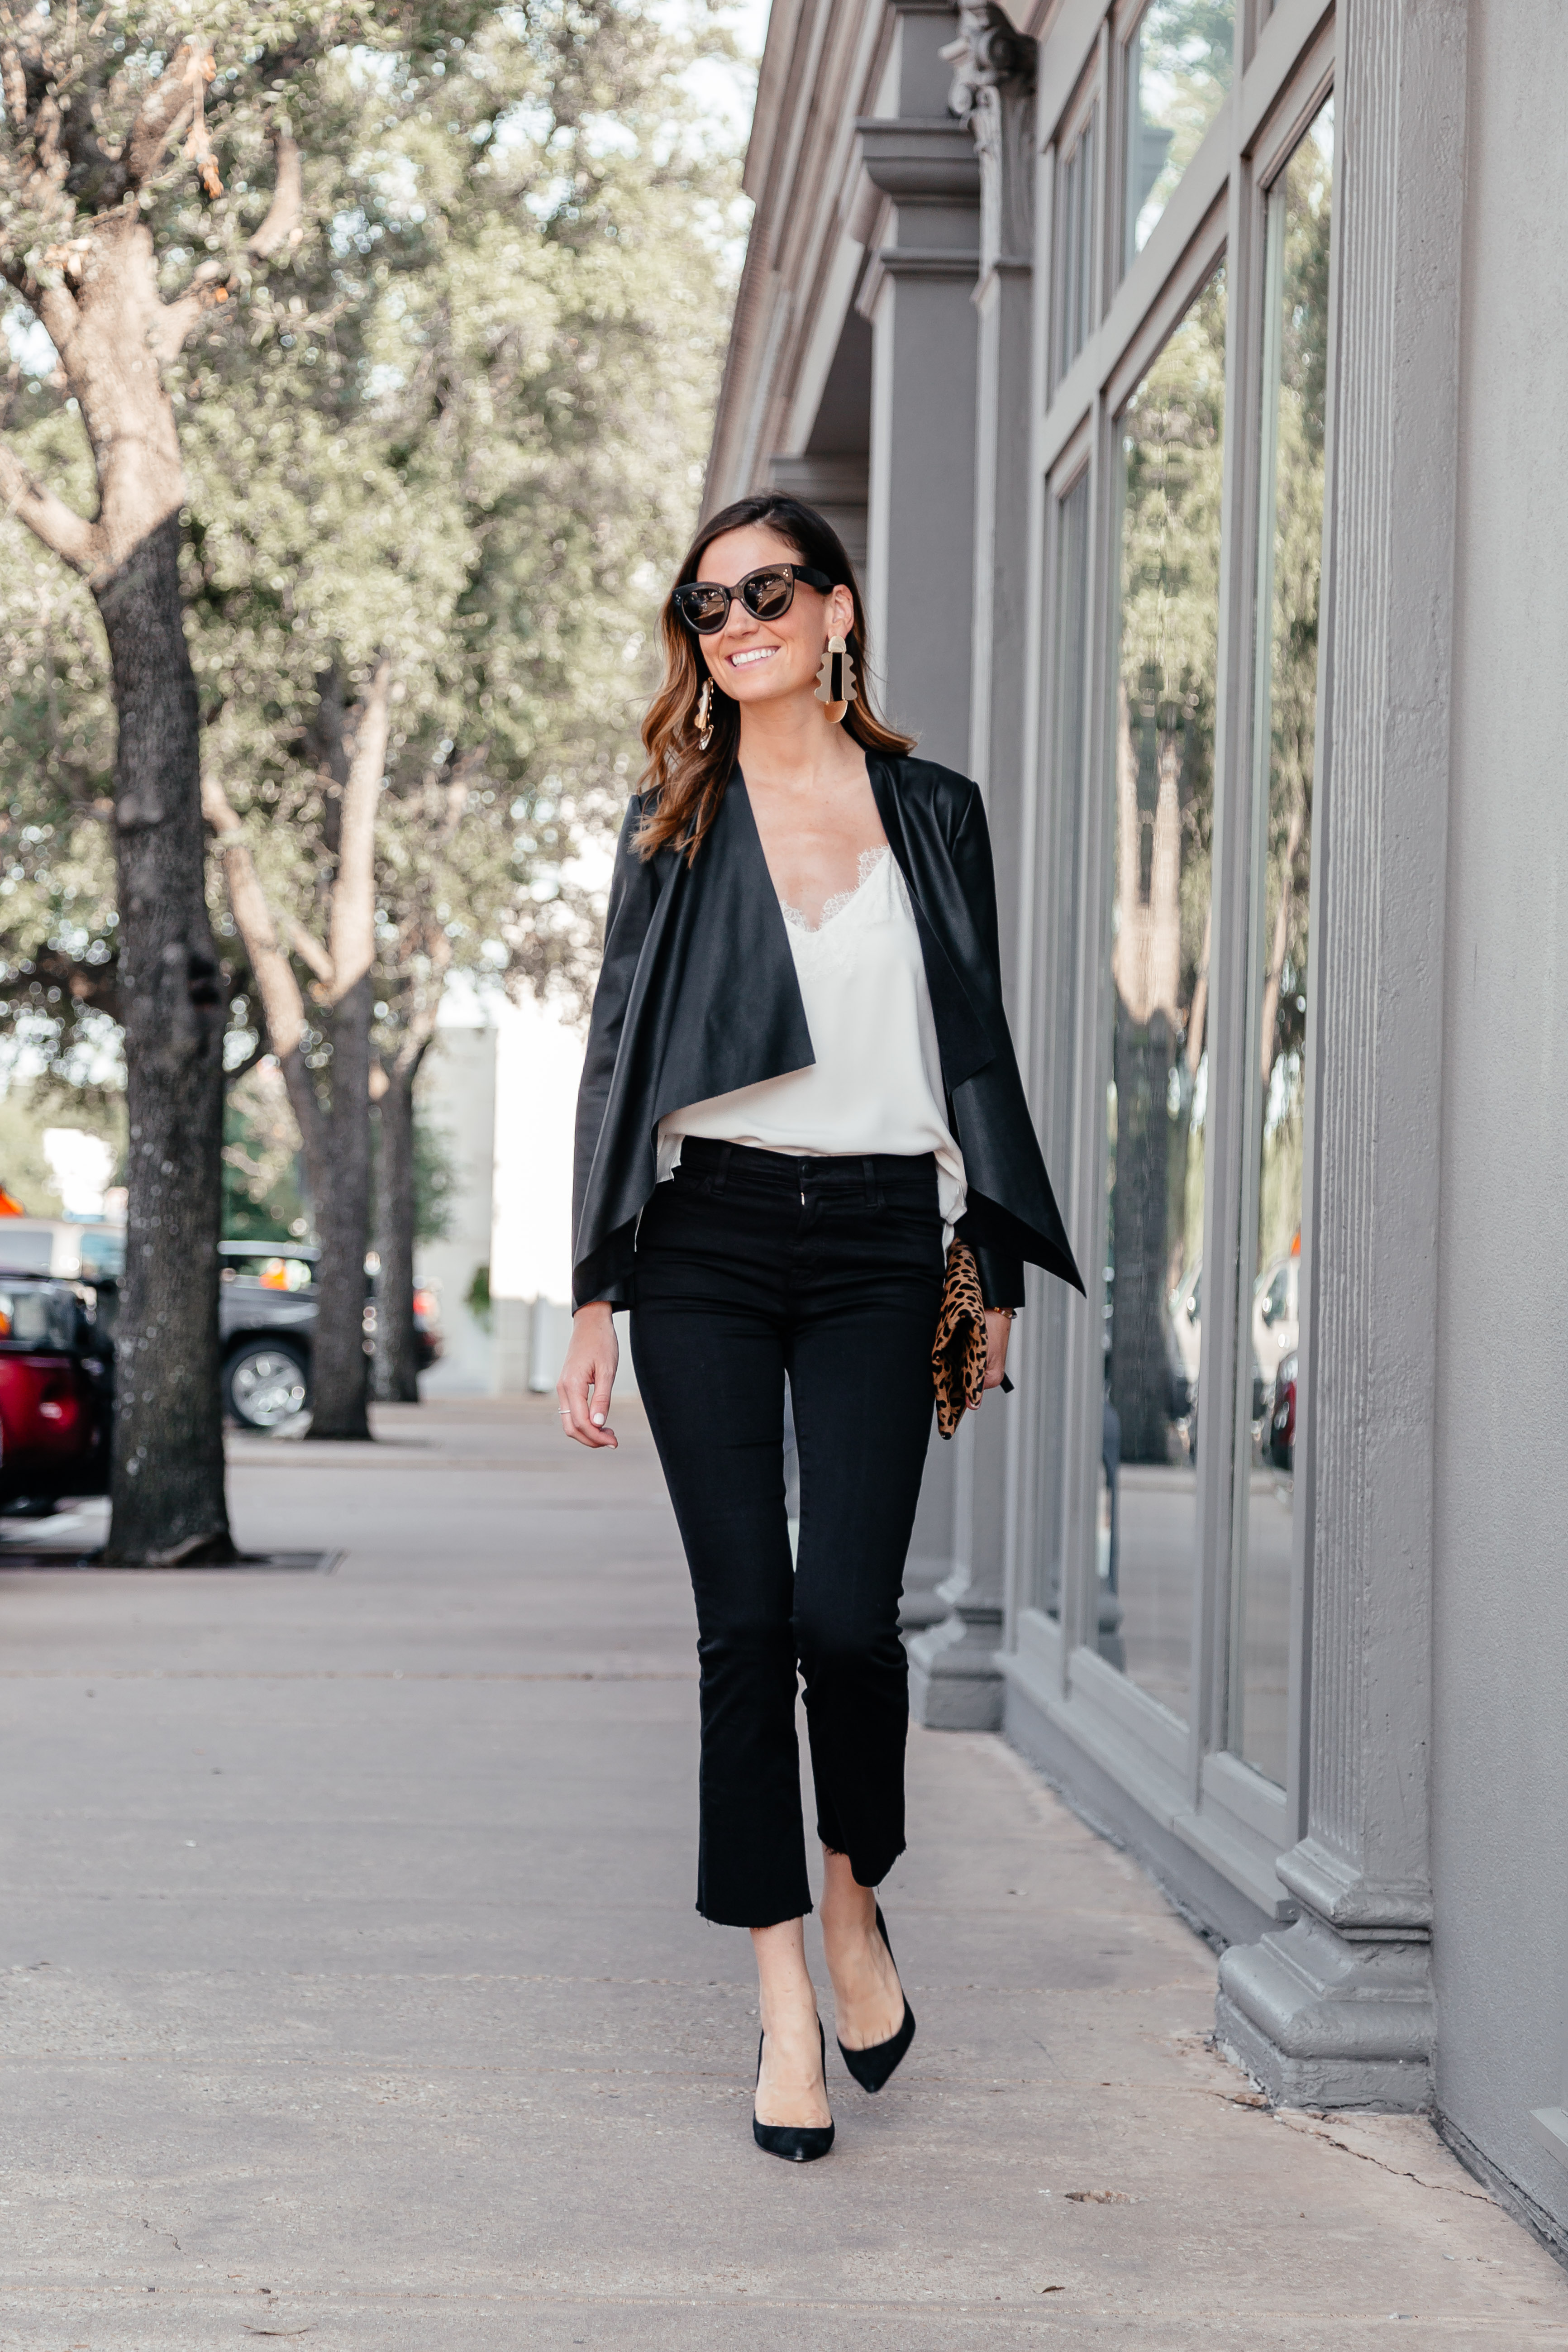
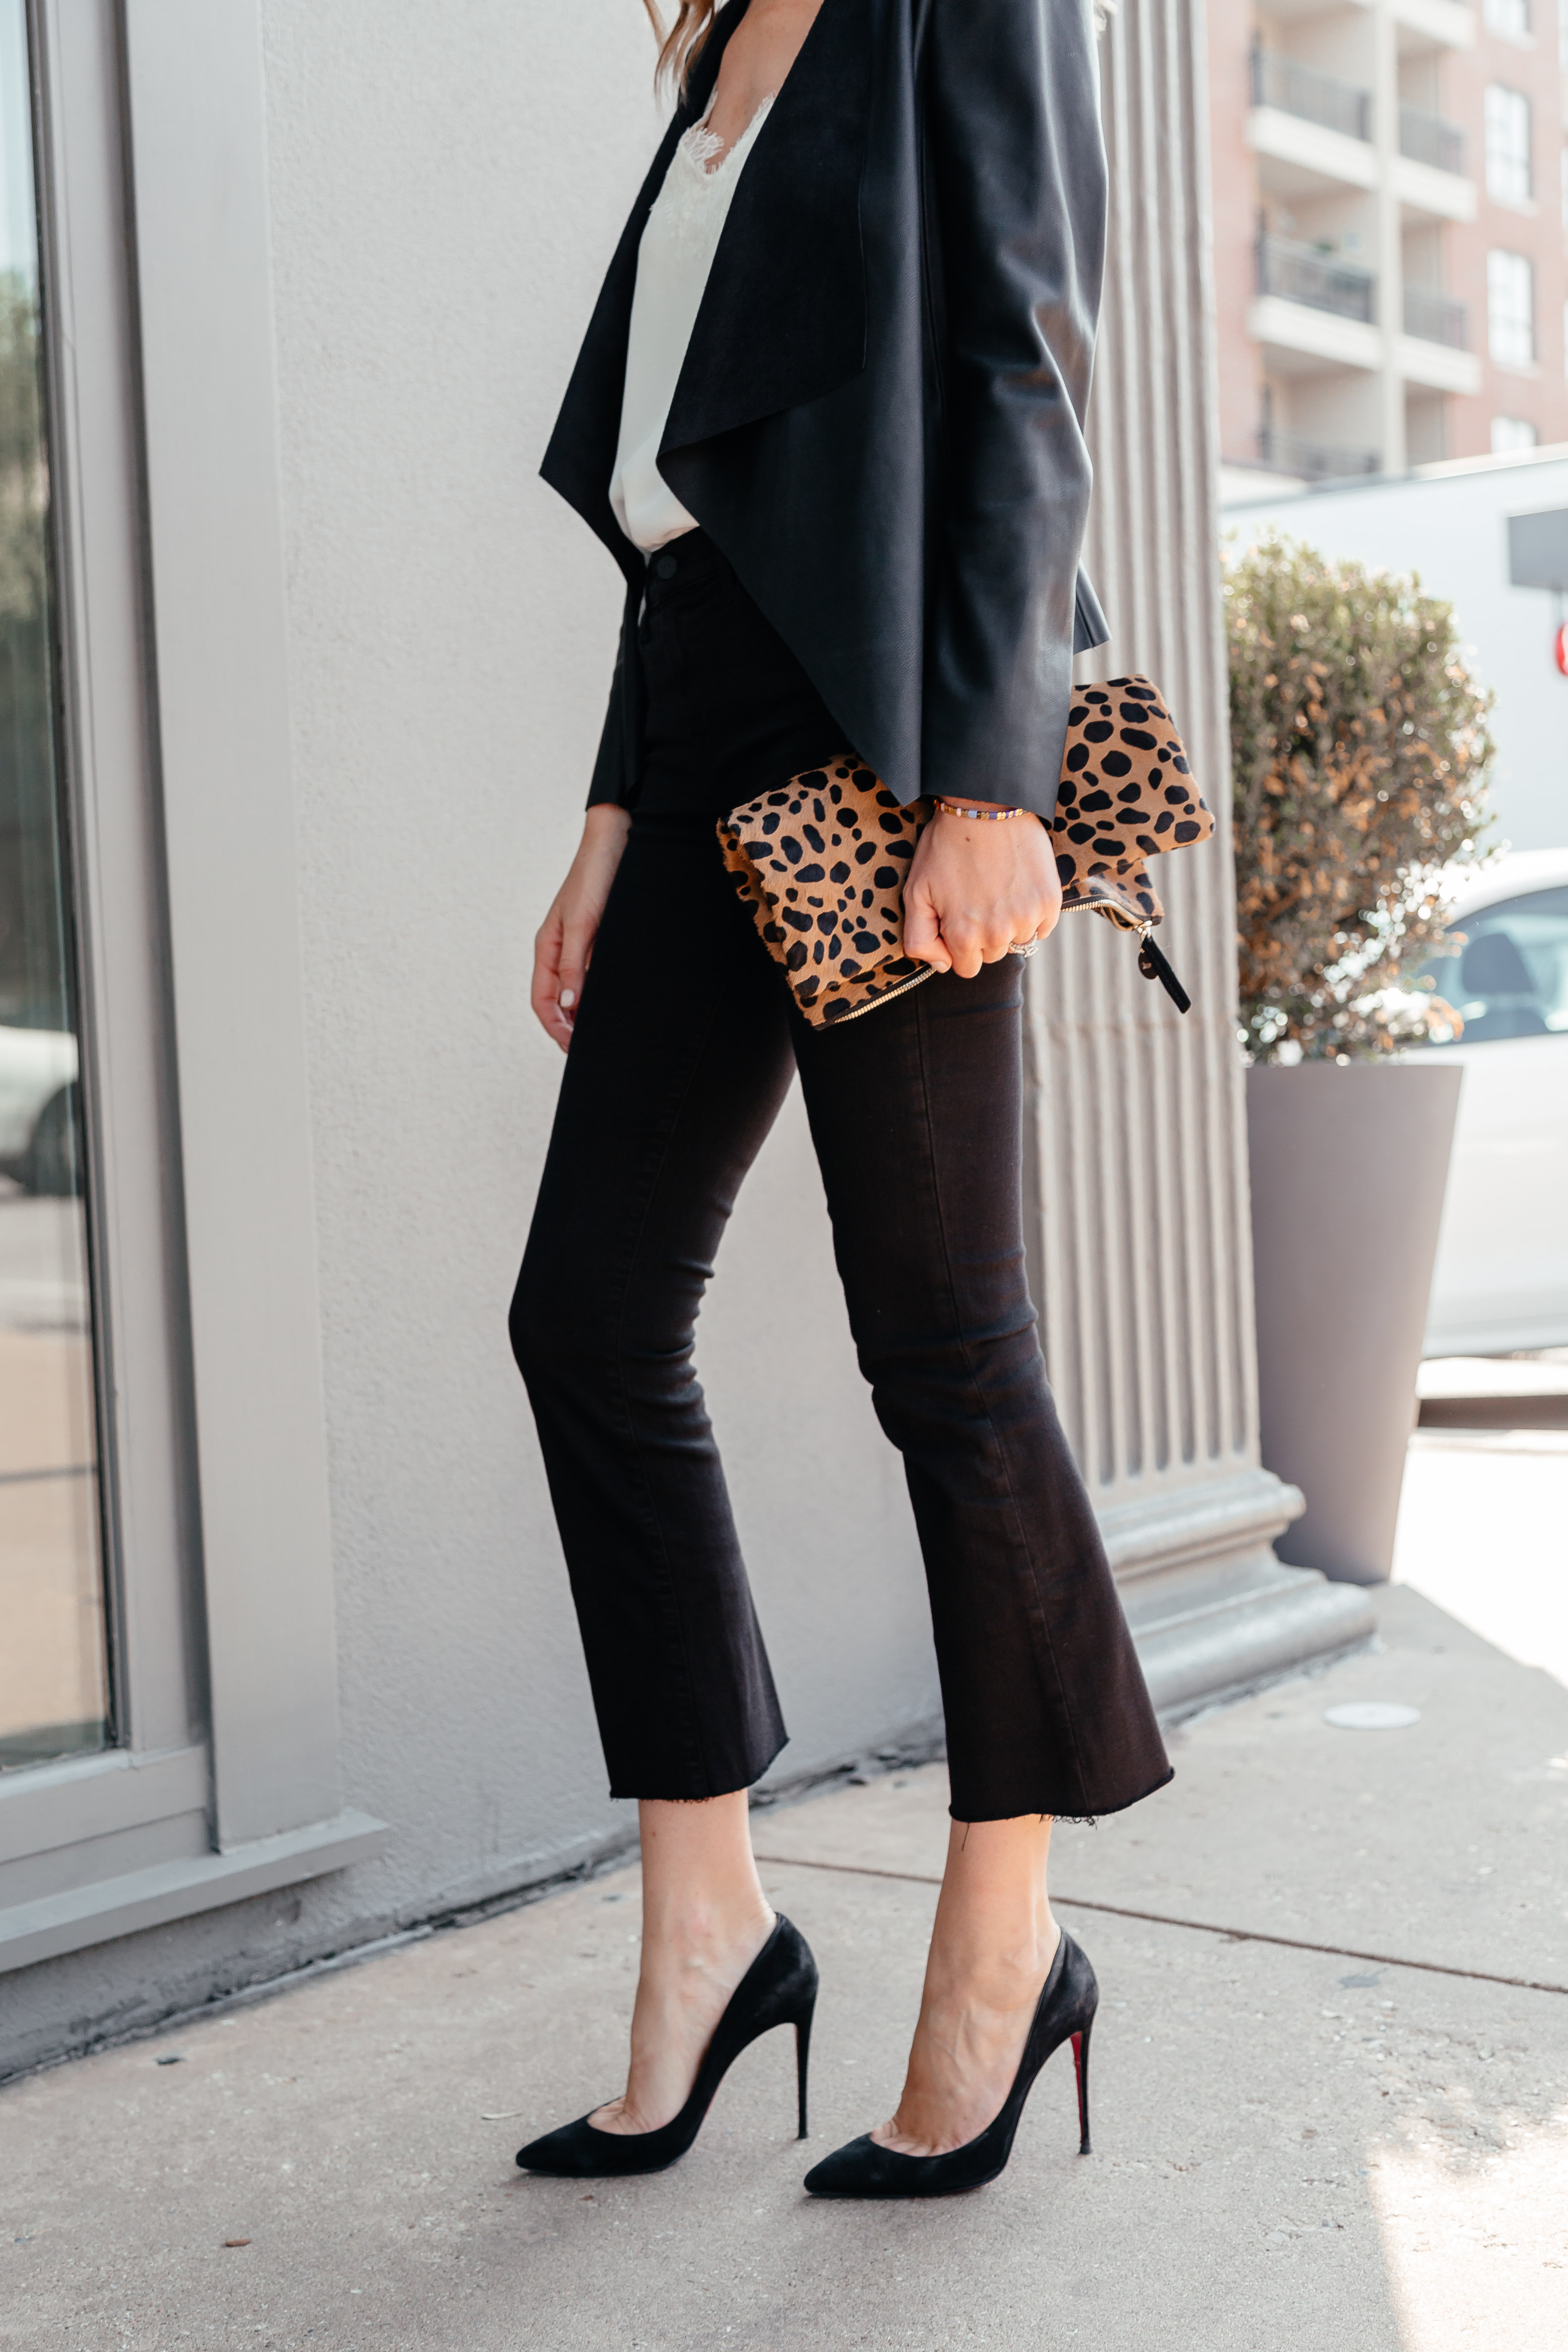
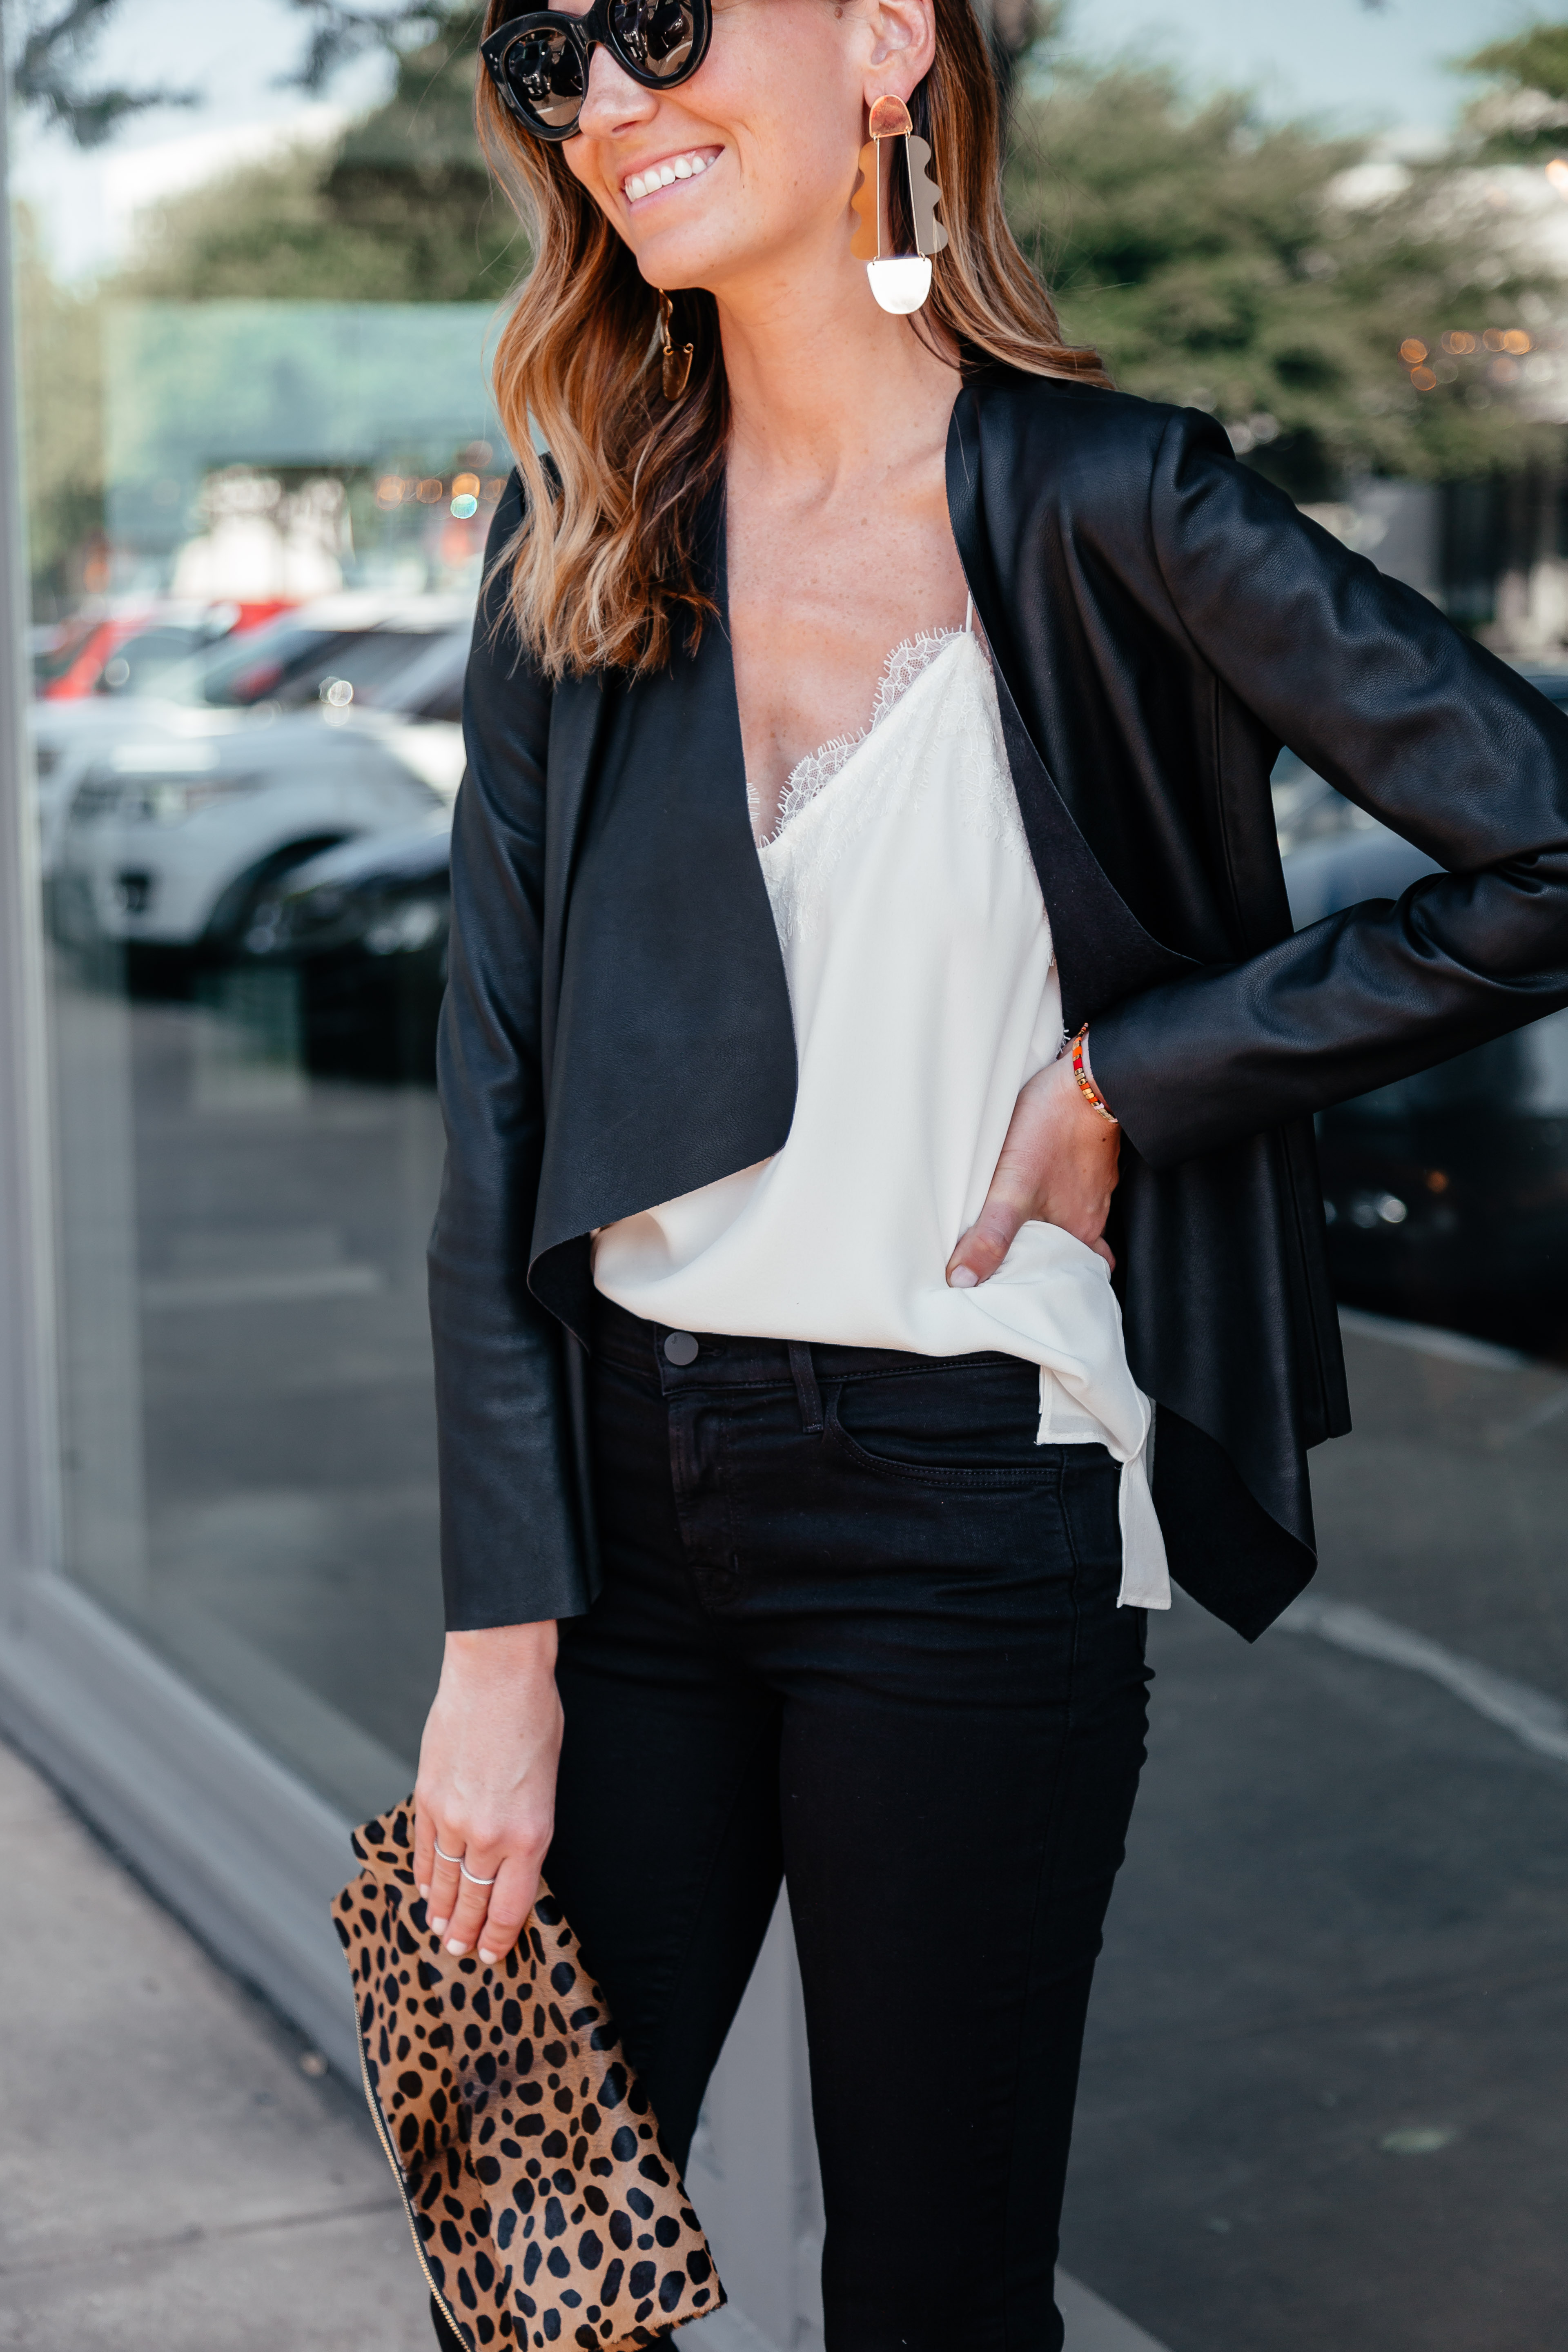
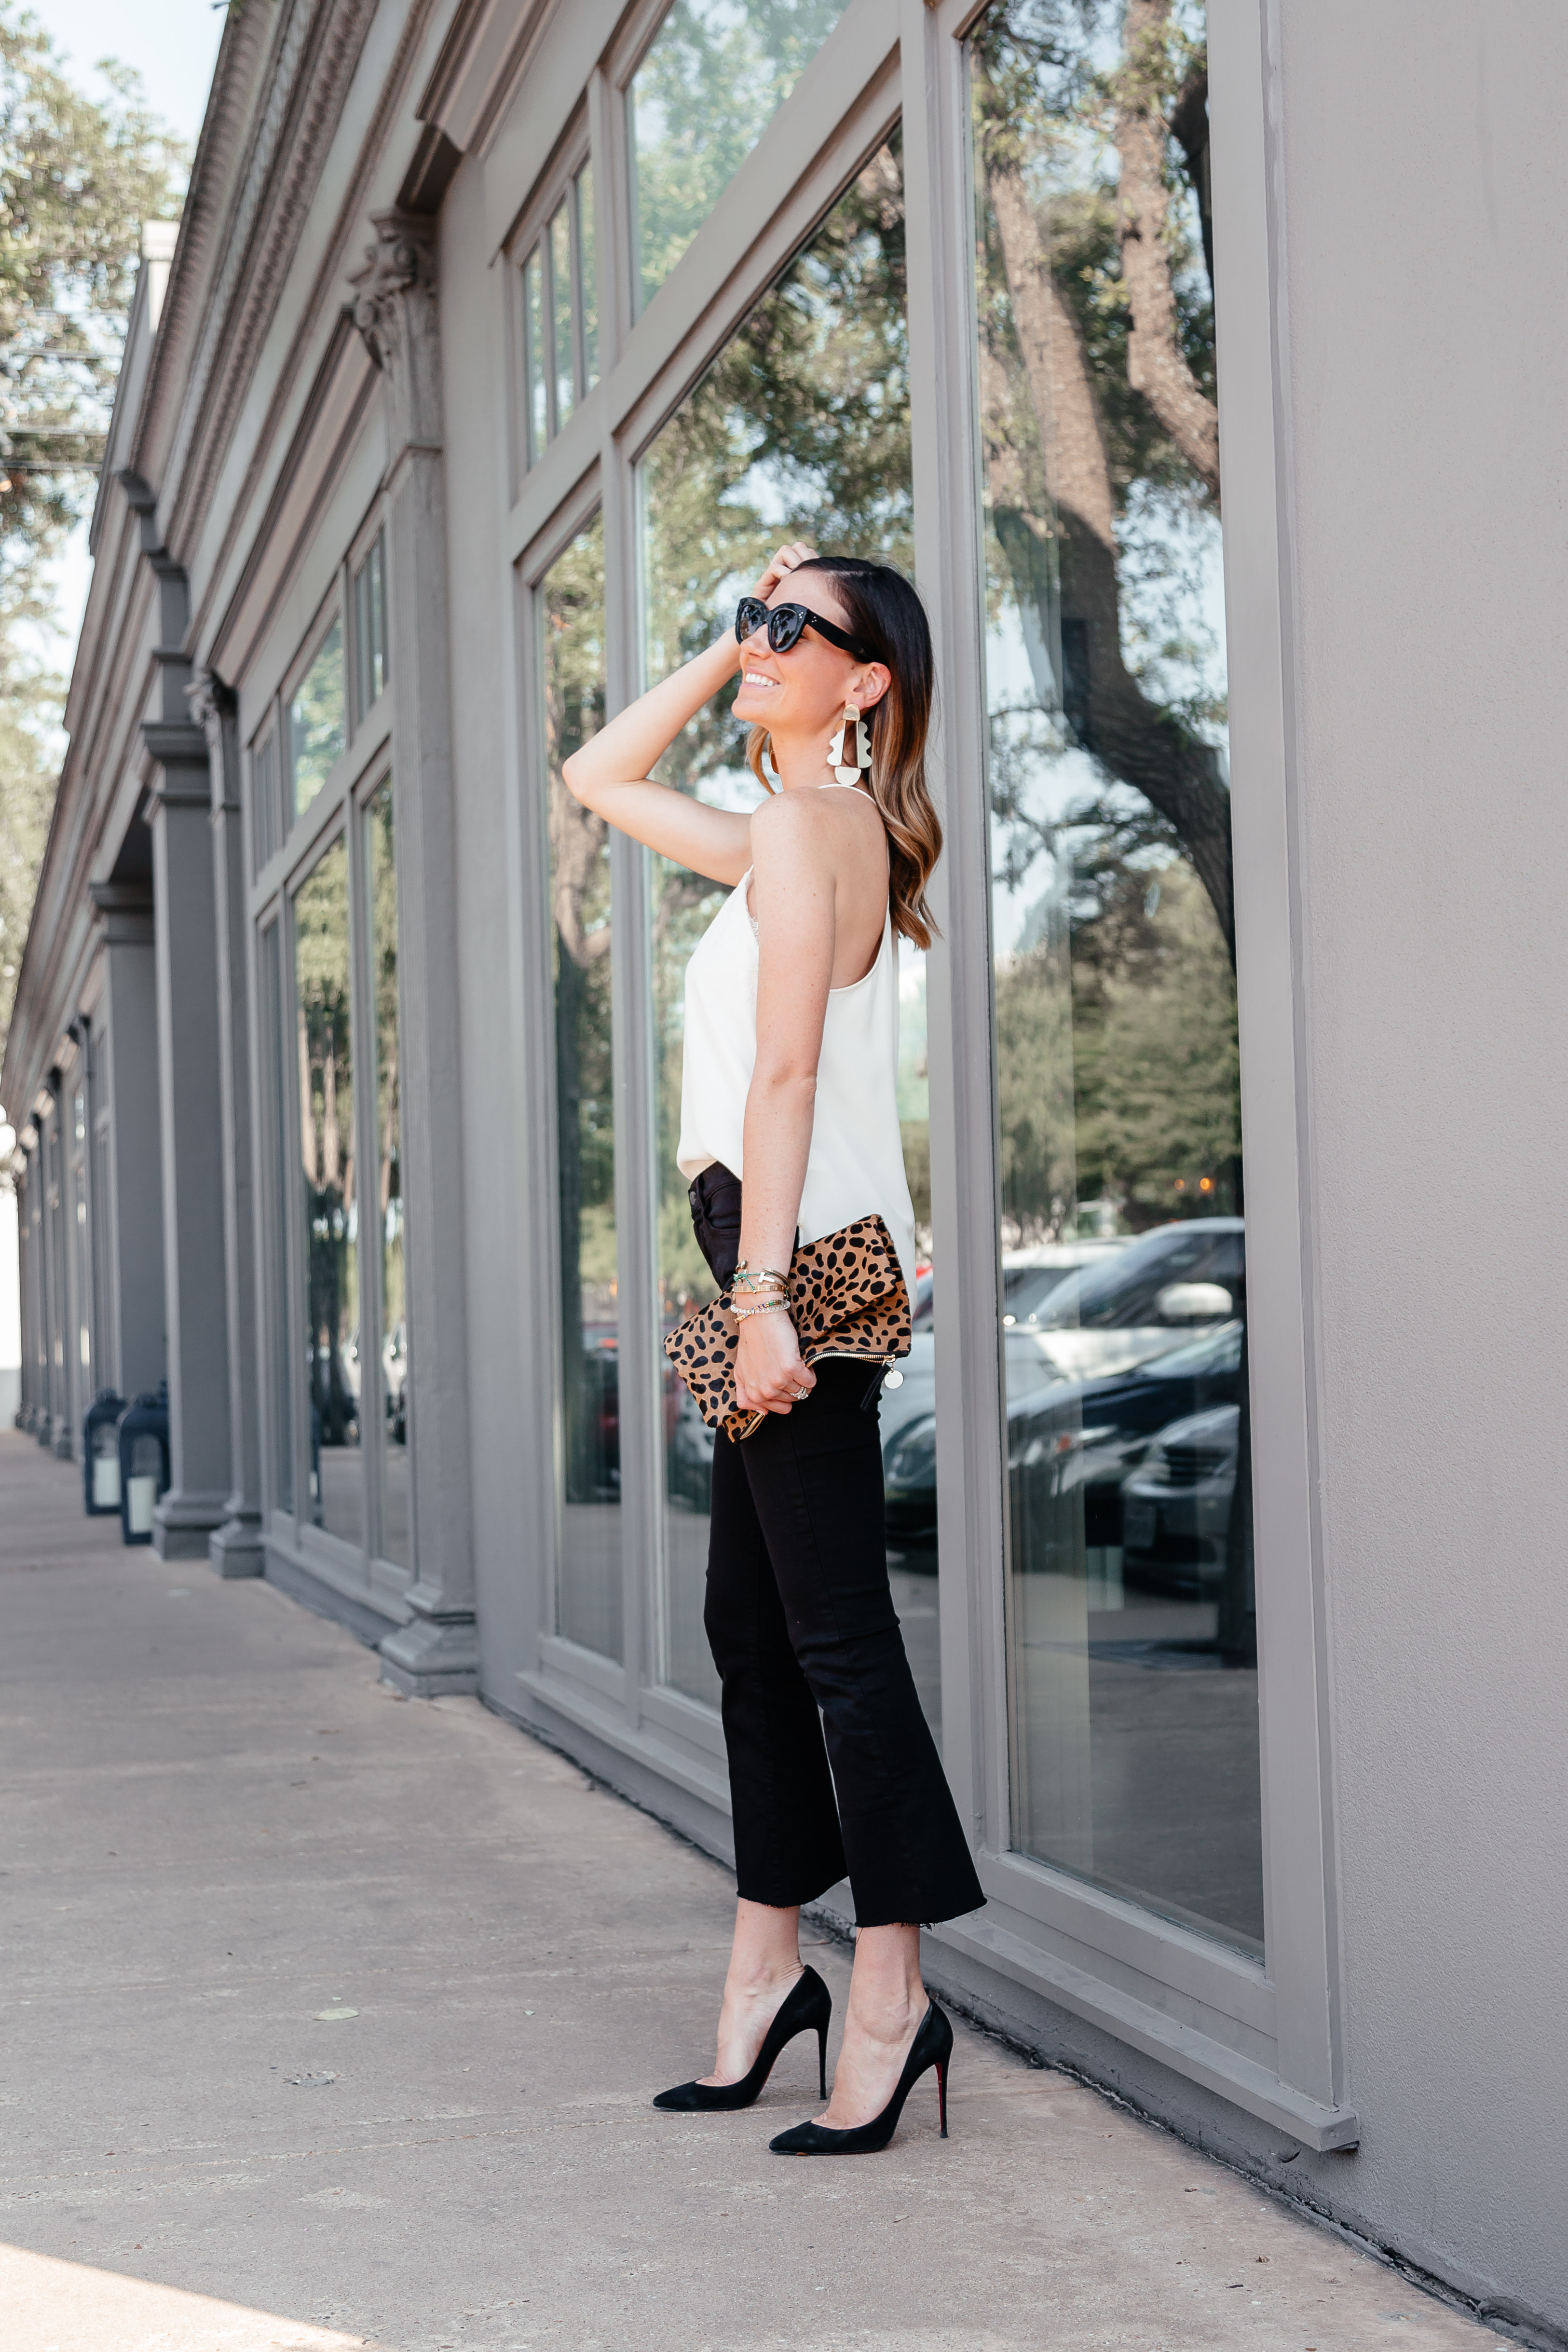
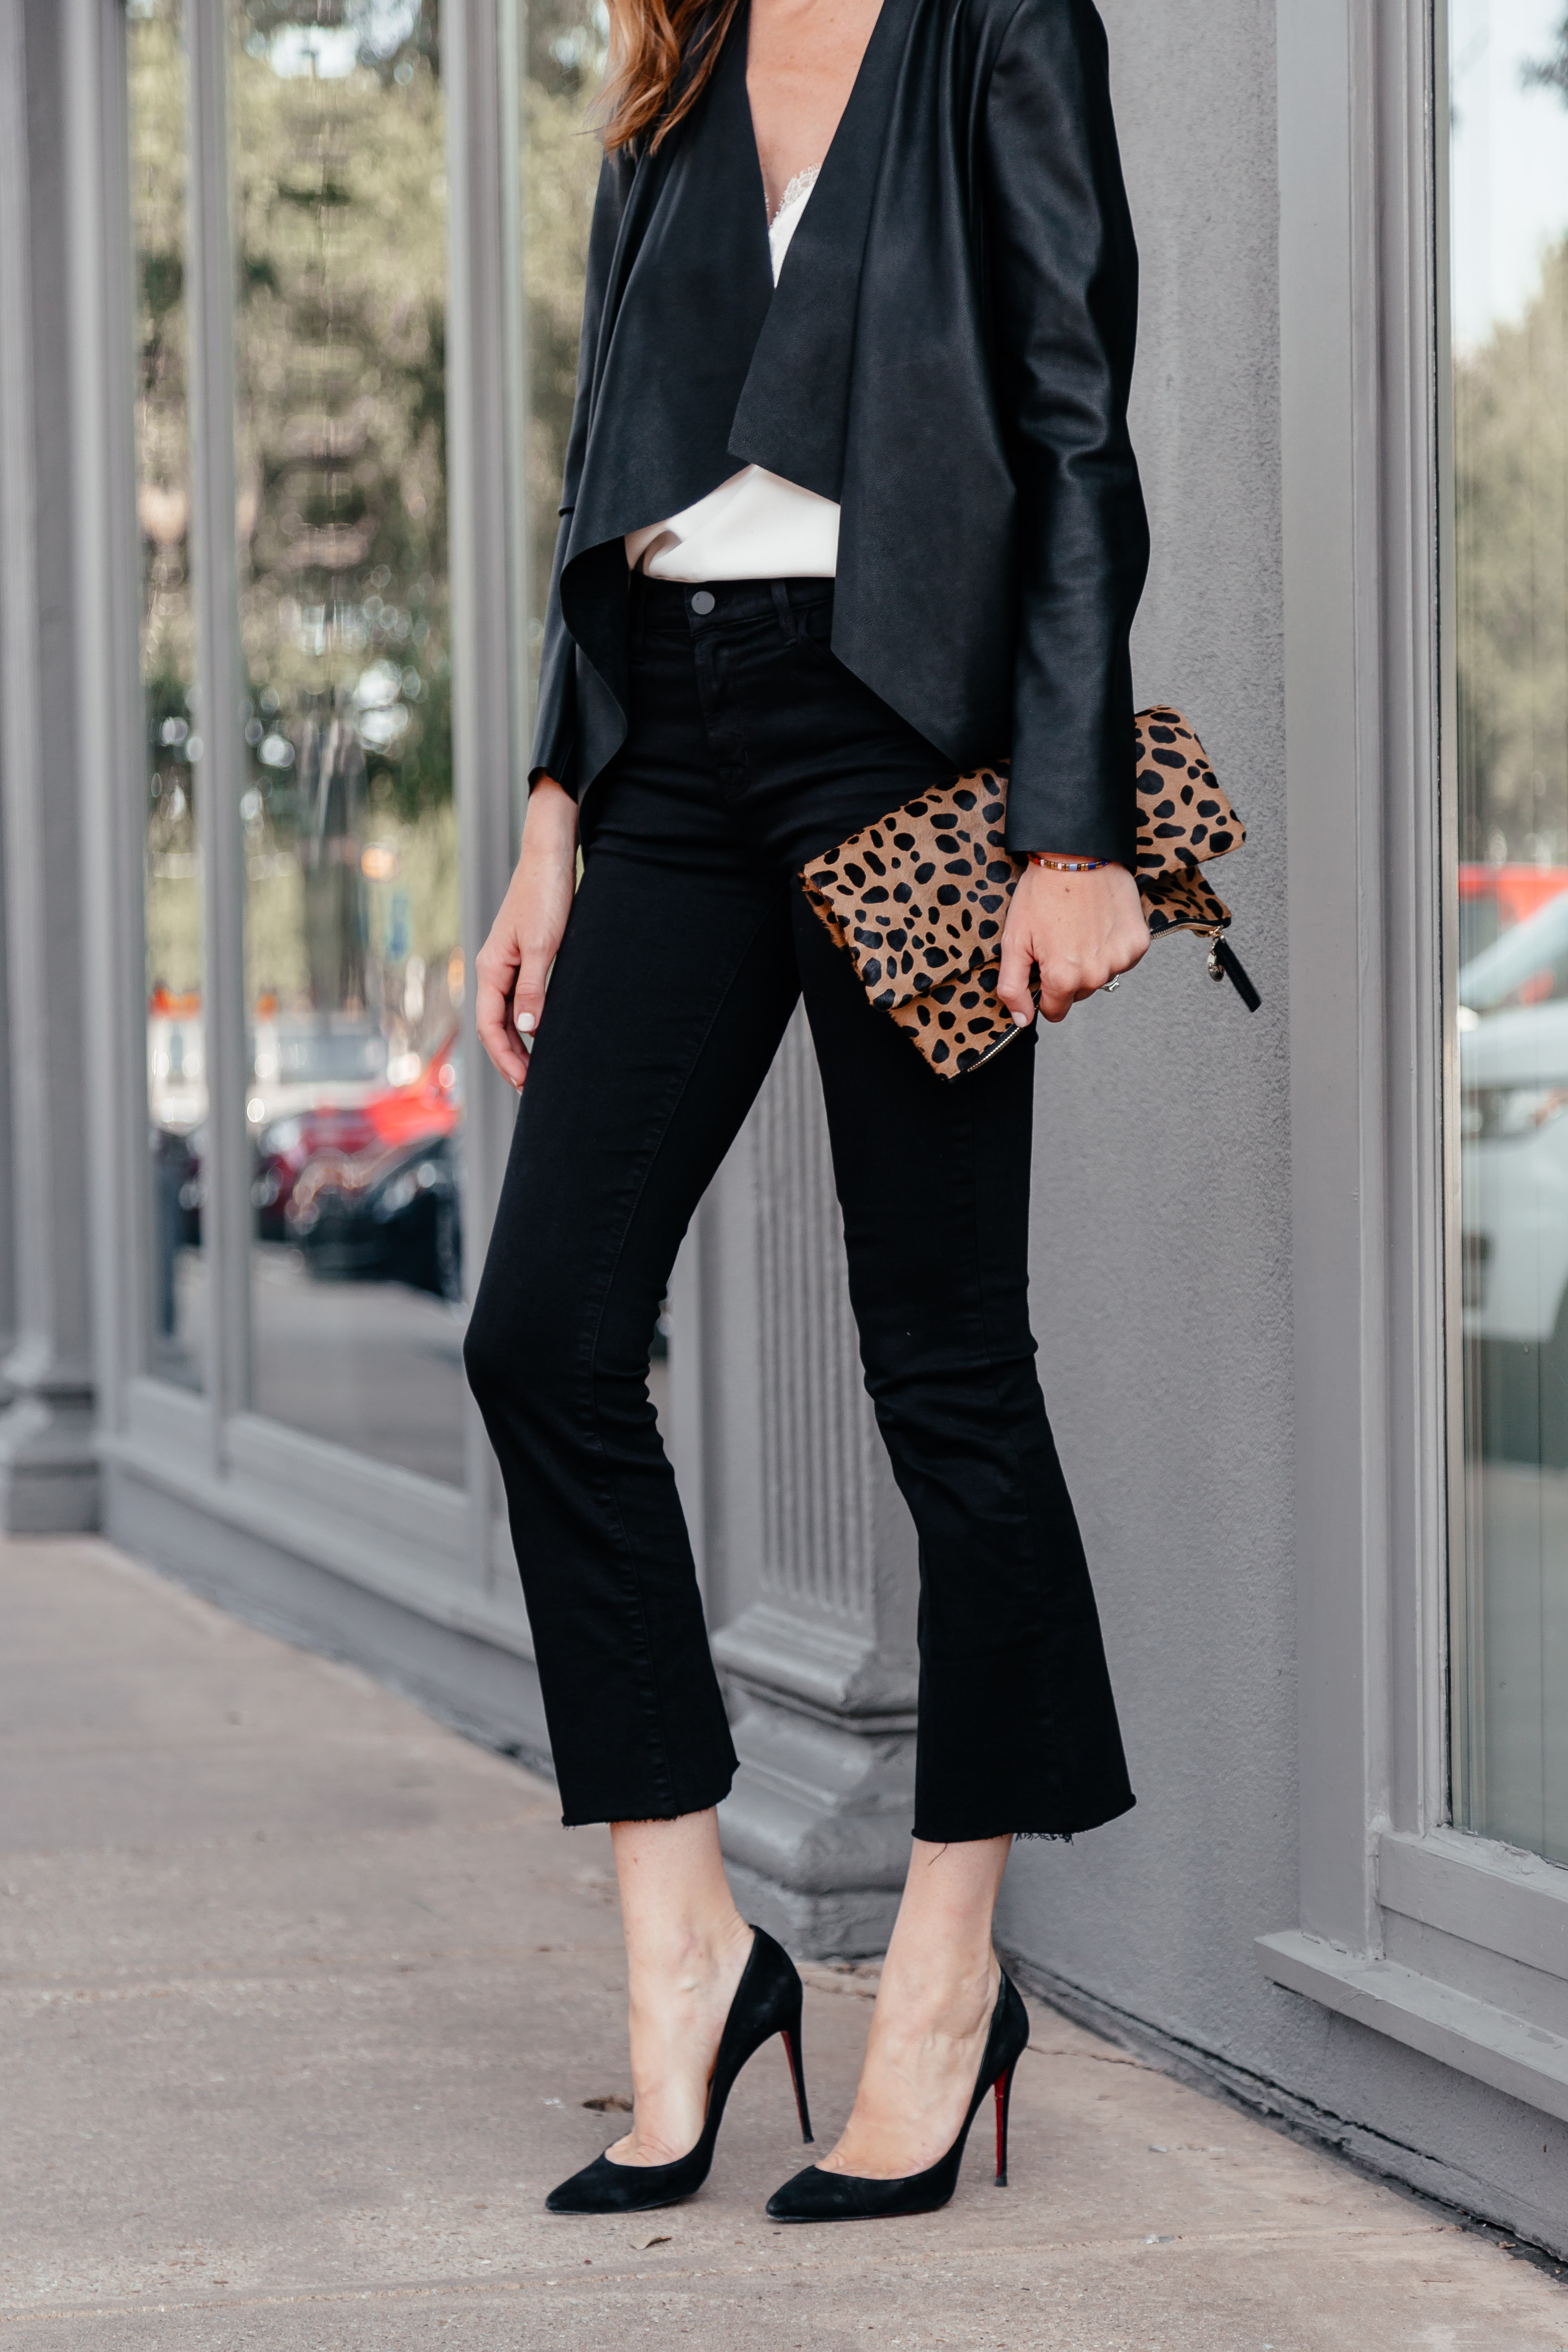
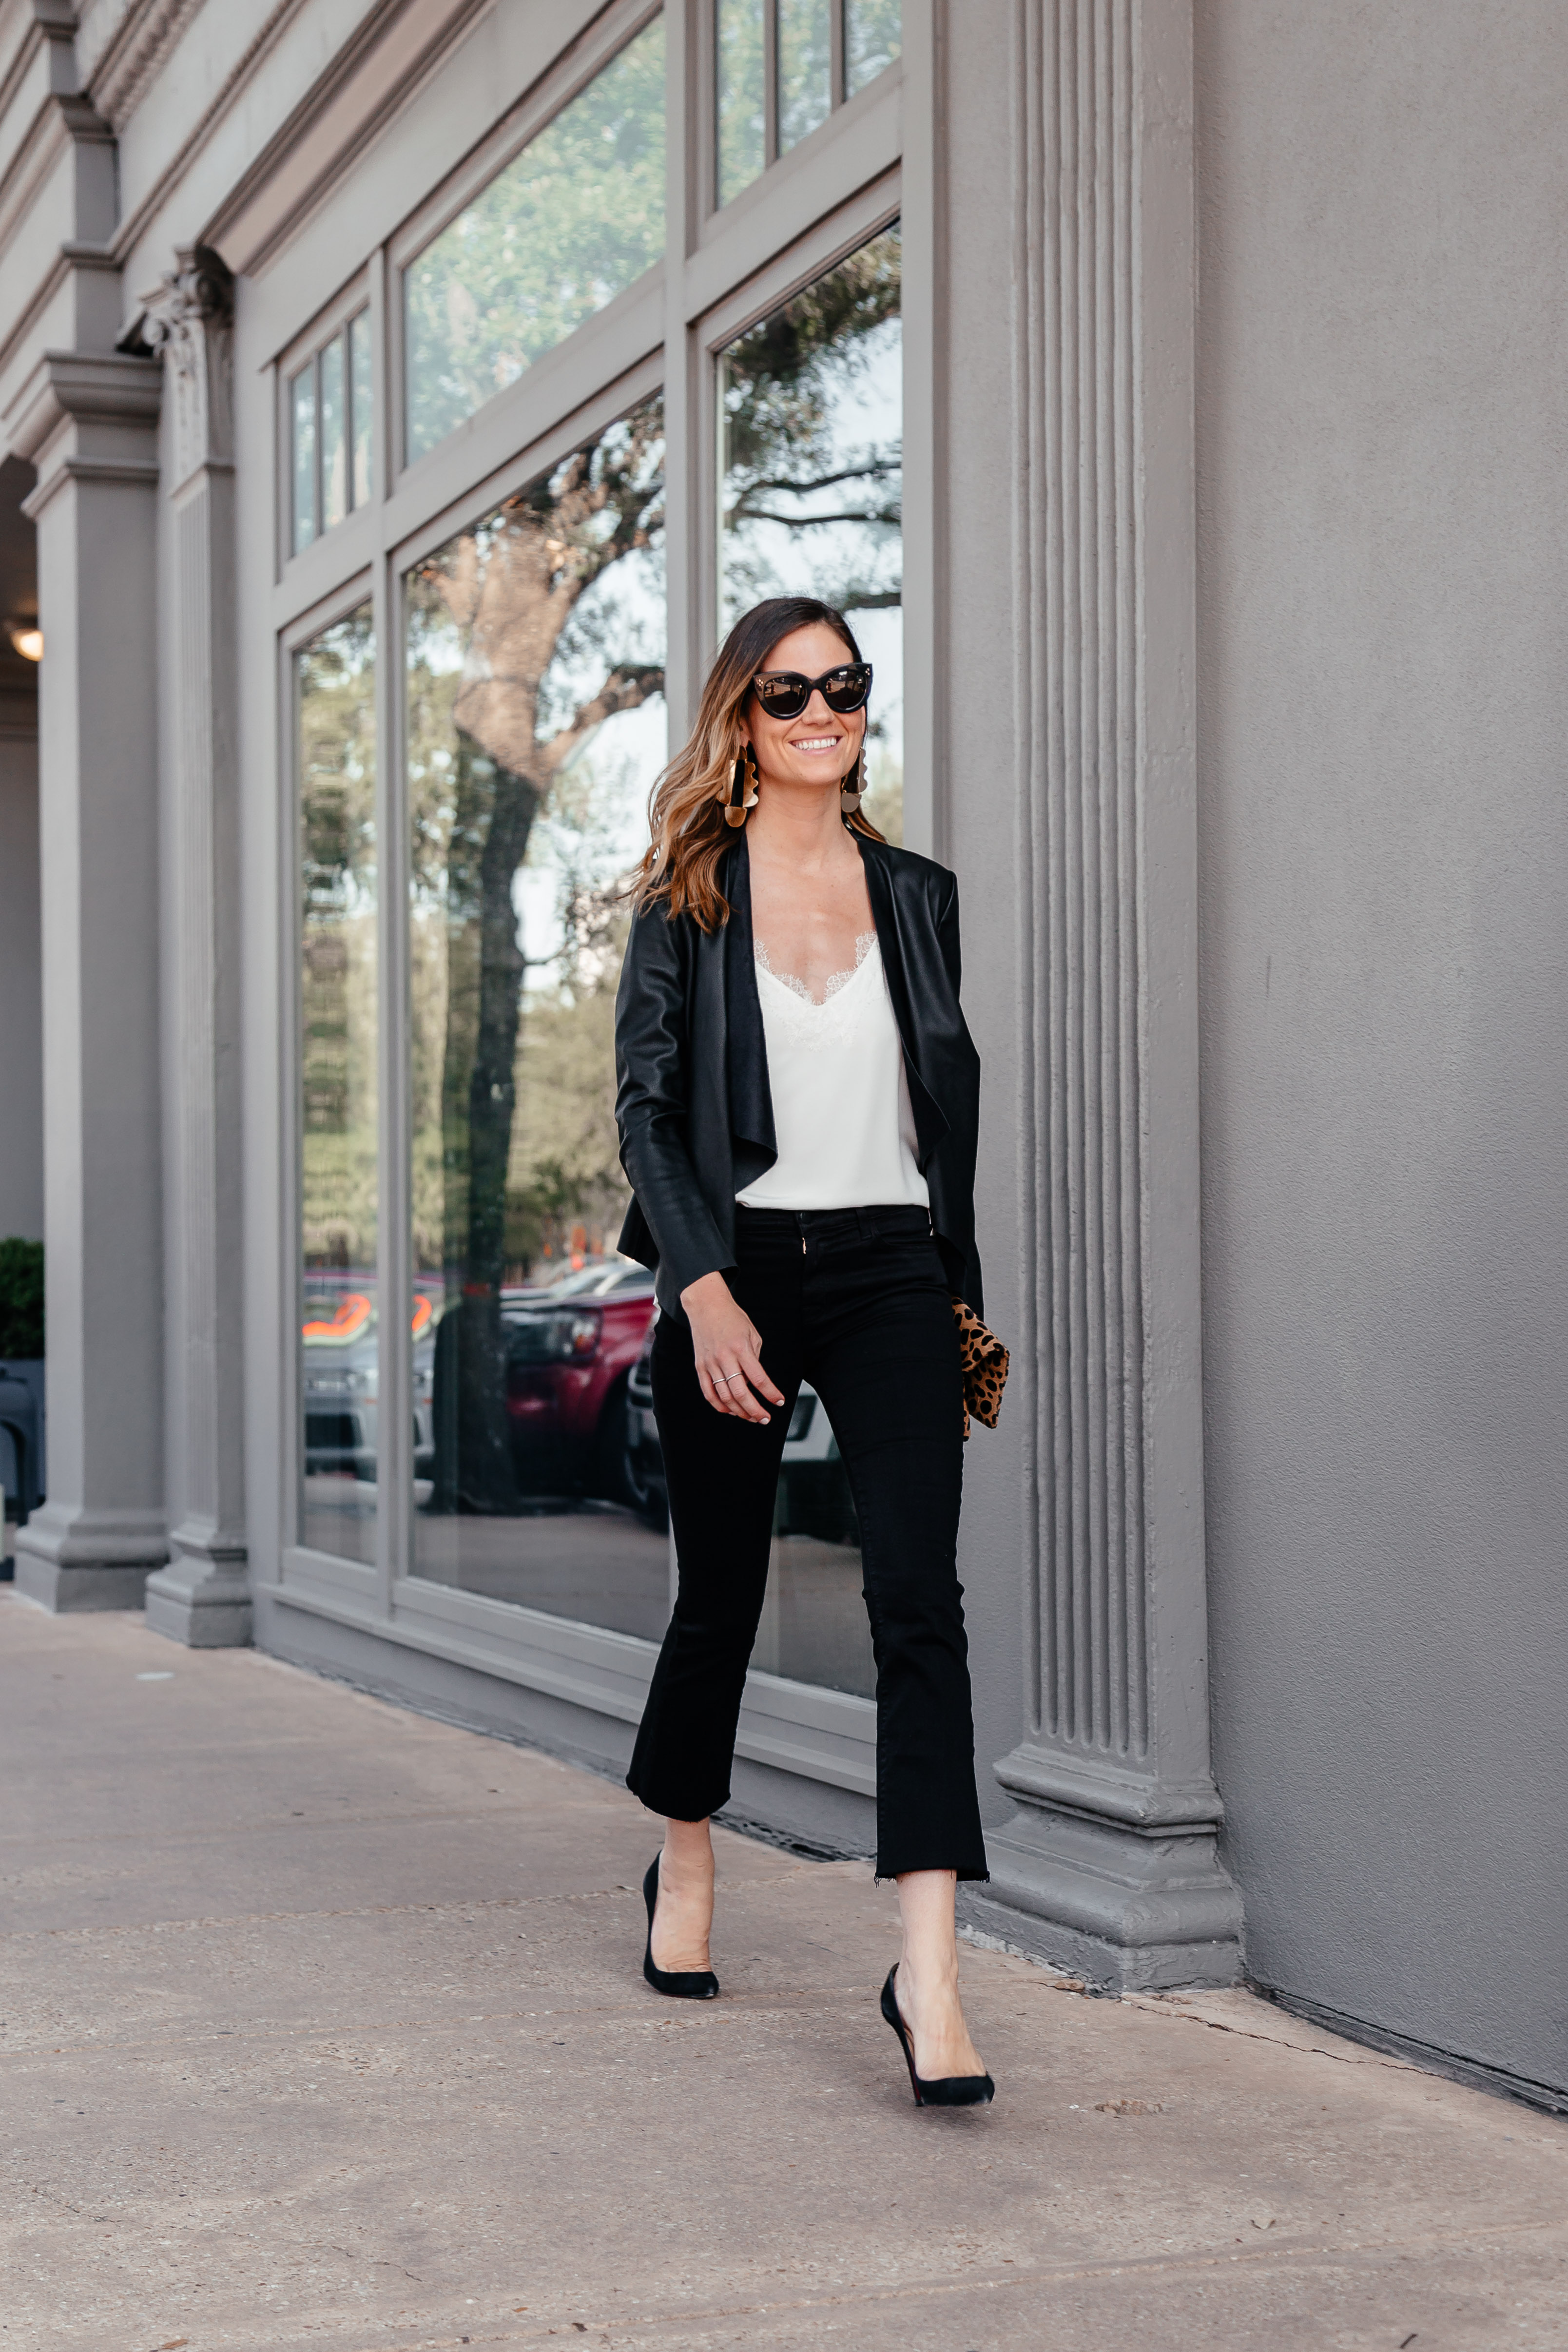
Jacket: Similar here // Tank: Cami NYC // Jeans: J Brand Selena Cropped raw hem bootcut Jeans // Shoes: Similar here // Sunglasses: Celine // Earrings: Similar here // Bag: Clare V.

I’ve been obsessing over the cropped flare jean for a while now {I already own a white & jean pair from earlier this year} so I knew I needed a black pair for the Fall & Winter season. I searched high and low for the perfect pair – I wanted jet black, raw hem, with a longer inseam, and found the best selection at Bloomingdale’s. These J Brands fit the bill perfectly – they cross off all the things I was looking for and they’re extremely comfortable to boot! I love that they’re stretchy without stretching out. J Brand isn’t one of the most popular jean brands for nothing – their jeans are great quality and they last. I still have a pair of J Brands that I bought back in college {7+ years ago!} This style of jean is also really easy to style. You could pair it with a pointy pump {like I’ve done here} or any sort of cool loafer, smoking slipper or ballet flat. Sandals would also work – weather permitting! I’ve paired my jeans with a gorgeous Cami NYC tank, a classic leather jacket and some funky gold earrings. I’ve owned this for years and it is truly one of the most versatile items in my closet – I love that you can wear it year round.

What denim pieces are still missing from your wardrobe? Do you have any favorite styles that you can’t live without? What are your go to denim brands? Let me know in the comments! x

photos: The Retro Penguin

thank you to bloomingdale’s for sponsoring this post

Filed Under: Fashion

September 3, 2018

How I Care for My Skin and Hair Post-Travel

Last year I traveled more than I ever have in my life. I visited 5 different countries, and spent well over 60 hours flying in the air. Pressurized cabins, low humidity, and high altitudes left my hair & skin reeling. I felt like I was constantly fighting an uphill battle on dryness. I vowed to research & adopt a skincare and hair routine that would nourish and repair – and some 12 months later, I feel like I’ve finally got a good routine down that attacks the problem as soon as it starts. Below are two tried & true products I use {& love}  for re-hydrating skin and hair pre & post-travel.

HAIR

In order to combat the straw like hair that comes with travel, I like to use a little of Moroccan Oil’s Treatment serum 1-2x a week to help bring my hair back to life. This serum is light and nourishing and helps with fly aways, frizz and heat protection! I mostly just love how it makes my hair feel silky smooth and soft – a nice change from the dry and brittle texture flying gives me! If  the regular version is too heavy for your hair, try the light version! This is a great alternative for people with ultra fine or thin hair. Also, gotta love Sephora and their dedication to travel sized products! The regular & light serums both come in mini sizes perfect for your carry on! Moroccan Oil is known as one of the best haircare lines, but with over 500 4 & 5-star reviews, you know this product of theirs is one of their shining stars.

How to use: on wet or dry hair, apply a small amount from the middle of your hair to the ends. Dry or style as normal. 

Other favorite hair treatment products are: Ouai Treatment Masque // Moroccan Oil Restorative Hair Mask // Oraplex Hair Protector #3 {the only one on the list I haven’t tried yet, but have been dying to! Have heard incredible things}

SKINCARE:

It’s no surprise that we have dry skin post travel – the high altitude, bright lights and dry cabin air can be extremely tough on our skin and it can take a little extra love and care to protect it during these times. That’s why I love Summer Friday’s Jet Lag mask. It’s a product you can use on or off of the plane. This mask goes on smooth and completely absorbs into the skin. Once it sets, your skin feels smooth and looks matte – so no one around you would even know you’re rocking a full face mask! According to the directions, you can leave this on your skin for as little as 5 minutes, but in my personal experience, you need to leave it on for atleast 4-6 hours to feel a difference in your skin. I like to put mine on 15-20 minutes before bed {giving it time to throughly soak in} and sleep in it overnight. Or if I’m traveling on a long distance flight, I put it on right after take off, but before I’ve had dinner. I always wake up with noticeably hydrated skin. This product also gets bonus points for being considered a Sephora ‘clean’ beauty item – Sephora’s stamp of approval means that this product is free from harmful ingredients such as artificial fragrance or color, harsh surfactants, petrolatum, GMOs, triclosan, hydrogen peroxide, EDTA’s, BHT or BHA, formaldehyde, or propylene glycol. Winning!

To use: On cleansed, dry skin apply a thin, even layer with fingertips. 

Other favorite hydrating skincare products are: Dr. Jart+ Water Replenishment Sheet Mask // Kiehl’s Midnight Recovery Serum // Tata Harper Repairative Moisturizer {next to try on my list!}

This all brings me to the best part! Sephora’s Beauty Insider Appreciation Event is open to all tiers of the Beauty Insider Program ending today! Meaning all Beauty Insider Members have access to the Sephora Beauty Insider Appreciation Event with Rouge getting 20% off purchases {with the code: YESROUGE} VIB getting 15% off purchases {with code: YESVIB} and Beauty Insiders getting 10% off {with code: YESINSIDER} Offer can be redeemed online once, with unlimited use in-store.  This means that you can get all your favorite Sephora products at a discounted price if you are signed up to be a part of Sephora’s Beauty Insider Program! Other perks involve discounts and promotions, free makeovers, birthday bonuses and more! And it only takes a second to sign up. Start getting rewarded for your shopping habits – I promise, you will thank me later! Oh, and check out the items below that I’m buying to try out this month – can’t wait to see how they work!

photos: The Retro Penguin

thank you to Sephora for sponsoring this post


Filed Under: Beauty

August 29, 2018

The Perfect Fit

Top: Tie Waist Rolled Sleeve Blouse // Jeans: High Waisted Denim Perfect Stretch+ Leggings // Shoes: Minnetonka // Bag: Celine // Sunglasses: Celine

I was pretty pumped when Express reached out to ask me about my perfect fit – both in my life and when it comes to my denim. For denim, its pretty straightforward {or atleast it should be} – I want comfort, flexibility, length {hey, I’m tall!}, style, and durability. Oh, and if they’re affordable that’s a major bonus too. The jeans I’m wearing here tick all those boxes and more – just look at that inseam!! I also love that I could dress them up or down, sit cross legged on my office floor, or wear them to the ranch, all while being confident in their comfort and durability.

I had no idea Express had such a wide assortment of denim, across all sizes and trends. Besides the pair I’m wearing, I’m in love with this camo option, and also anything with a stripe down the side {I bought this pair and this one!}  As I briefly touched on before, I was also incredibly impressed that Express carries long and short inseam options as well as the regular classic inseam option. For tall and short girls – this is major! And believe it or not – I’m wearing a regular above!

So now you know what I look for in my jeans, but when it comes to my life, I had to really think about that. Sure, there are obvious things like my husband and Dallas being the perfect fit in my life, but I wanted to think about something else I could share with you guys. And then it hit me – my pups – Biscuit and June. They are the perfect fit in my life!

These sweet girls are our best friends and could not be a better fit for our life. The breed is one my husband and I did a LOT of research on and I can’t tell you how happy we are with our decision. When we first brought home Biscuit, we had never met another Duck Tolling Retriever, had never known anyone who had one as a pet, and had only read about them on the internet. Fast forward and we now have two! Like any breed, you read the good, the bad and the ugly, and with the Tollers there were some characteristics we were initially worried about introducing and dealing with in our lives. For example, Tollers can be known to ‘scream’ – a noise they produce to indicate excitement and eagerness which can kind of sound like the dog is being terrorized; it’s high pitched, frantic and loud. We wondered – how would we deal with a dog who made such terrible noises? Well, lucky for us, the only noise Biscuit has ever made is a bark or two when the mailman drops by and June only let’s out a yelp if she’s taunted by a squirrel {why must they taunt her btw!} All in all, we have never been happier with these two sweet girls in our lives. They’re loving and warm, and will happily wag their tails at even the slightest mention of their name. They’re smart, and determined, and in the best way possible mimic our lifestyle – laying low and snuggling when we’re chill, and running by our side when active. I can’t imagine two better furry companions in life!

photos: The Retro Penguin

thank you to express for sponsoring this post

Filed Under: Fashion

August 28, 2018

Topknot Hair Tutorial

When you’re in a pinch for time, or you haven’t washed your hair in a few {too many!} days, or for any other reason, this top knot tutorial is for you. It’s so simple, and takes barely any skill at all {I promise!} All you need are a few basic ‘tools’ and a little patience, and you will have a perfect topknot in no time!

All the tools you’ll need: Bobby pins // Smoothing Brush // Hair Brush {my favorite is the wet brush!} // Teasing Brush // Hair ties // Hair Spray

STEP 1: Smooth hair into pony tail on top of your head. Secure with elastic hair tie. Use the smoothing brush to tame fly aways

STEP 2: Take sections of the pony tail and lightly tease one at a time.

STEP 3: Twist ponytail around base of head and secure with bobby pins. This might look messy, but right now, just worry about securing the bun in place!

STEP 4: Take smoothing brush and smooth out flyaways. Spray with firm hold hairspray to keep everything in place!

And there you have it! The world’s easiest up-do! With a little bit of practice, this look can take under 2 minutes to complete, and looks absolutely fabulous for any day or night activity! I especially love that it stays put.

Jumpsuit linked here in blue & here in red

What are your favorite go-to hairstyles? Are they simple, or do they take a bit of skill? Let me know in the comments! xx

photos: The Retro Penguin

Filed Under: Beauty

« Previous Page
Next Page »
  • Bloglovin
  • Email
  • Instagram
  • Pinterest
  • Twitter

FALL FAVS

SHOE FAVS

SHOP MY FAVORITES

AMAZON
ANN TAYLOR
ASOS
JCREW
NEIMAN MARCUS
NET-A-PORTER
NASTY GAL
NORDSTROM
ONE KINGS LANE
REVOLVE CLOTHING
SHOPBOP
Follow

Archives

  • January 2025 (1)
  • September 2024 (1)
  • July 2024 (1)
  • June 2024 (2)
  • April 2024 (2)
  • March 2024 (2)
  • January 2024 (2)
  • November 2023 (2)
  • October 2023 (1)
  • September 2023 (1)
  • August 2023 (2)
  • June 2023 (1)
  • May 2023 (4)
  • April 2023 (3)
  • March 2023 (1)
  • January 2023 (4)
  • December 2022 (1)
  • November 2022 (2)
  • September 2022 (2)
  • August 2022 (3)
  • June 2022 (3)
  • May 2022 (2)
  • April 2022 (2)
  • March 2022 (6)
  • February 2022 (1)
  • January 2022 (2)
  • December 2021 (3)
  • November 2021 (5)
  • October 2021 (3)
  • September 2021 (1)
  • August 2021 (1)
  • July 2021 (1)
  • June 2021 (2)
  • May 2021 (3)
  • April 2021 (1)
  • February 2021 (1)
  • January 2021 (1)
  • November 2020 (3)
  • October 2020 (2)
  • August 2020 (3)
  • June 2020 (1)
  • May 2020 (1)
  • April 2020 (6)
  • March 2020 (2)
  • February 2020 (5)
  • January 2020 (6)
  • December 2019 (5)
  • November 2019 (5)
  • October 2019 (6)
  • September 2019 (3)
  • August 2019 (1)
  • July 2019 (3)
  • June 2019 (6)
  • May 2019 (9)
  • April 2019 (9)
  • March 2019 (7)
  • February 2019 (11)
  • January 2019 (8)
  • December 2018 (6)
  • November 2018 (16)
  • October 2018 (12)
  • September 2018 (6)
  • August 2018 (6)
  • July 2018 (11)
  • June 2018 (11)
  • May 2018 (10)
  • April 2018 (12)
  • March 2018 (7)
  • February 2018 (14)
  • December 2017 (11)
  • November 2017 (13)
  • October 2017 (13)
  • September 2017 (6)
  • August 2017 (6)
  • July 2017 (2)
  • June 2017 (2)
  • May 2017 (5)
  • April 2017 (6)
  • March 2017 (9)
  • February 2017 (16)
  • January 2017 (12)
  • November 2016 (8)
  • September 2016 (5)
  • August 2016 (9)
  • July 2016 (13)
  • June 2016 (14)
  • May 2016 (13)
  • April 2016 (15)
  • March 2016 (16)
  • February 2016 (15)
  • January 2016 (17)
  • December 2015 (15)
  • November 2015 (23)
  • October 2015 (8)
  • September 2015 (4)
  • August 2015 (7)
  • July 2015 (10)
  • June 2015 (3)
  • May 2015 (5)
  • November 2014 (7)
  • October 2014 (6)
  • September 2014 (2)
  • August 2014 (8)

Copyright © 2025 · Being Bridget